
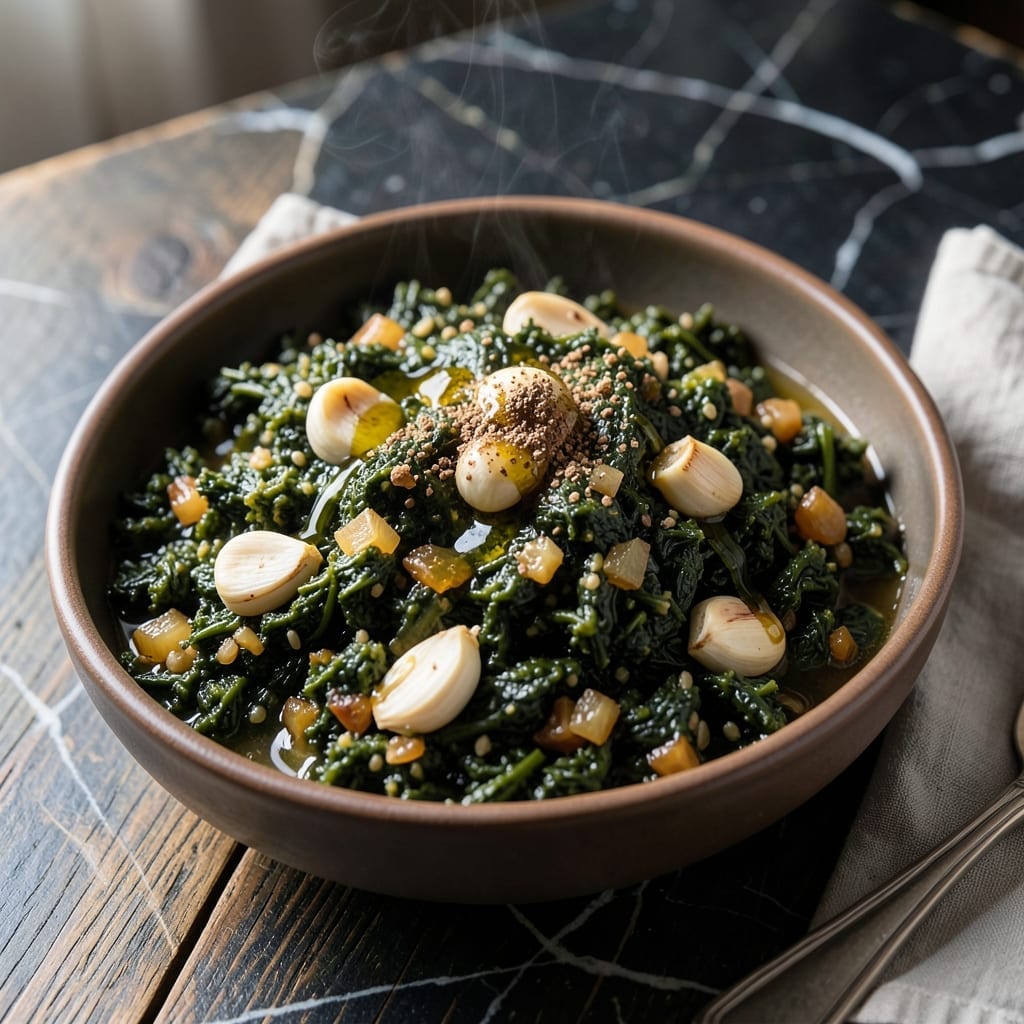
This Instant Pot freekeh recipe brings ancient grains to your modern kitchen with minimal effort. The pressure cooker transforms chewy freekeh into tender, flavorful bites in just 20 minutes, preserving its signature nutty taste.
What makes this method special is the hands-off approach. Simply combine freekeh with broth, set the timer, and let the Instant Pot work its magic. No soaking, no constant stirring—just consistent results every time.
The finished grains are perfectly cooked, ready to serve as a base for bowls, salads, or side dishes. Their earthy flavor pairs well with fresh herbs, roasted vegetables, or your favorite protein.
Vegan-friendly and packed with fiber, this is a staple worth keeping in your meal rotation.
Ingredients for Freekeh Instant Pot
Simple, wholesome ingredients for earthy grains with minimal effort.
| Ingredient | Amount | Notes |
|---|---|---|
| Freekeh 🌾 | 1 ½ cups | Rinsed before cooking |
| Vegetable Broth 🥫 | 3 cups | Low-sodium preferred |
| Olive Oil 🫒 | 1 tbsp | Extra-virgin for richness |
| Garlic Cloves 🧄 | 3 cloves | Minced for aroma |
| Yellow Onion 🧅 | 1 whole | Finely diced |
| Ground Cumin 🌿 | 1 tsp | Toasted for depth |
| Smoked Paprika 🌶️ | ½ tsp | Adds smoky warmth |
| Salt 🧂 | ½ tsp | Sea salt preferred |
| Black Pepper 🌶️ | ¼ tsp | Freshly ground |
| Fresh Parsley 🌿 | ¼ cup | Chopped for garnish |
| Lemon Juice 🍋 | 1 tbsp | Freshly squeezed |
| Water 💧 | ½ cup | For pressure cooking |
Freekeh quality varies wildly. Whole Foods or Middle Eastern markets carry the best—look for organic cracked freekeh (it cooks faster). Brands like Bob’s Red Mill work in a pinch but rinse extra well. The broth matters too—Better Than Bouillon makes a great vegan base. Don’t skip toasting the spices; it wakes them up (worth the extra minute).
No freekeh? Farro or wheat berries work but adjust cook time to 25 minutes. Vegetable broth can be swapped for water plus a bouillon cube. Out of fresh parsley? Cilantro or mint add a nice twist. The olive oil can be any neutral oil, but extra-virgin adds that rich finish. Short on time? Skip the onion—just add a pinch of onion powder instead.
Cooked freekeh keeps beautifully. Store in the fridge for 4-5 days or freeze for 3 months. Reheat with a splash of water to loosen. I like to make a big batch for grain bowls all week (pairs great with roasted veggies).
Why You’ll Love This Recipe
- Set It and Forget: I toss everything in the Instant Pot, press a button, and walk away—no stirring, no babysitting.
- Umami Bomb: The garlic and onion bloom in olive oil, then the freekeh soaks up that rich, savory broth.
- Meal Prep MVP: It holds up for days, so I make a big batch and use it in salads, bowls, or soups all week.
- Pantry Hero: Freekeh is cheap, shelf-stable, and stretches a meal without feeling like a compromise.
Step-by-Step Instructions for Freekeh
This method delivers perfectly tender grains with rich, aromatic flavor in under thirty minutes.
Step 1: Sauté Aromatics for Flavor Foundation
Set your Instant Pot to the Sauté function and add the 1 tbsp Olive Oil. Once hot, add the finely diced Yellow Onion and cook for 3-4 minutes until it turns translucent and begins to soften.
Add the 3 cloves minced Garlic Cloves and cook for an additional 30 seconds until fragrant. Be careful not to let the garlic burn—it should smell sweet and aromatic, not bitter.
Stir in the 1 tsp Ground Cumin and 0.5 tsp Smoked Paprika, toasting them for 20-30 seconds to deepen their flavors. This step builds the earthy, smoky base that pairs so well with freekeh.
Step 2: Combine Liquids and Freekeh
Add the 1.5 cups Freekeh to the pot and stir to coat it in the spiced oil and onion mixture. Pour in the 3 cups Vegetable Broth and 0.5 cup Water, then add the 0.5 tsp Salt and 0.25 tsp Black Pepper.
Stir everything together, ensuring the freekeh is fully submerged in the liquid. This prevents any grains from sticking to the bottom of the pot and burning. The liquid should cover the freekeh by about 1 inch.
Give it a final stir and scrape the bottom of the pot with a wooden spoon to release any bits that might be stuck. This prevents the “burn” notice on your Instant Pot.
Step 3: Pressure Cook to Perfection
Secure the lid on your Instant Pot and set the valve to Sealing. Cook on High Pressure for 8 minutes. The pot will take about 10-12 minutes to come to pressure before the cooking time begins.
Once the cooking cycle is complete, let the pressure release naturally for 10 minutes, then switch the valve to Venting to release any remaining pressure. This gradual release prevents the freekeh from becoming mushy.
Step 4: Rest and Finish with Brightness
Remove the lid and let the freekeh rest for 5 minutes. This allows the grains to absorb any remaining liquid and become uniformly tender.
Fluff the freekeh gently with a fork. Drizzle the 1 tbsp Lemon Juice over the top and sprinkle with the 0.25 cup chopped Fresh Parsley. The lemon juice adds a bright, citrusy finish that balances the earthy, smoky flavors.
Taste and adjust seasoning if needed, though the flavors should be well-balanced with the salt and spices used earlier. Serve warm as a side dish or a base for bowls and salads.
Pro Tips For Making Freekeh Instant Pot
- Rinse the Freekeh: Always give freekeh a quick rinse under cold water before cooking—it removes excess starch and prevents a gummy texture in the Instant Pot.
- Sauté the Aromatics: Take the extra 3 minutes to sauté the onion and garlic in olive oil using the Instant Pot’s sauté function; it builds a deeper flavor base than just dumping everything in.
- Use the Right Ratio: Stick to a 1:2 freekeh-to-broth ratio—any less and it’ll be undercooked, any more and you’ll end up with mush. I learned this the hard way.
- Let It Naturally Release: After cooking, let the pressure release naturally for at least 10 minutes—this keeps the freekeh firm and prevents it from turning to porridge.
Pro Cooking Tips for This Dish
Perfect Liquid Ratio
For tender freekeh, maintain a 2:1 liquid-to-grain ratio. I use 3½ cups total liquid (3 cups broth + ½ cup water) for 1.5 cups freekeh. Too much liquid makes it mushy; too little leaves it undercooked. 💡
Prevent Burn Notices
Always scrape the bottom after adding ingredients to prevent sticking. I use a wooden spoon to ensure nothing burns during pressure cooking. If you see the “burn” error, release pressure immediately and check for stuck bits.
Aromatic Toasting
Toast the cumin and smoked paprika for 20-30 seconds in the hot oil before adding liquid. This wakes up their flavors and creates a deeper, more complex base for your dish. Don’t rush this step—it’s worth the extra minute.
Natural Release Matters
Let the pressure release naturally for 10 minutes after cooking. This gradual release prevents the grains from breaking apart. I’ve found this step crucial for maintaining the perfect texture in every batch. ⏰
Rest Before Fluffing
After cooking, let the freekeh rest for 5 minutes with the lid off. This allows the grains to absorb any remaining liquid evenly. Then, fluff gently with a fork to separate the grains without crushing them.
Flavor Boost
Finish with 1 tbsp lemon juice and ¼ cup fresh parsley to brighten the earthy flavors. The acidity from the lemon cuts through the richness, making every bite more vibrant and balanced.
Nutrition Facts
Frequently Asked Questions
Can I use water instead of broth?
Yes, but add 1 tsp salt and a bouillon cube for flavor. Broth enhances the earthy taste of freekeh, while plain water may result in blander grains.
What if my freekeh is undercooked?
Add ½ cup hot water, reseal, and cook for another 3-4 minutes on high pressure. Check texture before adding more time.
Can I double the recipe?
Yes, but don’t exceed ½ full capacity in your Instant Pot. Use 3 cups freekeh with 6 cups liquid and the same 8-minute cook time.
How do I store leftovers?
Keep in an airtight container in the fridge for 4-5 days or freeze for 3 months. Reheat with a splash of water.

- 5 Spice Roast Chicken Recipe: Fragrant Whole Bird With Crispy Golden Skin - September 25, 2026
- 1.5 Pound White Bread Machine Recipe: Hands-Off Artisan Loaf With Golden Crust - September 25, 2026
- 11×15 Sheet Cake Recipe: Triple-Layered Vanilla Bean Bliss - September 25, 2026