
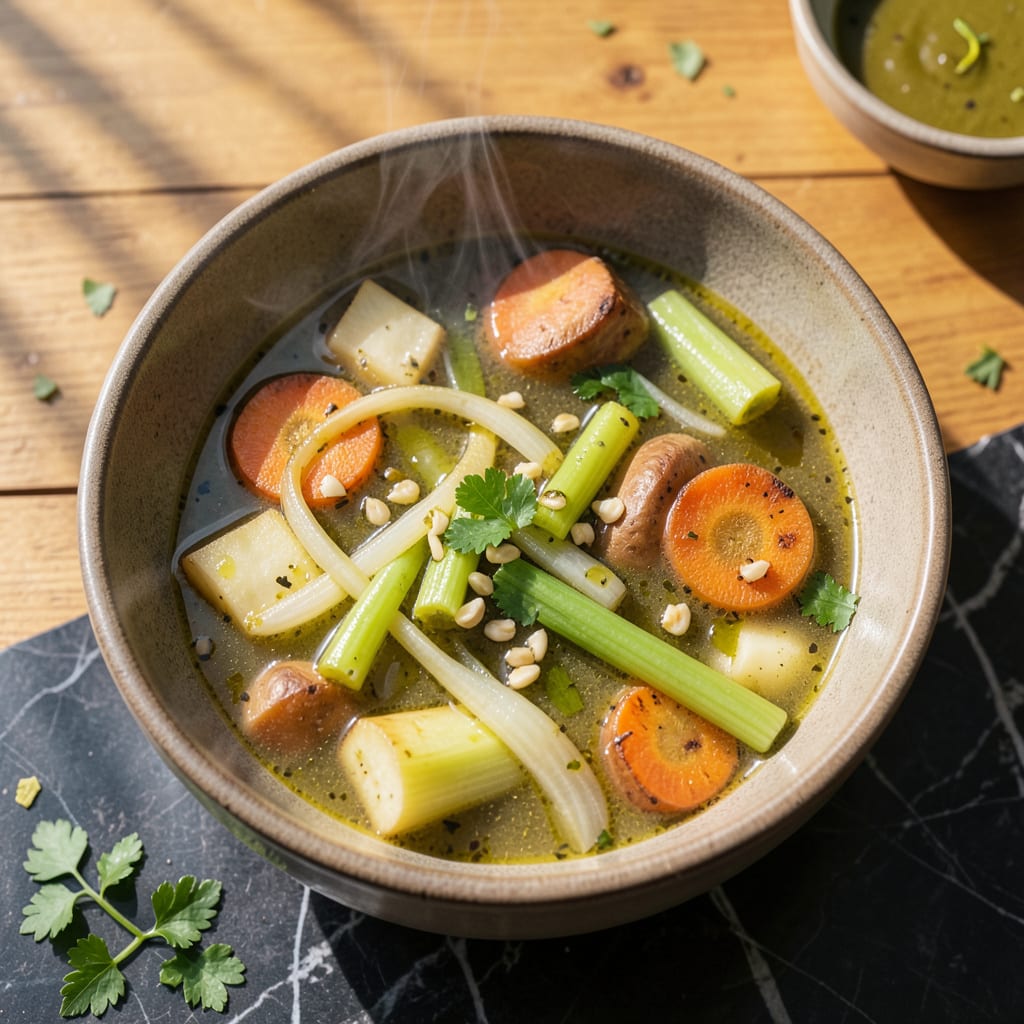
There’s something about a steaming bowl of garden vegetable soup that feels like a warm hug on a chilly day. I’ve been making this Potbelly-inspired version for years, and it never fails to hit the spot when I need comfort food that’s actually good for me.
This recipe packs all the hearty flavors of the restaurant favorite into your own kitchen. We’re talking tender vegetables, rich broth, and that perfect balance of herbs that makes every spoonful satisfying. The best part? It comes together in about 45 minutes with simple ingredients you probably already have on hand.
Ingredients for Garden Vegetable Soup Potbelly
Simple, fresh ingredients that transform into comfort in every spoonful—just like your favorite restaurant bowl.
| Ingredient | Amount | Notes |
|---|---|---|
| Olive Oil 🫒 | 2 tbsp | Extra-virgin preferred |
| Yellow Onion 🧅 | 1 whole | Medium, finely diced |
| Carrots 🥕 | 3 whole | Peeled, sliced into rounds |
| Celery Stalks 🌿 | 3 whole | Chopped into small pieces |
| Garlic Cloves 🧄 | 4 cloves | Minced for maximum flavor |
| Russet Potatoes 🥔 | 2 whole | Medium, cubed into bite-sized |
| Green Beans 🌱 | 1 cup | Fresh or frozen, trimmed |
| Corn Kernels 🌽 | 1 cup | Fresh, canned, or frozen |
| Canned Diced Tomatoes 🍅 | 1 can | 14.5 oz, with juices |
| Vegetable Broth 💧 | 6 cups | Low-sodium preferred |
| Tomato Paste 🍅 | 2 tbsp | For depth of flavor |
| Dried Thyme 🌿 | 1 tsp | Or 1 tbsp fresh |
| Dried Basil 🌿 | 1 tsp | Or 1 tbsp fresh |
| Bay Leaf 🍃 | 1 whole | Remove before serving |
| Salt 🧂 | 1 tsp | Adjust to taste |
| Black Pepper 🌶️ | ½ tsp | Freshly ground preferred |
| Spinach 🍃 | 2 cups | Fresh, roughly chopped |
The broth is everything here. Imagine Foods or Pacific Foods make great low-sodium vegetable broths (check the label—some brands sneak in dairy). For the tomatoes, San Marzano canned are worth it, but any good-quality diced tomatoes work. I always grab extra carrots and celery—they keep well and make great snacks. The potatoes should be firm and free of sprouts; russets hold up best in soup.
No fresh spinach? Frozen works perfectly—just toss it in at the end. Swap green beans for zucchini if that’s what you’ve got. Out of tomato paste? Ketchup in a pinch (about 3 tbsp), though the flavor changes slightly. Fresh herbs are ideal, but dried work at one-third the amount. If you’re missing a veggie or two, don’t stress—this soup is forgiving.
This soup tastes even better the next day after flavors meld. Keeps 4-5 days in the fridge or 3 months frozen. I like to freeze portions in mason jars (leave room for expansion). The spinach is best added fresh when reheating—it keeps its bright color that way.
Why You’ll Love This Recipe
- One-Pot Magic: I love that this soup comes together in a single pot—just sauté the onion, carrots, and celery in olive oil, toss in the garlic, and let everything simmer. No fancy techniques, no extra dishes, just straightforward cooking that leaves my kitchen (and my sanity) intact.
- Garlic’s Golden Moment: The second that minced garlic hits the olive oil with the onions? That’s when the whole kitchen smells like comfort. It’s not just soup—it’s a warm, savory hug in a bowl, with every spoonful carrying that deep, toasty garlic flavor.
- Meal Prep MVP: This makes enough to feed a crowd or to stash away for lazy lunches. I double the batch on Sundays, portion it into jars, and suddenly I’ve got grab-and-go meals that actually taste homemade—not sad desk salad vibes.
- Budget-Friendly Winner: Honestly, it’s hard to spend more than $10 on this if you’re using seasonal veggies. Carrots, celery, and onions are cheap, hearty, and stretch far—plus, the leftovers taste even better the next day after the flavors meld. (My wallet thanks me every time.)
Step-by-Step Instructions for Garden Vegetable Soup
This comforting soup comes together easily with simple techniques and fresh ingredients.
Step 1: Sauté the Aromatic Base
Heat the 2 tbsp olive oil in a large Dutch oven or soup pot over medium heat. Add the finely diced yellow onion, sliced carrots, and chopped celery stalks. Cook for 8-10 minutes, stirring occasionally, until the onions become translucent and the carrots start to soften.
This slow cooking process develops the sweetness in the vegetables and builds the flavor foundation for your soup. You’ll notice the kitchen filling with a warm, savory aroma when it’s ready for the next step. Don’t rush this process – patience here pays off in flavor.
Step 2: Build the Flavor Profile
Add the minced garlic cloves to the pot and cook for 1 minute, stirring constantly to prevent burning. The garlic should become fragrant but not brown. Immediately stir in the 2 tbsp tomato paste, 1 tsp dried thyme, 1 tsp dried basil, 1 tsp salt, and 0.5 tsp black pepper.
Cook this mixture for 2-3 minutes, stirring frequently. The tomato paste will darken slightly and coat all the vegetables. This step intensifies the flavors and creates a rich base for your broth. You’ll see the mixture become more concentrated and the colors deepen.
Step 3: Simmer the Vegetables
Pour in the 6 cups vegetable broth and add the cubed russet potatoes, trimmed green beans, corn kernels, canned diced tomatoes with juices, and 1 whole bay leaf. Bring the mixture to a boil over high heat, then reduce to medium-low and let it simmer uncovered for 15-20 minutes.
The soup is ready when the potatoes are fork-tender and the green beans have turned bright green. You’ll notice the broth becoming slightly thicker as the potatoes release their starch. Stir occasionally to prevent sticking and to help the flavors meld together beautifully.
Step 4: Finish with Fresh Spinach
Remove the bay leaf and discard it. Stir in the 2 cups roughly chopped spinach and cook for just 2-3 minutes until the spinach wilts and turns bright green. The spinach should maintain some texture rather than becoming mushy.
Taste the soup and adjust the seasoning if needed. The spinach adds freshness and color, making each spoonful vibrant and nutritious. The soup should have a balanced flavor where no single vegetable dominates, but all contribute to a harmonious whole.
Step 5: Rest and Serve
Remove the pot from heat and let the soup rest for 5 minutes before serving. This brief resting period allows the flavors to fully marry and the soup to reach its perfect consistency.
Ladle the hot soup into bowls and serve immediately. Each serving should be hearty with plenty of vegetables in every spoonful. The broth should be rich and flavorful, carrying the essence of all the garden-fresh ingredients you’ve carefully combined.
Creative Variations of This Recipe
Creamy Coconut Twist
For a richer, velvety texture, stir in 1 can (13.5 oz) full-fat coconut milk during the final 5 minutes of simmering. This adds a subtle sweetness that pairs beautifully with the carrots and corn. I love this variation on cold days when I want something extra comforting. The coconut milk also makes the soup more filling. 🥥
Spicy Southwest Kick
Add 1 diced jalapeño with the onions and 1 tsp ground cumin with the spices. Top each bowl with ¼ cup black beans and 2 tbsp chopped cilantro before serving. The heat and smoky flavors transform this into a completely different soup. I keep a bottle of Cholula hot sauce nearby for extra spice lovers.
Italian Herb Garden
Swap the thyme and basil for 1 tbsp Italian seasoning and add ½ tsp red pepper flakes. Stir in 1 cup ditalini pasta during the last 10 minutes of cooking. The pasta soaks up the broth beautifully. I like to finish with a sprinkle of Parmesan cheese (or nutritional yeast for vegan version) and fresh basil ribbons.
Protein-Packed Version
Add 1 can (15 oz) white beans or 1 cup cubed firm tofu when you add the potatoes. The beans make it heartier while keeping it vegan. For tofu, I recommend pressing it first for better texture. This variation keeps me full for hours and adds about 8g protein per serving. 💪
Slow Cooker Adaptation
Combine all ingredients except spinach in your slow cooker. Cook on low for 6-8 hours or high for 3-4 hours. Stir in spinach just before serving. I use my Crock-Pot 6-Quart for this—it’s perfect for busy days when I want to come home to ready-made comfort food.
Instant Pot Magic
Sauté the onions, carrots, and celery using the sauté function, then add all remaining ingredients except spinach. Seal and cook on high pressure for 5 minutes, then quick release. Stir in spinach at the end. The Instant Pot makes the potatoes incredibly tender while keeping the green beans crisp. I’m always amazed how it tastes like it simmered all day. ⚡
Nutrition Facts
Frequently Asked Questions
Can I make this soup ahead of time?
This soup actually tastes better the next day after flavors meld. Store it in an airtight container in the fridge for 4-5 days. For longer storage, freeze portions for up to 3 months. Just add fresh spinach when reheating to keep it vibrant.
What’s the best way to adjust the thickness?
For a thicker soup, mash some potatoes against the pot’s side or blend 1 cup of soup and stir it back in. Too thick? Add ½ cup of broth or water at a time until it reaches your preferred consistency. The potatoes naturally thicken it as they cook.
Can I use frozen vegetables instead of fresh?
Yes! Frozen works perfectly for corn, green beans, and even spinach. No need to thaw—just add them at the same time as fresh. The texture might be slightly softer, but the flavor remains excellent. This is a great time-saver without sacrificing quality.
Why does my soup taste bland?
Most likely it needs more salt or acid. Start with ½ tsp salt and a squeeze of lemon juice. The tomato paste and broth should provide depth, but sometimes they need a boost. Taste as you go—it’s easier to add than correct oversalting.

- 8 Bean Soup Recipe Crock Pot: Hearty Vegetable Medley in One Pot - September 25, 2026
- 4C Bread Crumbs Meatballs Recipe: Crispy Crust and Juicy Centers - September 25, 2026
- 6 Oz Chocolate Chip Cookie Recipe: Perfectly Balanced Crispy Edges and Chewy Hearts - September 25, 2026