
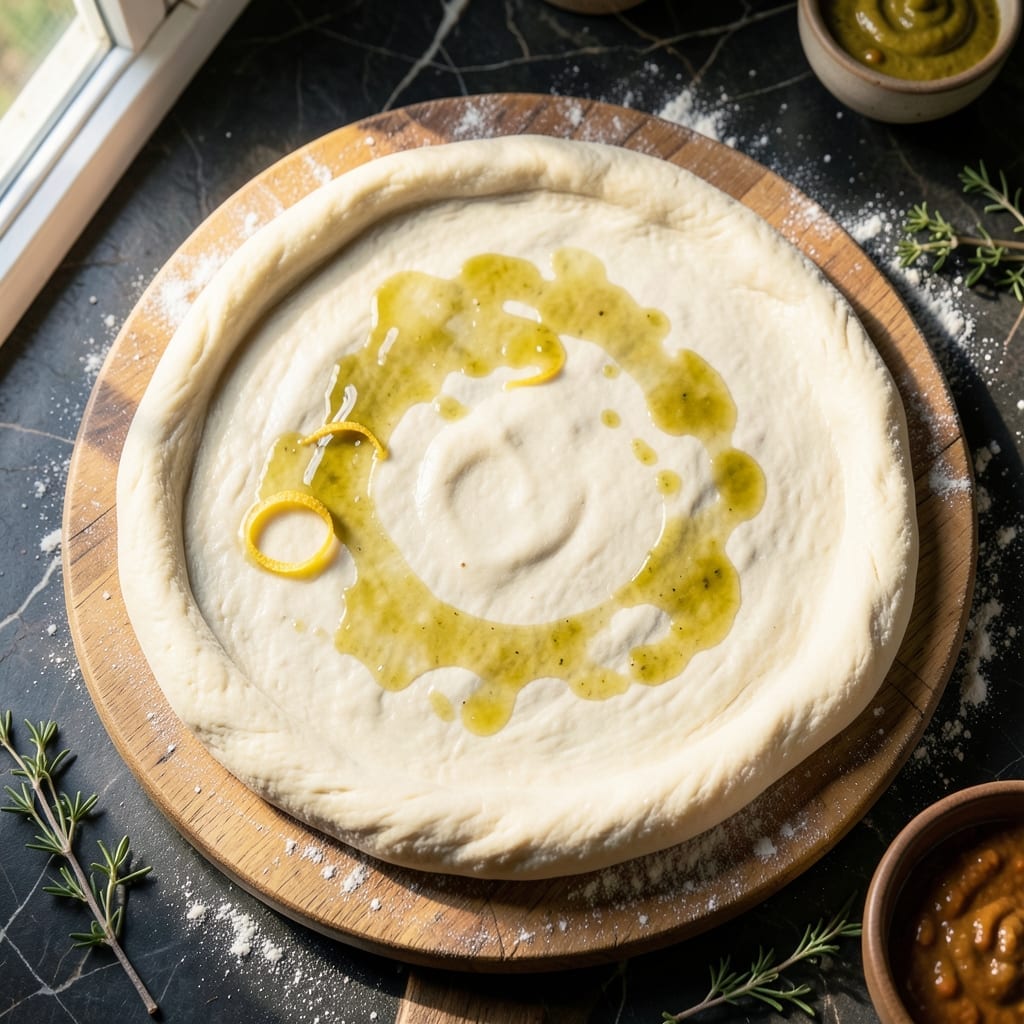
This pizza dough delivers the signature chew and bounce that made Godfather’s famous. The secret lies in the precise hydration and a slow fermentation process.
With just 5 ingredients and 24 hours of rest, you’ll achieve a crust that’s crisp outside, airy inside, and perfectly elastic when stretched.
Ingredients for Godfathers Pizza Dough
Five simple ingredients create that signature Godfather’s-style chewy, elastic crust with perfect bounce.
| Ingredient | Amount | Notes |
|---|---|---|
| Bread Flour 🌾 | 3 ½ cups | High-protein for chewiness |
| Water 💧 | 1 ½ cups | Filtered, room temperature |
| Active Dry Yeast 🍞 | ¼ oz | One packet, proofed |
| Sea Salt 🧂 | 2 tsp | Fine grain for even distribution |
| Extra-Virgin Olive Oil 🫒 | 2 tbsp | Cold-pressed for flavor |
The flour is critical here. King Arthur Bread Flour (12.7% protein) delivers the ideal gluten structure for that Godfather’s chew—Gold Medal Bread Flour works too (check the protein percentage). Most grocery chains carry both. Yeast freshness matters: if it doesn’t foam within 5 minutes during proofing, toss it and start over. Room temperature water ensures even activation.
No bread flour? All-purpose flour plus 1 tbsp vital wheat gluten per cup gets close. Instant yeast can replace active dry at 25% less volume—no proofing needed. For deeper flavor, swap water for unflavored beer (the sugar helps fermentation). The olive oil can be any high-quality cold-pressed, but avoid strongly flavored varieties like pepper-infused.
Dough rests best in the fridge for 24 hours—this develops the gluten and flavor. Store in an oiled bowl with plastic wrap directly on the surface to prevent crusting. Keeps 3 days refrigerated or freezes for 1 month (thaw overnight in fridge). Bring to room temperature before shaping.
Why You’ll Love This Recipe
- Five Minute Mix: I can have the dough ready before the oven preheats—just flour, water, yeast, salt, and a glug of olive oil.
- Crisp Yet Chewy: Honestly, the olive oil gives it that golden crust with a soft, airy center every time.
- Endless Toppings: I’ve used it for thin crust, deep dish, even calzones—this dough handles anything.
- Dime a Dozen: Bread flour and basic pantry staples make it my go-to for feeding a crowd without breaking the bank.
Step-by-Step Instructions for Godfathers Pizza Dough
Master the technique behind this elastic, high-rise crust with professional precision and consistency.
Step 1: Activate the Yeast for Optimal Fermentation
Begin by proofing the 0.25 oz active dry yeast in 1.5 cups water heated to 110-115°F. I measure this with a kitchen thermometer—water that’s too hot will kill the yeast, while lukewarm water won’t activate it properly. The mixture should become foamy within 5-7 minutes, indicating the yeast is alive and active.
This step is non-negotiable for achieving that signature Godfathers texture. If your yeast doesn’t foam, start over with fresh yeast. The filtered, room temperature water specified in the ingredients ensures no chlorine or cold temperatures inhibit the proofing process.
Step 2: Combine Dry Ingredients and Create the Dough
In a stand mixer fitted with the dough hook attachment, combine the 3.5 cups bread flour with the 2 tsp sea salt. The high-protein content of bread flour develops the gluten network necessary for that chewy, elastic texture. Make a well in the center and pour in the proofed yeast mixture along with the 2 tbsp extra-virgin olive oil.
Mix on low speed until the ingredients come together, then increase to medium speed for 6-8 minutes. The dough should pull away from the sides of the bowl and become smooth and elastic. If it’s too sticky, resist adding more flour—trust the process. The cold-pressed olive oil adds richness while maintaining the dough’s extensibility.
Step 3: Execute the First Rise for Proper Gluten Development
Transfer the dough to a lightly oiled bowl, turning to coat all sides. Cover with a damp kitchen towel or plastic wrap and let rise in a warm, draft-free area for 1 to 1.5 hours, or until doubled in volume. I preheat my oven to 200°F then turn it off, creating the perfect proofing environment.
The fine grain sea salt ensures even distribution throughout the dough, preventing any concentrated salty spots. During this rise, the yeast ferments the sugars in the flour, producing carbon dioxide that creates air pockets. This first rise is crucial for developing the complex flavors and proper texture that defines this pizza dough.
Step 4: Divide, Shape, and Perform the Second Rise
Turn the risen dough out onto a lightly floured surface and divide it into 4 equal portions for individual pizzas. Gently shape each portion into a ball, being careful not to deflate the air bubbles that have formed. Place the balls on a floured surface, cover, and let rest for an additional 30-45 minutes.
This second rise, called the bench rest, relaxes the gluten strands, making the dough easier to stretch without tearing. The portions will puff up slightly during this time. The high-protein bread flour truly shines here, as it provides the strength needed to hold the gases produced during fermentation while remaining extensible enough for easy shaping.
Step 5: Shape and Prepare for Baking
After the second rise, gently press each dough ball with your fingertips to deflate slightly. Using your hands or a rolling pin, stretch and shape the dough into 12-inch rounds. For that authentic Godfathers thickness, aim for about ¼-inch thickness at the center, with a slightly thicker rim for the crust.
Transfer the shaped dough to parchment-lined pizza peels or baking sheets. Lightly brush the surface with a bit of the extra-virgin olive oil to prevent sticking and add flavor. The dough is now ready for toppings and baking. The filtered water used in the dough ensures a clean, neutral base that lets the other flavors shine through in the finished crust.
Pro Tips For Making Godfathers Pizza Dough
- Proof in Warmth: Let the dough rise in a slightly warm oven—around 80°F—with the light on for 1-2 hours. I learned this the hard way after my first few batches barely doubled in size on the cold counter.
- Weigh Your Flour: Skip the measuring cups and use a scale for the bread flour—225g per cup is more accurate. Sounds fussy, but it’s the only way to avoid dense, dry dough.
- Salt Last: Add the sea salt after the yeast has foamed in the water—about 5 minutes in. My grandmother swore by this, and she was right: it keeps the yeast from getting stunned.
- Oil the Bowl: Coat the rising bowl with extra-virgin olive oil before adding the dough. It prevents sticking and makes the first punch-down way easier—I was skeptical until I tried it.
Perfect Pairings for This Dish
Classic Toppings
For that authentic Godfather’s experience, keep it simple with San Marzano tomato sauce, fresh mozzarella di bufala, and fresh basil leaves. The high-quality ingredients let the dough’s flavor shine through. I always add a sprinkle of Parmigiano-Reggiano right before serving. 🍕
Wine Pairings
A crisp Italian Pinot Grigio from Friuli cuts through the richness of melted cheese. For red lovers, try a light-bodied Chianti Classico—its bright acidity complements tomato-based pizzas perfectly. I prefer Banfi or Ruffino brands for consistency. 🍷
Salad Sides
A simple arugula salad with lemon vinaigrette adds a peppery contrast. Toss 4 cups baby arugula with 2 tbsp olive oil, 1 tbsp lemon juice, and shaved Pecorino Romano. The bitterness balances the pizza’s richness beautifully.
Beer Options
An ice-cold Peroni or Moretti provides that classic Italian pizzeria experience. For craft beer fans, a Belgian witbier like Hoegaarden offers citrus notes that pair well. Avoid heavy IPAs that can overwhelm the dough’s delicate flavors.
Dessert Pairing
End with a light lemon sorbet to cleanse the palate. Alternatively, tiramisu from a local Italian bakery continues the theme. I love the contrast between the warm pizza and cold dessert. ✨
Nutrition Facts
Frequently Asked Questions
Can I use all-purpose flour instead of bread flour?
Yes, but add 1 tbsp vital wheat gluten per cup of all-purpose flour to match the protein content. This helps achieve the signature chew.
Why does the dough need to rest for 24 hours?
This slow fermentation develops deep flavor and perfect texture. The gluten relaxes, making it easier to stretch without tearing.
How do I know when the yeast is properly activated?
Look for a foamy layer on top within 5-7 minutes. If it doesn’t foam, start over with fresh yeast.
Can I freeze the dough?
Wrap tightly in plastic and freeze for up to 1 month. Thaw overnight in the fridge before using.

- 4C Bread Crumbs Meatballs Recipe: Crispy Crust and Juicy Centers - September 25, 2026
- 6 Oz Chocolate Chip Cookie Recipe: Perfectly Balanced Crispy Edges and Chewy Hearts - September 25, 2026
- 6-Inch Coffee Cake Recipe: Vanilla Bean Swirls and Buttery Streusel Topping - September 25, 2026