
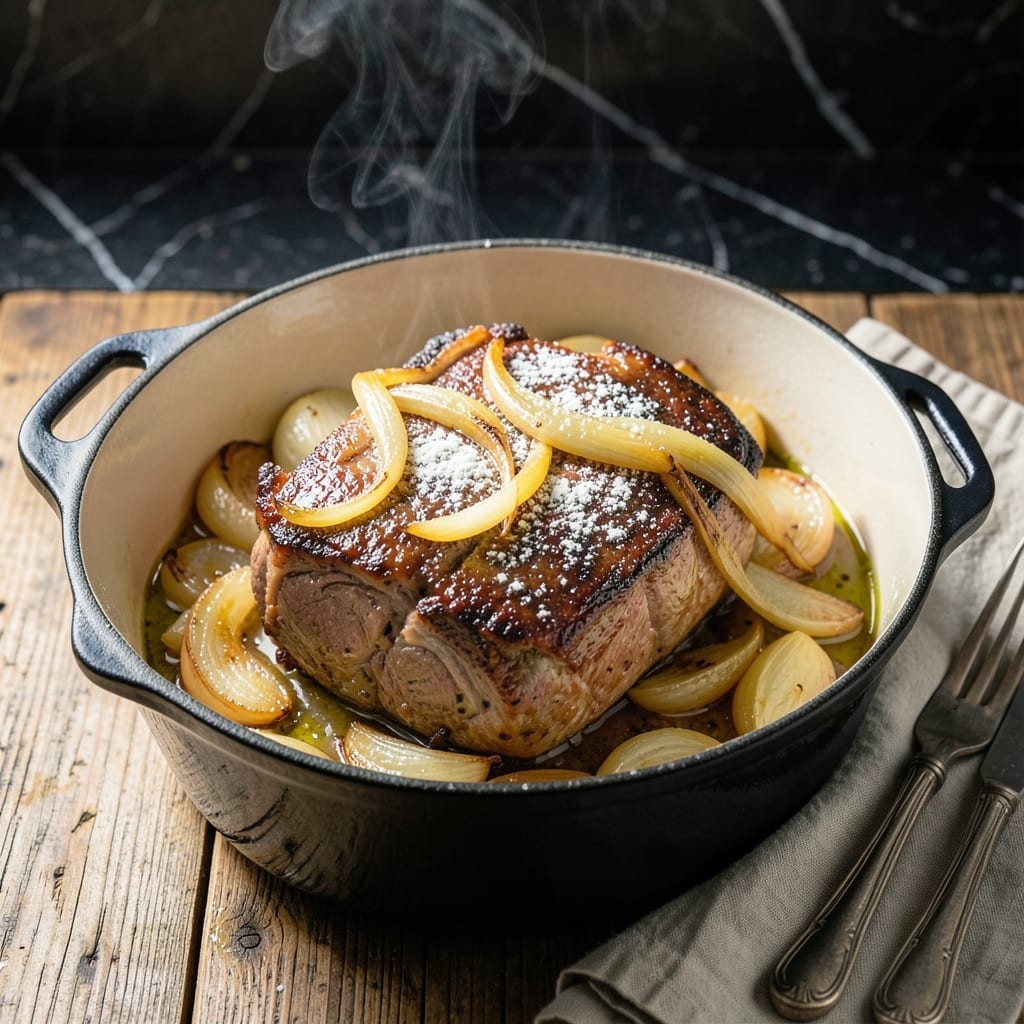
There’s something timeless about a well-made pot roast—tender beef, rich gravy, and the kind of comfort that feels like a warm embrace. This isn’t just a meal; it’s a tradition built on slow cooking and simple, hearty flavors.
The secret lies in the low-and-slow approach, allowing the meat to become fork-tender while the herbs and vegetables meld into a deeply flavorful broth. I’ve refined this method to ensure every bite delivers that nostalgic, home-cooked satisfaction.
What you’ll get is a dish that fills the house with an irresistible aroma and serves up a taste of pure, old-fashioned comfort. The gravy is thick and savory, the vegetables soft yet still holding their shape.
Perfect for Sunday dinners or cozy weeknight gatherings. Here’s how to make it right.
Ingredients for Grandma’s Pot Roast
Simple, hearty ingredients for a timeless dish filled with old-fashioned comfort and rich, savory flavors.
| Ingredient | Amount | Notes |
|---|---|---|
| Beef Chuck Roast 🥩 | 3 lb | Well-marbled, trimmed of excess fat |
| Kosher Salt 🧂 | 2 tsp | Diamond Crystal preferred for even seasoning |
| Black Pepper 🌶️ | 1 tsp | Freshly cracked for bold flavor |
| All-Purpose Flour 🌾 | ¼ cup | For thickening gravy |
| Olive Oil 🫒 | 2 tbsp | Divided for searing and sautéing |
| Yellow Onion 🧅 | 2 whole | Medium-sized, quartered |
| Garlic Cloves 🧄 | 6 cloves | Lightly crushed, peeled |
| Carrots 🥕 | 4 whole | Peeled, cut into 3-inch chunks |
| Russet Potatoes 🥔 | 1 ½ lb | Peeled, cut into large chunks |
| Beef Broth 💧 | 3 cups | Low-sodium preferred for control |
| Red Wine 🍷 | 1 cup | Dry variety like Cabernet Sauvignon |
| Fresh Thyme Sprigs 🌿 | 4 pieces | Plus 1 tbsp chopped for garnish |
| Fresh Rosemary Sprigs 🌿 | 2 pieces | Stems removed, chopped |
| Bay Leaves 🍃 | 2 whole | Dried, for depth of flavor |
The beef is the foundation—chuck roast with good marbling ensures fork-tender results. Look for a well-marbled piece at Whole Foods or your local butcher (they’ll often cut it to your preferred thickness). Avoid lean cuts like sirloin, as they lack the fat needed for slow cooking. The vegetables should be fresh and firm, not wilted or sprouting. For the wine, a bold, dry red adds depth without overpowering the broth.
No red wine? Substitute with 1 cup beef broth plus 1 tbsp balsamic vinegar for acidity. Fresh herbs are ideal, but dried thyme and rosemary at half the amount work in a pinch. If you’re out of beef broth, chicken or vegetable broth can be used, though the flavor will be slightly different. For a gluten-free version, swap the all-purpose flour for cornstarch or arrowroot powder (1:1 ratio).
Leftovers taste even better the next day. Store in an airtight container in the fridge for up to 4 days or freeze for 3 months. The gravy will thicken as it cools—reheat gently with a splash of water or broth to restore the consistency. Always remove the bay leaves before storing to avoid bitterness.
Why You’ll Love This Recipe
- I’ll be real: this works as well for a lazy weekend as it does for a weeknight when I need something hearty with zero fuss.
- One Pan Magic: The flour-dredged chuck roast browns right in the same pot where it slow cooks—no extra dishes, just rich flavor building from start to finish.
- Sunday or Wednesday: I’ll be real: this works as well for a lazy weekend as it does for a weeknight when I need something hearty with zero fuss.
- Leftovers for Days: That chuck roast stretches further than you’d think—sandwiches, tacos, or just reheated with the juices for another cozy meal.
Step-by-Step Instructions for Herb-Infused Pot Roast
This method delivers tender, fall-apart beef with rich, aromatic gravy every time.
Step 1: Sear and Season the Beef Chuck Roast
Pat the 3 lb Beef Chuck Roast dry with paper towels and season generously with the 2 tsp Kosher Salt and 1 tsp Black Pepper on all sides. This ensures a flavorful crust and even seasoning throughout the cooking process.
Heat 1 tbsp Olive Oil in a large Dutch oven over medium-high heat until shimmering. Sear the beef for 4-5 minutes per side until deeply browned on all surfaces. You’ll know it’s ready to flip when it releases easily from the pan. Transfer the roast to a plate and set aside.
Step 2: Build the Aromatic Base
In the same Dutch oven, add the remaining 1 tbsp Olive Oil. Add the 2 whole Yellow Onion (quartered), 6 cloves Garlic Cloves (lightly crushed), 4 whole Carrots (cut into 3-inch chunks), and 1.5 lb Russet Potatoes (cut into large chunks). Cook for 5-6 minutes, stirring occasionally, until the onions begin to soften and brown.
Sprinkle the 0.25 cup All-Purpose Flour over the vegetables and stir to coat evenly. This creates a roux that will thicken the gravy later. Cook for 1-2 minutes to remove the raw flour taste, stirring constantly to prevent burning.
Step 3: Deglaze and Add Liquids
Pour in the 1 cup Red Wine, scraping the bottom of the pot to release all the browned bits—this adds depth to the gravy. Let it simmer for 2-3 minutes until reduced by half.
Add the 3 cups Beef Broth, 4 pieces Fresh Thyme Sprigs, 2 pieces Fresh Rosemary Sprigs, and 2 whole Bay Leaves. Stir to combine, then return the beef chuck roast to the pot, nestling it among the vegetables and herbs.
Step 4: Braise to Perfection
Bring the liquid to a gentle simmer, then cover the pot tightly. Reduce the heat to low and let it braise for 3 to 3.5 hours, turning the roast every 45 minutes to ensure even cooking. The beef is done when it shreds easily with a fork and reaches an internal temperature of 195-200°F.
The liquid should be reduced by about a third, and the vegetables should be fork-tender. If the gravy is too thin, remove the lid for the last 30 minutes to allow it to thicken naturally.
Step 5: Rest and Serve
Carefully transfer the beef chuck roast to a cutting board and tent loosely with foil. Let it rest for 15-20 minutes—this allows the juices to redistribute, ensuring moist, tender slices.
Discard the herb sprigs and bay leaves from the gravy. Skim off any excess fat from the surface if desired, then adjust the seasoning with additional salt and pepper if needed. Serve the pot roast with the vegetables and gravy ladled over the top.
Pro Tips For Making Grandma’S Pot Roast
- Sear It Hard: Crank the heat to medium-high and sear the chuck roast until it’s deeply browned—about 3-4 minutes per side. I learned this the hard way: a pale sear means weak flavor.
- Dry the Meat: Pat the chuck roast completely dry with paper towels before seasoning. My grandmother swore by this, and she was right: wet meat steams instead of searing.
- Don’t Crowd the Pan: If your pot isn’t big enough for the roast and veggies in a single layer, sear the meat first, then remove it before adding the rest. Steer clear of steaming everything in a packed pot.
- Use Fresh Oil: Swap out the oil between batches if it starts smoking or looking burnt. Sounds weird, but it works: burnt oil gives the whole dish a bitter edge.
Essential Equipment for This Dish
Dutch Oven Essentials
Invest in a heavy 5-6 quart Dutch oven for even heat distribution. I use my Le Creuset—it retains heat perfectly and transitions from stovetop to oven seamlessly. The tight-fitting lid is crucial for trapping moisture during the long braise. 🔥
Precision Thermometer
A quality instant-read thermometer ensures you hit that perfect 195-200°F internal temperature. I rely on my ThermoWorks ThermoPop for accuracy. It prevents overcooking and guarantees fork-tender results every time.
Wooden Spoon
A sturdy wooden spoon is ideal for stirring the roux and scraping up browned bits. Unlike metal, it won’t scratch your Dutch oven’s enamel. I keep one dedicated to my pot roast days for this very reason.
Sharp Chef’s Knife
For trimming the 3 lb chuck roast and chopping vegetables, a 8-inch chef’s knife is indispensable. I use a Wüsthof—it makes quick work of quartering onions and carving potatoes. Proper prep ensures even cooking.
Measuring Tools
Accurate measurements matter, especially for liquids. I use a 2-cup glass measuring cup for the broth and wine, and a set of nesting measuring spoons for smaller quantities like salt and flour. No guesswork here.
Resting Setup
After cooking, a wire rack and aluminum foil are key for resting. Elevating the roast allows air circulation, while foil keeps it warm. This simple setup ensures juices redistribute evenly before slicing.
Nutrition Facts
Frequently Asked Questions
What’s the best cut of beef for this?
Use a well-marbled chuck roast. Its fat content ensures tenderness during the long, slow cook. Avoid lean cuts like sirloin, as they’ll dry out.
Can I skip the red wine?
Yes! Substitute with 1 cup beef broth plus 1 tbsp balsamic vinegar for acidity. The flavor will still be rich and deep.
Why does the meat need to rest before slicing?
Resting for 15-20 minutes lets juices redistribute, so every bite stays moist and tender. Slicing too soon causes dry meat.
Can I cook this in a slow cooker?
Sear the beef first, then transfer everything to a slow cooker on low for 8-10 hours. The result will be just as tender.

- 4C Bread Crumbs Meatballs Recipe: Crispy Crust and Juicy Centers - September 25, 2026
- 6 Oz Chocolate Chip Cookie Recipe: Perfectly Balanced Crispy Edges and Chewy Hearts - September 25, 2026
- 6-Inch Coffee Cake Recipe: Vanilla Bean Swirls and Buttery Streusel Topping - September 25, 2026