
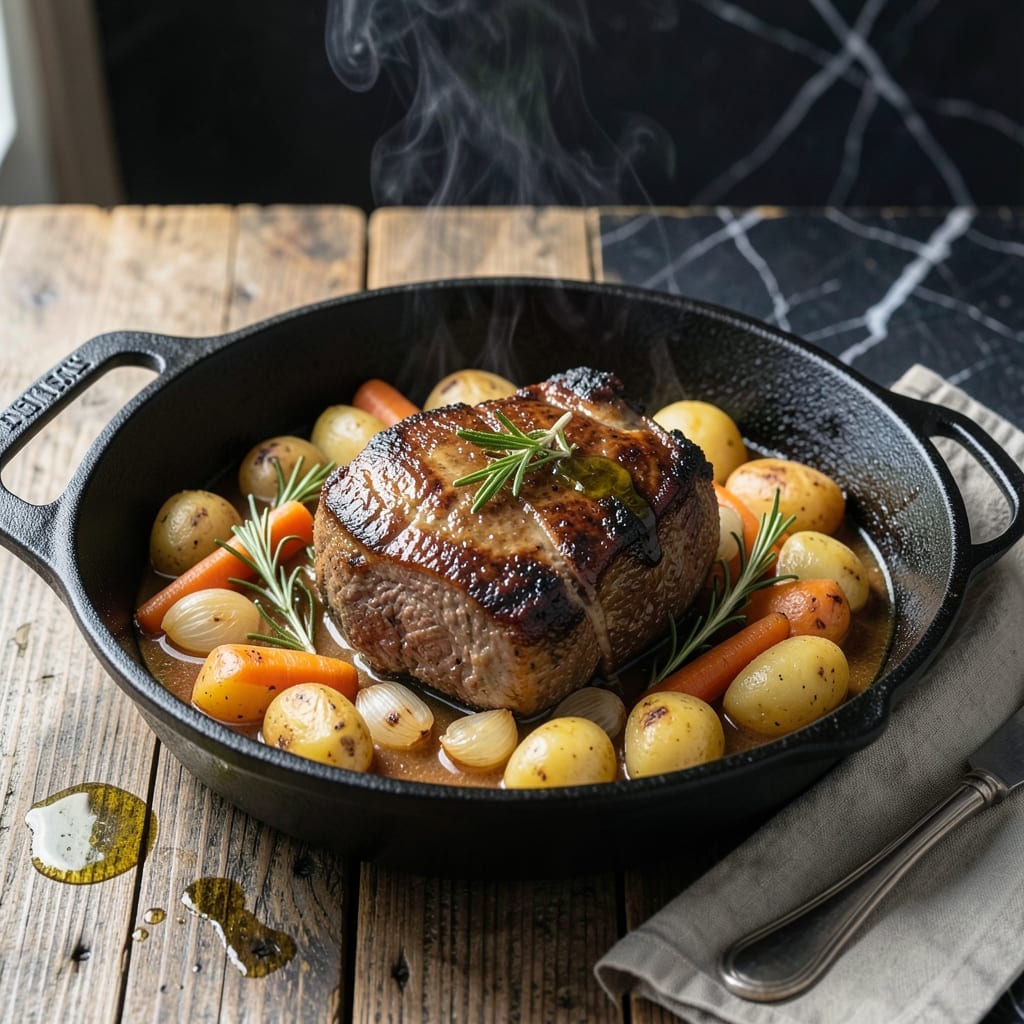
Grass-fed beef deserves a cooking method that honors its rich, clean flavor. This slow-braised pot roast transforms tough cuts into tender, fall-apart meat with a deeply savory sauce.
The key lies in patience and low heat, allowing the connective tissue to melt into gelatin. Aromatic vegetables and red wine build layers of comfort in every bite.
What emerges is a dish that feels both rustic and refined—perfectly cooked beef swimming in a velvety, flavorful broth. The aroma alone makes the wait worthwhile.
Serve with mashed potatoes or crusty bread to soak up every drop. This is slow cooking at its finest.
Ingredients for Grass Fed Beef Pot Roast
Rich grass-fed beef and bold aromatics create this deeply savory slow-braised dish.
| Ingredient | Amount | Notes |
|---|---|---|
| Grass-Fed Chuck Roast 🥩 | 3 lb | Well-marbled, trimmed of excess fat |
| Kosher Salt 🧂 | 1 ½ tsp | Divided for seasoning |
| Black Pepper 🌶️ | 1 tsp | Freshly ground preferred |
| Olive Oil 🫒 | 2 tbsp | For searing beef |
| Yellow Onion 🧅 | 1 whole | Large, roughly chopped |
| Garlic Cloves 🧄 | 6 cloves | Minced for depth of flavor |
| Carrots 🥕 | 3 whole | Peeled, cut into chunks |
| Celery Stalks 🌿 | 3 whole | Cut into large pieces |
| Dry Red Wine 🍷 | 2 cups | Bold variety like Cabernet |
| Beef Stock 🥘 | 2 cups | Low-sodium preferred |
| Tomato Paste 🍅 | 2 tbsp | For rich umami base |
| Fresh Thyme Sprigs 🌿 | 4 whole | Tied with kitchen twine |
| Bay Leaves 🍃 | 2 whole | Dried, for aromatic depth |
| All-Purpose Flour 🌾 | 2 tbsp | For thickening sauce |
| Water 💧 | ½ cup | As needed for braising |
The chuck roast is non-negotiable here. Grass-fed from Whole Foods or a local butcher ensures the clean flavor promised in the intro—look for good marbling and a deep red color. Avoid pre-cut stew meat; you want a whole roast to control the size of your chunks. Searing is critical (don’t skip it), so use a heavy pot like Le Creuset that can go from stovetop to oven.
No red wine? Beef broth with a splash of balsamic vinegar works in a pinch. Dried thyme can replace fresh at one-third the amount. Tomato paste can be swapped for crushed tomatoes (reduce the liquid slightly). For the stock, Better Than Bouillon makes a solid grass-fed beef base. The flour thickener is optional—skip it for gluten-free, or use cornstarch at the end.
This tastes even better the next day. Refrigerate for up to 4 days or freeze for 3 months. Reheat gently to keep the meat tender. The braising liquid makes an incredible sauce—skim the fat first for the silkiest texture.
Why You’ll Love This Recipe
- One Pot Wonder: Most of the work happens in the oven—just sear the chuck roast, toss in onions, salt, and pepper, then walk away.
- Rich, Beefy Depth: Grass-fed beef brings this intense, almost buttery flavor that makes every bite feel like a special occasion.
- Feeds a Crowd: I made this for Sunday dinner and had enough left for sandwiches all week. Honestly, it tastes even better the next day.
- Budget-Friendly Luxury: A chuck roast is affordable, but with olive oil and simple seasoning, it turns into something that feels fancy without the price tag.
Step-by-Step Instructions for Grass Fed Beef Pot Roast
This method delivers melt-in-your-mouth tenderness with rich, deeply developed flavors in every bite.
Step 1: Sear the Chuck Roast for Maximum Flavor
Pat the 3 lb Grass-Fed Chuck Roast completely dry with paper towels. This step is crucial—any moisture will prevent proper browning. Season all sides generously with 1.5 tsp Kosher Salt and 1 tsp Black Pepper, pressing the seasoning into the meat so it adheres.
Heat 2 tbsp Olive Oil in a large Dutch oven over medium-high heat until shimmering. Add the chuck roast and sear for 4-5 minutes per side until deeply browned. You’ll know it’s ready to flip when it releases easily from the pot. Transfer the roast to a plate and set aside.
Step 2: Sauté the Aromatics and Deglaze
In the same pot, add the roughly chopped 1 whole Yellow Onion, 3 whole Carrots (peeled and cut into chunks), and 3 whole Celery Stalks (cut into large pieces). Cook for 5-6 minutes, stirring occasionally, until the vegetables begin to soften and brown slightly.
Add the minced 6 cloves Garlic Cloves and cook for 1 minute until fragrant. Stir in 2 tbsp Tomato Paste and cook for another 1-2 minutes until it darkens slightly. Pour in 2 cups Dry Red Wine, scraping up any browned bits from the bottom of the pot to incorporate that rich, caramelized flavor.
Step 3: Braise the Roast with Herbs and Liquid
Return the seared chuck roast to the pot along with any accumulated juices. Add 2 cups Beef Stock, 4 whole Fresh Thyme Sprigs (tied with kitchen twine), and 2 whole Bay Leaves. The liquid should come about halfway up the roast—if it doesn’t, add 0.5 cup Water to adjust.
Bring the mixture to a gentle simmer over medium heat, then reduce the heat to low. Cover the pot and let it braise for 2.5 to 3 hours, turning the roast halfway through. The meat is done when it shreds easily with a fork and reaches an internal temperature of 195-200°F.
Step 4: Thicken the Sauce and Serve
Remove the roast and vegetables from the pot and set aside. Skim any excess fat from the surface of the braising liquid. In a small bowl, whisk 2 tbsp All-Purpose Flour with 2 tablespoons of the braising liquid to create a smooth slurry. Stir the slurry into the pot and simmer over medium heat for 5-7 minutes until the sauce thickens enough to coat the back of a spoon.
Return the roast and vegetables to the pot, spooning the sauce over the top. Let it rest for 10-15 minutes before serving to allow the flavors to meld. The sauce should be rich and deeply flavorful, with tender chunks of vegetables and fork-tender beef. Serve warm with the sauce spooned generously over the top.
Pro Tips For Making Grass Fed Beef Pot Roast
- Sear It Hard: Grass-fed beef needs a good crust—get your pan screaming hot with 2 tablespoons of olive oil before searing. I learned this the hard way after serving gray, sad roasts.
- Salt Generously: Use more kosher salt than you think, especially with grass-fed chuck. The leaner meat needs that extra seasoning to shine—about 1 teaspoon per pound, minimum.
- Don’t Rush the Rest: Let the roast sit under foil for at least 15 minutes after cooking. Sounds weird, but it works: the juices redistribute, and your first slice won’t be a dry disappointment.
- Use the Onions: Slice those yellow onions thick—about ½ inch—and layer them under the roast. They’ll caramelize into a sweet, savory base that saves you from making gravy.
Essential Equipment for Great grass fed beef pot roast
Dutch Oven Essentials
Invest in a heavy enamel-coated cast iron Dutch oven—I swear by my Le Creuset for even heat distribution. The tight-fitting lid seals in moisture, which is crucial for braising. A 5-7 quart size perfectly accommodates a 3 lb roast with all the vegetables. 🔥
Searing Tool
Use tongs (not a fork) to turn the roast while searing—it prevents piercing the meat and losing precious juices. I prefer 12-inch locking tongs for better control. The long handles keep your hands safe from splattering oil.
Temperature Monitoring
A reliable instant-read thermometer is non-negotiable for checking doneness. I use a ThermoWorks Thermapen to verify the internal temp reaches 195-200°F. This ensures perfect tenderness without overcooking.
Fat Skimming Tool
A fine-mesh skimmer or large spoon helps remove excess fat from the braising liquid. I keep a fat separator on hand for even cleaner results. The clearer the sauce, the more elegant the final dish.
Wooden Spoon
Use a wooden spoon to scrape up browned bits when deglazing—it won’t scratch your Dutch oven. I love my bamboo spoon with a flat edge for maximum contact with the pot’s surface.
Kitchen Twine
Tie your thyme sprigs and bay leaves together with unbleached cotton twine. This makes removal easier after braising. I buy 50-foot rolls from the grocery store—they last for months. ✨
Nutrition Facts
Frequently Asked Questions
Why use grass-fed beef for pot roast?
Grass-fed beef has a cleaner, richer flavor and leaner fat profile. Its high collagen content makes it perfect for slow braising, breaking down into tender, flavorful meat.
What’s the best cut for this recipe?
Chuck roast is ideal due to its marbling and connective tissue. Look for 3 lb with good fat distribution for the most tender results.
Can I make this in a slow cooker?
Yes! Sear the roast first, then transfer to your slow cooker with all ingredients. Cook on low for 8-10 hours or high for 5-6 hours.
How do I prevent dry pot roast?
Ensure enough liquid to come halfway up the roast, and don’t skip the searing step. Cook at a gentle simmer, not a boil, for 2.5-3 hours.

- 6 Oz Chocolate Chip Cookie Recipe: Perfectly Balanced Crispy Edges and Chewy Hearts - September 25, 2026
- 6-Inch Coffee Cake Recipe: Vanilla Bean Swirls and Buttery Streusel Topping - September 25, 2026
- 1 Hour Soup Recipe: Velvety Richness Without the Wait - September 25, 2026