
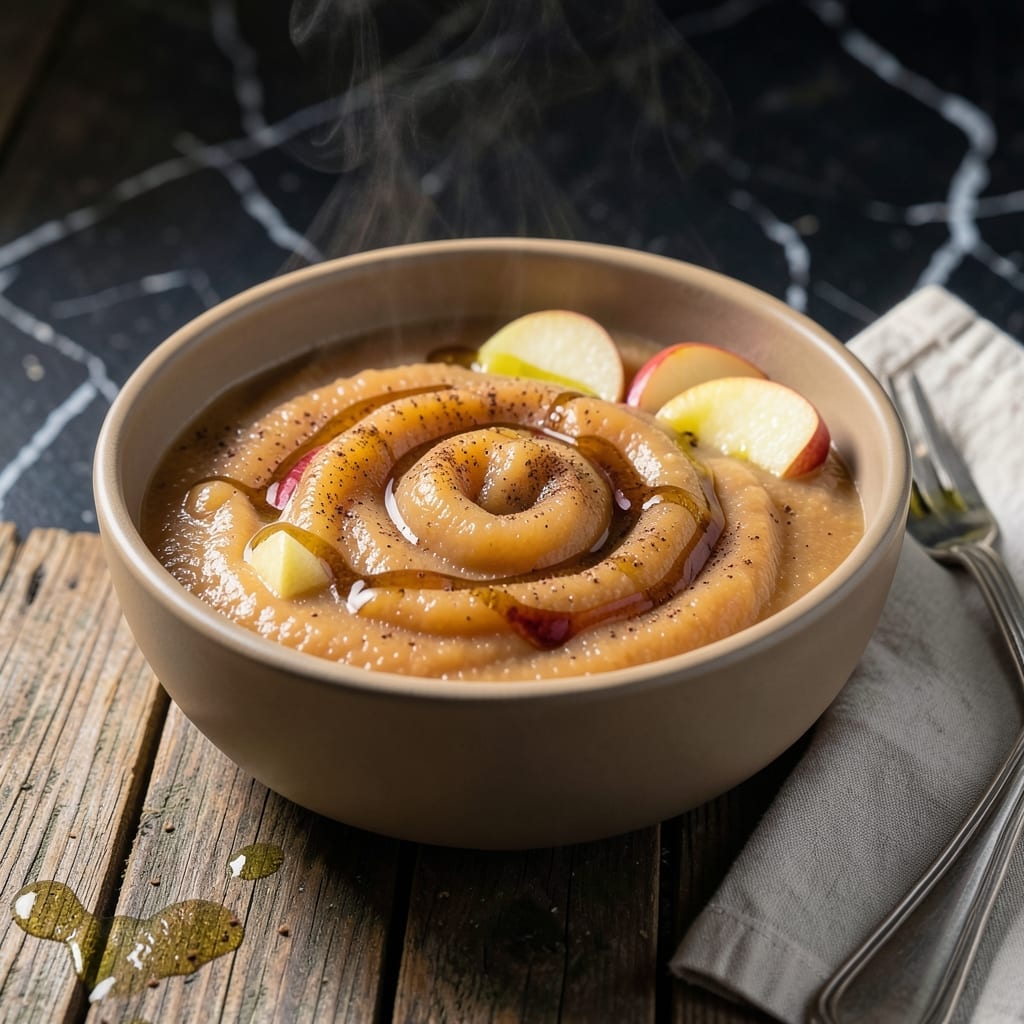
Making applesauce at home transforms this simple condiment into something truly special. This method uses the Instant Pot to create a perfectly smooth, naturally sweet sauce without the need for peeling.
The beauty of this approach is its simplicity—just apples, a splash of water, and optional cinnamon. The Instant Pot does all the work, breaking down the fruit while preserving its fresh flavor and vibrant color.
What you get is a homemade applesauce that’s far superior to store-bought versions, with no added sugar needed. The texture is perfectly smooth yet still retains some natural body.
Store in airtight containers in the fridge for up to two weeks, or freeze for longer storage. This sauce works beautifully as a snack, topping, or baking ingredient.
Ingredients for Homemade Applesauce Instant Pot
Seven ingredients create this naturally sweet, velvety condiment with minimal effort required.
| Ingredient | Amount | Notes |
|---|---|---|
| Sweet Apples 🍎 | 3 lb | Mixed varieties preferred for depth |
| Water 💧 | ½ cup | For pressure cooking steam |
| Ground Cinnamon 🌿 | 1 tsp | Optional for spiced variation |
| Lemon Juice 🍋 | 1 tbsp | Freshly squeezed for brightness |
| Pure Maple Syrup 🍁 | 1 tbsp | Optional for extra sweetness |
| Vanilla Extract 🌿 | ½ tsp | Pure extract for depth of flavor |
| Sea Salt 🧂 | ¼ tsp | Fine grain for even distribution |
The apples are vital here. Honeycrisp or Fuji offer natural sweetness, while Granny Smith adds tartness for balance. Whole Foods and Trader Joe’s carry organic options with vibrant color and firm texture. Mixing varieties creates complexity—avoid mealy or bruised fruit. The water quantity is precise: too little prevents pressure, too much dilutes flavor.
No cinnamon? Apple pie spice at half the amount works well. For acidity without lemon, use orange juice at one-third the quantity. Want more warmth? Pinch of nutmeg or allspice complements beautifully. The maple syrup is optional—taste first, as ripe apples often need no sweetener. Grade B maple syrup offers deeper flavor than Grade A.
This keeps 10-14 days refrigerated in airtight containers. Freeze in 1-cup portions for up to 6 months—thaw in fridge overnight. The color may darken slightly during storage, but flavor remains intact. Stir before serving as natural separation occurs.
Why You’ll Love This Recipe
- Set and Forget: I dump everything in the Instant Pot, press a button, and walk away. No stirring, no watching, just perfect applesauce when I come back.
- Warm Cinnamon Hug: That first bite with sweet apples and a hint of cinnamon? Honestly, it tastes like fall in a bowl.
- Meal Prep Hero: I make a big batch on Sunday and use it all week—oatmeal topping, yogurt mix-in, even a quick snack for the kids.
- Pantry Friendly: Sweet apples and a few staples I already have mean I can whip this up without a special grocery trip.
Step-by-Step Instructions for Homemade Applesauce
Here’s the method. Straightforward, tested, works every time.
Step 1: Prepare and Portion the Apples
Wash the 3 lb Sweet Apples thoroughly under cool running water to remove any wax or residue. I prefer mixed varieties for depth of flavor. There’s no need to peel—this preserves fiber and nutrients while creating a rustic texture.
Quarter the apples and remove the cores and seeds. For consistent cooking, cut each quarter into 1-inch chunks. The uniform size ensures even pressure cooking and a homogeneous final texture. Place the prepared apple pieces directly into the Instant Pot insert.
Step 2: Add Liquid and Aromatics
Pour the 0.5 cup Water over the apples. This creates the necessary steam for pressure cooking. Add the 1 tbsp Lemon Juice—this brightens the natural apple flavor and prevents browning during the cooking process.
Sprinkle the 1 tsp Ground Cinnamon and 0.25 tsp Sea Salt evenly over the apples. The cinnamon adds warmth while the salt enhances all the flavors. Drizzle the 1 tbsp Pure Maple Syrup and 0.5 tsp Vanilla Extract over the top. These optional ingredients add depth of sweetness and complexity.
Step 3: Pressure Cook to Perfection
Secure the lid on the Instant Pot and set the valve to Sealing. Select the High Pressure setting and set the timer for 5 minutes. The Instant Pot will take 10-15 minutes to come to pressure before the cooking time begins.
Once the cooking cycle is complete, allow the pressure to release naturally for 10 minutes, then quick-release any remaining pressure. Natural release prevents the apples from breaking down too much, preserving some texture. You’ll know it’s done when the float valve drops and the lid unlocks easily.
Step 4: Finish and Adjust Texture
Open the lid carefully, tilting it away from you to avoid the hot steam. The apples should be soft and easily pierced with a fork. For chunkier applesauce, use a potato masher to gently break down the apples to your desired consistency.
For smoother applesauce, use an immersion blender to purée the mixture directly in the pot. Taste and adjust sweetness with additional Pure Maple Syrup if desired, or acidity with more Lemon Juice. The applesauce will thicken slightly as it cools.
Step 5: Cool and Store
Allow the applesauce to cool to room temperature, stirring occasionally to release heat evenly. This typically takes 30-45 minutes. As it cools, the texture will set and the flavors will meld together beautifully.
Transfer to airtight containers and store in the refrigerator for up to 1 week, or freeze for up to 3 months. The applesauce may separate slightly upon storage—simply stir before serving. Serve chilled or at room temperature for the best flavor experience.
Pro Tips For Making Homemade Applesauce Instant Pot
- Peel After Cooking: Skip the tedious peeling—just core and chop the apples, then run the cooked mixture through a food mill or fine mesh strainer. The skins add flavor and you’ll save 15 minutes of prep.
- Use Natural Release: I learned this the hard way—quick-releasing the pressure turns applesauce into applesoup. Let it sit for a full 10-minute natural release to keep the texture just right.
- Balance the Sweetness: Taste before adding all the maple syrup—some apples are sweeter than others. Start with half the amount, adjust, and remember the cinnamon will enhance the perception of sweetness.
- Add Lemon Last: Stir in the lemon juice after pressure cooking to preserve its bright flavor. Adding it before can make the applesauce taste dull, like I found out after a few bland batches.
Common Mistakes When Making This Dish
Overfilling the Pot
Never exceed the ⅔ max fill line in your Instant Pot. Apples release liquid as they cook, and overfilling can clog the pressure valve or create a messy overflow. I stick to 3 lb as the perfect amount for a 6-quart model. 💡
Skipping the Liquid
Always add the 0.5 cup Water. Without enough liquid, the pot won’t reach pressure, and you risk burning the apples. The water creates steam to cook the fruit evenly and safely.
Using Wrong Apples
Avoid mealy varieties like Red Delicious. Stick with Honeycrisp, Fuji, or Granny Smith for the best texture and flavor. Mealy apples turn to mush and lack the natural sweetness this dish needs.
Ignoring Natural Release
Don’t rush the process. Quick-releasing all the pressure can cause apples to splatter. Let it naturally release for 10 minutes first, then quick-release any remaining pressure for the best results.
Over-Sweetening
Taste before adding extra Pure Maple Syrup. Ripe apples often need no additional sweetener. Start with 1 tbsp and adjust gradually to avoid an overly sweet sauce. 🍯
Skipping the Cool Down
Let the applesauce cool completely before storing. Hot sauce in sealed containers can create vacuum pressure, making lids difficult to open and potentially compromising the seal. 30-45 minutes at room temp does the trick.
Nutrition Facts
Frequently Asked Questions
Can I use any apple variety?
For best results, use a mix of sweet and tart apples like Honeycrisp and Granny Smith. Avoid mealy types like Red Delicious as they turn mushy.
Do I need to peel the apples?
No peeling required! Leaving the skin on adds fiber, nutrients, and a rustic texture. The Instant Pot softens the peels perfectly during cooking.
How do I make it smoother?
Use an immersion blender right in the pot for silky-smooth sauce. For chunkier texture, a potato masher works well. Adjust to your preference!
Can I make this without sweetener?
Ripe apples often provide enough natural sweetness. Taste first, then add optional maple syrup if needed.

- 6 Oz Chocolate Chip Cookie Recipe: Perfectly Balanced Crispy Edges and Chewy Hearts - September 25, 2026
- 6-Inch Coffee Cake Recipe: Vanilla Bean Swirls and Buttery Streusel Topping - September 25, 2026
- 1 Hour Soup Recipe: Velvety Richness Without the Wait - September 25, 2026