
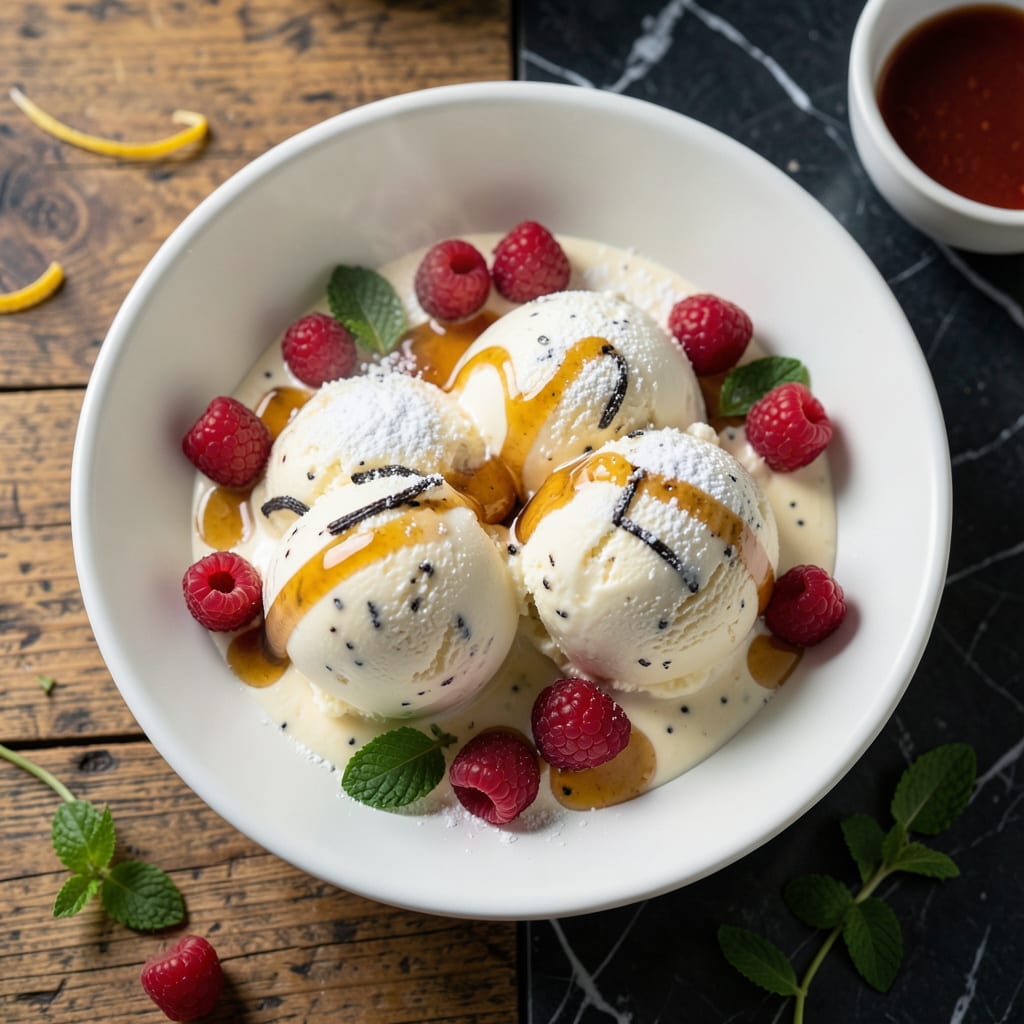
Creamy vanilla ice cream doesn’t require heavy cream to achieve that perfect texture. This homemade version proves you can have rich, silky smooth results with a fraction of the fat, using simple ingredients and a standard ice cream maker.
What you’ll love most is how this recipe delivers on flavor without the guilt. The secret lies in balancing dairy alternatives with just enough sweetness to create a light yet indulgent treat everyone can enjoy.
Ingredients for Homemade Low Fat Vanilla Ice Cream
Simple ingredients create that creamy texture without all the fat. Nothing exotic here.
| Ingredient | Amount | Notes |
|---|---|---|
| Whole Milk 🥛 | 2 cups | 2% or whole for creaminess |
| Granulated Sugar 🍚 | ¾ cup | Fine white sugar preferred |
| Vanilla Extract 🌿 | 2 tsp | Pure vanilla for best flavor |
| Egg Yolks 🥚 | 4 whole | Large eggs, room temperature |
| Greek Yogurt 🥛 | 1 cup | Full-fat for richness |
| Heavy Cream 🥛 | ¼ cup | Light cream alternative works |
| Salt 🧂 | ¼ tsp | Fine sea salt preferred |
| Vanilla Bean 🌿 | 1 whole | Split and scraped, optional |
| Corn Syrup 🍯 | 2 tbsp | Light for smooth texture |
| Lemon Juice 🍋 | 1 tsp | Freshly squeezed preferred |
The milk is key here. Whole or 2% gives you creaminess without the guilt. I grab Organic Valley from Whole Foods—it’s got that rich flavor even with less fat. The yogurt? Fage full-fat is my go-to, but any thick Greek yogurt works. Skip the low-fat version (it gets icy).
No Greek yogurt? Sour cream at half the amount works in a pinch. Vanilla bean is optional but worth it if you’re feeling fancy. Nielsen-Massey vanilla extract is the best store-bought. Short on sugar? Honey or maple syrup can replace up to half, but it’ll slightly change the texture.
This freezes well for up to 3 months in an airtight container. Let it sit out 10 minutes before scooping for the creamiest texture. Best eaten within 2 weeks for peak freshness.
Why You’ll Love This Recipe
- No Churn Needed: I can make this with just a whisk and a bowl—no fancy ice cream maker required.
- Rich Vanilla Kick: The real vanilla extract and egg yolks give it that deep, creamy flavor without the guilt.
- Freezer Friendly: Honestly, it keeps for weeks, so I always have a scoop ready for surprise guests.
- Budget Scoop: Greek yogurt cuts the cost but keeps it thick and satisfying. My wallet notices.
Step-by-Step Instructions for Low Fat Vanilla Ice Cream
This method delivers creamy, dreamy results with a fraction of the fat of traditional versions.
Step 1: Infuse the Milk with Vanilla Flavor
In a medium saucepan, combine the 2 cups Whole Milk with the seeds scraped from the 1 whole Vanilla Bean (or just the bean itself if you prefer). Heat over medium heat until the mixture just begins to simmer—you’ll see tiny bubbles forming around the edges.
Remove from heat, cover, and let steep for 15 minutes. This infuses the milk with deep vanilla flavor. If you’re not using a vanilla bean, add the 2 tsp Vanilla Extract later with the egg yolks instead.
Step 2: Temper the Egg Yolks for a Silky Base
In a separate bowl, whisk together the 4 whole Egg Yolks, 0.75 cup Granulated Sugar, 2 tbsp Corn Syrup, and 0.25 tsp Salt until pale and slightly thickened. This takes about 2-3 minutes of vigorous whisking by hand.
Slowly pour about 1 cup of the warm milk mixture into the egg yolks while whisking constantly. This tempering process prevents the eggs from scrambling. Once combined, pour the egg mixture back into the saucepan with the remaining milk.
Step 3: Cook the Custard Until Thickened
Return the saucepan to medium-low heat and cook, stirring constantly with a wooden spoon, until the mixture thickens enough to coat the back of the spoon. This should take 8-10 minutes. You’ll know it’s ready when you can draw a clear line through the custard on the spoon with your finger.
Strain the custard through a fine-mesh sieve into a clean bowl to remove any cooked egg bits or vanilla bean pods. Stir in the 1 cup Greek Yogurt, 0.25 cup Heavy Cream, and 1 tsp Lemon Juice until smooth. The lemon juice brightens the flavor and balances the sweetness.
Step 4: Chill Thoroughly Before Churning
Cover the custard with plastic wrap, pressing it directly against the surface to prevent a skin from forming. Refrigerate for at least 4 hours, or preferably overnight. Chilling is crucial—it ensures your ice cream will be smooth and creamy rather than icy.
When ready to churn, give the custard a good stir. It should be the consistency of thick, pourable pancake batter. If it’s too thick, you can thin it slightly with a splash of milk.
Step 5: Churn and Freeze to Perfection
Pour the chilled custard into your ice cream maker and churn according to the manufacturer’s instructions, typically 20-25 minutes. The ice cream is ready when it looks like soft-serve and holds its shape when scooped.
Transfer the ice cream to a freezer-safe container. For the smoothest texture, press plastic wrap directly against the surface before sealing with the lid. Freeze for at least 4 hours until firm. The result will be a luscious, scoopable ice cream with all the vanilla flavor and none of the guilt.
Pro Tips For Making Homemade Low Fat Vanilla Ice Cream
- Temper the Yolks: Slowly whisk about 1/2 cup of the hot milk mixture into the egg yolks before combining everything—I learned this the hard way after scrambling a whole batch.
- Chill Completely: Give the custard at least 4 hours in the fridge, or overnight if you can. Sounds tedious, but the Greek yogurt blends smoother and the texture improves dramatically.
- Skip the Boil: Heat the milk and sugar just until small bubbles form at the edges, never a full boil. After burning one batch, I finally figured out that high heat ruins the delicate vanilla flavor.
- Strain the Base: Pour the custard through a fine-mesh strainer before chilling—it removes any cooked egg bits and makes the final ice cream silky, even with low fat ingredients.
Troubleshooting This Dish
Grainy Texture Fix
If your ice cream turns out icy, it likely needs more fat or sugar. Add 1-2 tbsp corn syrup or swap ½ cup milk for ½ cup heavy cream next time. I also
Runny Mixture
When the custard won’t thicken, cook it longer over low heat while stirring constantly. If it’s still thin after 15 minutes, whisk in 1 tbsp cornstarch mixed with 1 tbsp cold milk and cook for 2 more minutes.
Overly Sweet
To balance excess sweetness, add 1-2 tsp lemon juice or a pinch of salt. These ingredients enhance the vanilla flavor while cutting the sugar’s impact. I often add ½ tsp vanilla extract to boost the vanilla notes. 💡
Eggy Taste
This usually means the eggs were cooked too fast. Temper them slowly with warm milk, and cook the custard over medium-low heat. Straining through a fine-mesh sieve also removes any cooked egg bits that could cause this flavor.
Hard as a Rock
Let your ice cream sit at room temperature for 10-15 minutes before scooping. If it’s still too hard, it may need less freezing time or a splash of alcohol (like 1 tbsp vodka) added before churning to lower the freezing point.
Lack of Flavor
Use high-quality vanilla extract or a vanilla bean for the best flavor. Also, don’t skip the salt—it enhances all the other flavors. I always add a pinch extra to bring out the vanilla’s depth. ✨
Nutrition Facts
Frequently Asked Questions
Why use Greek yogurt in ice cream?
Greek yogurt adds creaminess and protein while keeping fat content low. Its thick texture mimics heavy cream, creating a rich mouthfeel without the extra calories.
Can I make this without an ice cream maker?
Yes! Freeze the mixture in a shallow container, stirring vigorously with a fork every 30 minutes for 3-4 hours. This prevents ice crystals from forming.
How do I prevent icy texture?
Ensure your custard is fully chilled before churning. Adding 1 tbsp vodka or 1-2 tbsp corn syrup also helps lower the freezing point for smoother results.
What’s the best milk to use?
Whole or 2% milk works best for creaminess. Avoid skim milk as it can make the ice cream too icy. The small amount of fat makes a big difference.

- 8 Bean Soup Recipe Crock Pot: Hearty Vegetable Medley in One Pot - September 25, 2026
- 4C Bread Crumbs Meatballs Recipe: Crispy Crust and Juicy Centers - September 25, 2026
- 6 Oz Chocolate Chip Cookie Recipe: Perfectly Balanced Crispy Edges and Chewy Hearts - September 25, 2026