
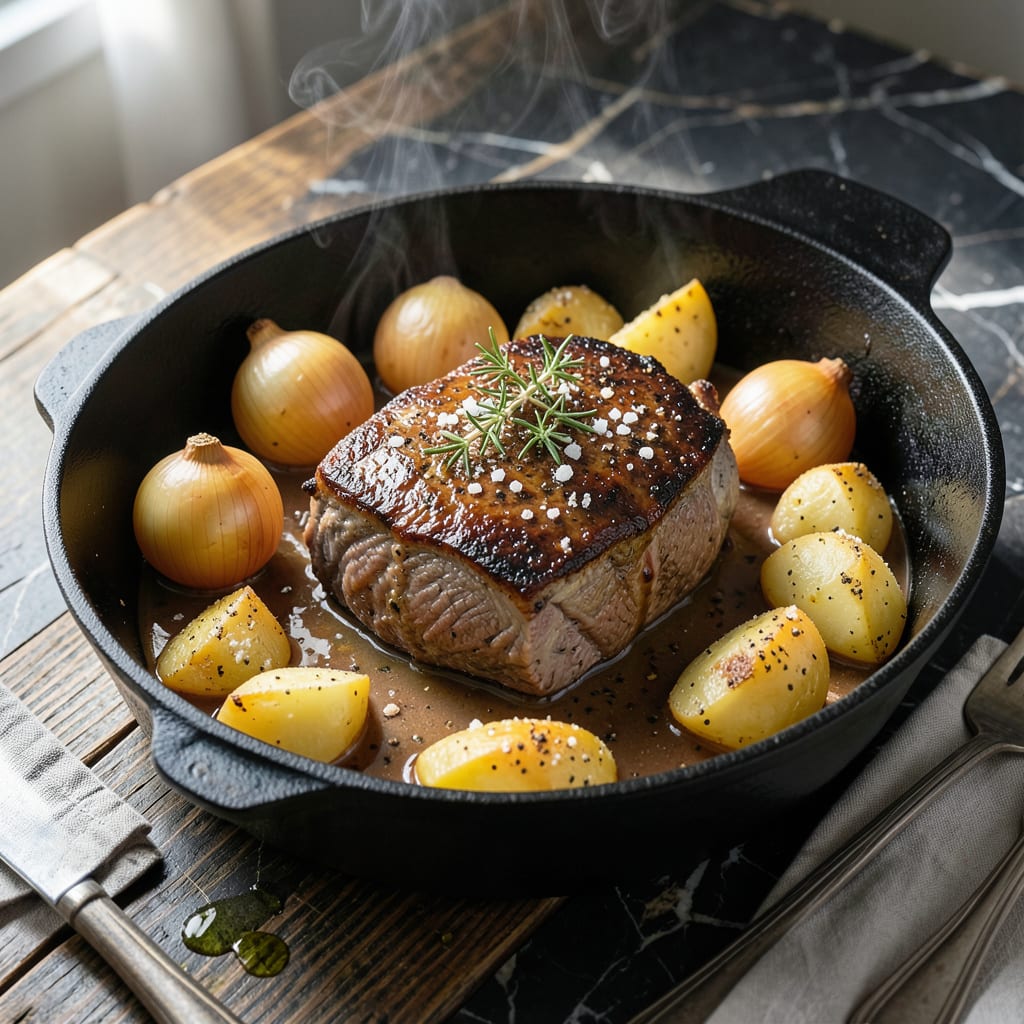
There’s something truly special about a slow-simmered pot roast that turns a Sunday into a celebration.
This method transforms tough cuts into fall-apart tender meat with rich, deeply flavored gravy. The secret lies in low, steady heat and simple, homestyle ingredients that build layers of comfort in every bite.
Ingredients for Homestyle Pot Roast
Simple, hearty ingredients build the foundation for this Sunday centerpiece. Nothing complicated, just good flavor.
| Ingredient | Amount | Notes |
|---|---|---|
| Chuck Roast 🥩 | 3 lb | Well-marbled, trimmed of excess fat |
| Kosher Salt 🧂 | 1 ½ tsp | Diamond Crystal preferred |
| Freshly Ground Black Pepper 🌶️ | 1 tsp | Coarsely ground for texture |
| All-Purpose Flour 🌾 | ¼ cup | For dusting meat |
| Olive Oil 🫒 | 2 tbsp | Divided for searing and sautéing |
| Yellow Onion 🧅 | 2 whole | Medium, roughly chopped |
| Carrots 🥕 | 4 whole | Large, peeled and cut into chunks |
| Celery Stalks 🌿 | 3 whole | Cut into 2-inch pieces |
| Garlic Cloves 🧄 | 5 cloves | Smashed, peeled |
| Dry Red Wine 🍷 | 1 cup | Bold variety like Cabernet Sauvignon |
| Beef Stock 🥣 | 2 cups | Low-sodium preferred |
| Tomato Paste 🍅 | 2 tbsp | For depth of flavor |
| Fresh Thyme Sprigs 🌿 | 3 whole | Plus 1 tsp chopped for garnish |
| Bay Leaves 🍃 | 2 whole | Dried for aromatic depth |
The chuck roast is non-negotiable for optimal texture—look for heavy marbling at your butcher or Whole Foods meat counter. A well-marbled cut ensures the low, slow cooking transforms it into that signature fall-apart tenderness. Avoid leaner cuts like sirloin, which will dry out. If buying pre-cut, request 2-inch chunks to maintain integrity during the long simmer.
No red wine? Substitute with additional beef stock plus 1 tbsp balsamic vinegar for acidity. Fresh thyme can be replaced with 1 tsp dried thyme, but use a light hand—dried is more concentrated. If tomato paste isn’t on hand, 1/4 cup crushed tomatoes reduced by half works in a pinch. For a richer gravy, some cooks add a splash of Worcestershire sauce (check for anchovies if strict vegetarian).
Pot roast tastes even better the next day. Store in an airtight container for up to 4 days in the fridge, or freeze for 3 months. To reheat, gently warm on the stovetop with a splash of water or stock to restore the gravy’s consistency. Always let the meat rest 15 minutes before slicing to retain juices.
Why You’ll Love This Recipe
- Set It and Forget: I toss the chuck roast in flour, sear it, and let the oven do the rest—no babysitting required.
- Crispy, Tender Magic: That flour crust turns golden in the olive oil, sealing in juices for a fall-apart finish.
- Sunday or Wednesday: Equally good for a lazy weekend or a quick weeknight when I need comfort food fast.
- Leftovers for Days: One roast feeds my family twice—sandwiches the next day taste even better. Honestly, it’s a win-win.
Step-by-Step Instructions for Homestyle Pot Roast
This method transforms tough cuts into fall-apart tender meat with rich, deep flavors.
Step 1: Season and Sear the Chuck Roast
Pat the 3 lb Chuck Roast dry with paper towels, then season all sides generously with the 1.5 tsp Kosher Salt and 1 tsp Freshly Ground Black Pepper. The salt should form a visible crust on the surface of the meat.
Dust the chuck roast lightly with the 0.25 cup All-Purpose Flour, shaking off any excess. This creates a light coating that will thicken the sauce later. Heat 1 tbsp of the Olive Oil in a large Dutch oven over medium-high heat until shimmering.
Sear the chuck roast for 4-5 minutes per side until deeply browned and a crust has formed. The meat should release easily from the pan when it’s ready to turn. Transfer to a plate and set aside.
Step 2: Sauté the Aromatic Vegetables
In the same Dutch oven, add the remaining 1 tbsp Olive Oil. Add the 2 whole Yellow Onion, 4 whole Carrots, and 3 whole Celery Stalks. Cook over medium heat for 8-10 minutes, stirring occasionally, until the onions are translucent and the carrots begin to soften.
Add the 5 cloves Garlic Cloves and cook for 1 minute until fragrant. Stir in the 2 tbsp Tomato Paste and cook for 2 minutes, allowing it to caramelize slightly and deepen in color. This builds a flavor foundation for the sauce.
Step 3: Deglaze and Build the Braising Liquid
Pour in the 1 cup Dry Red Wine, scraping up all the browned bits from the bottom of the pot with a wooden spoon. These fond bits are packed with flavor and will dissolve into the sauce. Simmer for 2-3 minutes until the wine has reduced by half.
Add the 2 cups Beef Stock, 3 whole Fresh Thyme Sprigs, and 2 whole Bay Leaves. Stir to combine. Return the seared chuck roast to the pot, along with any accumulated juices from the plate. The liquid should come about halfway up the meat.
Step 4: Braise Low and Slow to Perfection
Bring the liquid to a simmer, then reduce the heat to low. Cover the Dutch oven and let it cook for 3 to 3.5 hours, turning the chuck roast every 45 minutes to ensure even cooking. The meat is done when it shreds easily with a fork.
Check occasionally to ensure the liquid is at a gentle simmer, not a rolling boil. If the liquid reduces too much, add a splash of water or additional beef stock to maintain the level. The vegetables should be tender and the sauce should have thickened slightly.
The chuck roast will transform from a tough cut to a melt-in-your-mouth texture, with the sauce absorbing all the rich, beefy flavors. This slow cooking process is what makes this dish a Sunday supper classic.
Pro Tips For Making Homestyle Pot Roast
- Sear Hard, Don’t Rush: I learned this the hard way—get your olive oil screaming hot before adding the floured chuck roast, and don’t move it for at least 3-4 minutes per side to build that deep crust.
- Salt the Roast Overnight: Sprinkle the chuck roast with kosher salt the night before cooking; it penetrates deeper and seasons the meat all the way through, not just the surface.
- Skip the Overcrowding: After burning my first few attempts, I now sear the roast in batches if needed—too much in the pot steams instead of browns, and you’ll lose that rich fond for the gravy.
- Use the Flour Twice: After dredging the roast in all-purpose flour, save the leftover in a small bowl to thicken your pot juices at the end—sounds simple, but it ties the whole dish together.
Serving Suggestions for Leftovers
Plating for Impact
I love serving this directly from the Dutch oven at the table—it’s rustic and inviting. Arrange the fall-apart tender chuck roast on a large platter, surrounded by the braised vegetables. Garnish with the reserved 1 tsp chopped thyme for a pop of color. 💛
Starch Pairings
Creamy mashed potatoes are my go-to for soaking up that rich gravy. For something lighter, try buttered egg noodles or crusty sourdough bread. Each option complements the dish’s hearty, homestyle nature perfectly.
Fresh Finishes
A simple green salad with a tangy vinaigrette cuts through the richness. I toss mixed greens with lemon juice and olive oil. The acidity brightens every bite of the slow-simmered meat.
Garnish Ideas
Sprinkle with chopped parsley or grated horseradish for a subtle kick. For extra flair, add a few pickled red onions on the side. These small touches elevate the presentation without overpowering the main flavors.
Serving Temperature
Let the pot roast rest for 15 minutes before serving to allow the juices to redistribute. Serve warm, not piping hot, so guests can fully appreciate the layers of flavor. This dish tastes even better the next day. 🔥
Nutrition Facts
Frequently Asked Questions
Can I use a different cut of beef?
Stick with well-marbled cuts like brisket or short ribs for similar results. Avoid lean cuts like sirloin—they’ll dry out during the long cook. Chuck roast is ideal for its fat content and flavor.
What if I don’t have a Dutch oven?
A heavy pot with a tight lid works fine. Slow cookers are great too—cook on low for 8-10 hours. The key is maintaining a consistent, gentle simmer regardless of the vessel.
How do I thicken the gravy if it’s too thin?
Mix 1 tbsp cornstarch with 1 tbsp cold water, then stir into the simmering gravy. Cook for 2-3 minutes until thickened. Never add cornstarch directly—it will clump.
Can I make this ahead of time?
The flavors deepen overnight. Store in an airtight container for up to 4 days in the fridge. Reheat gently on the stove with a splash of water.

- 4C Bread Crumbs Meatballs Recipe: Crispy Crust and Juicy Centers - September 25, 2026
- 6 Oz Chocolate Chip Cookie Recipe: Perfectly Balanced Crispy Edges and Chewy Hearts - September 25, 2026
- 6-Inch Coffee Cake Recipe: Vanilla Bean Swirls and Buttery Streusel Topping - September 25, 2026