
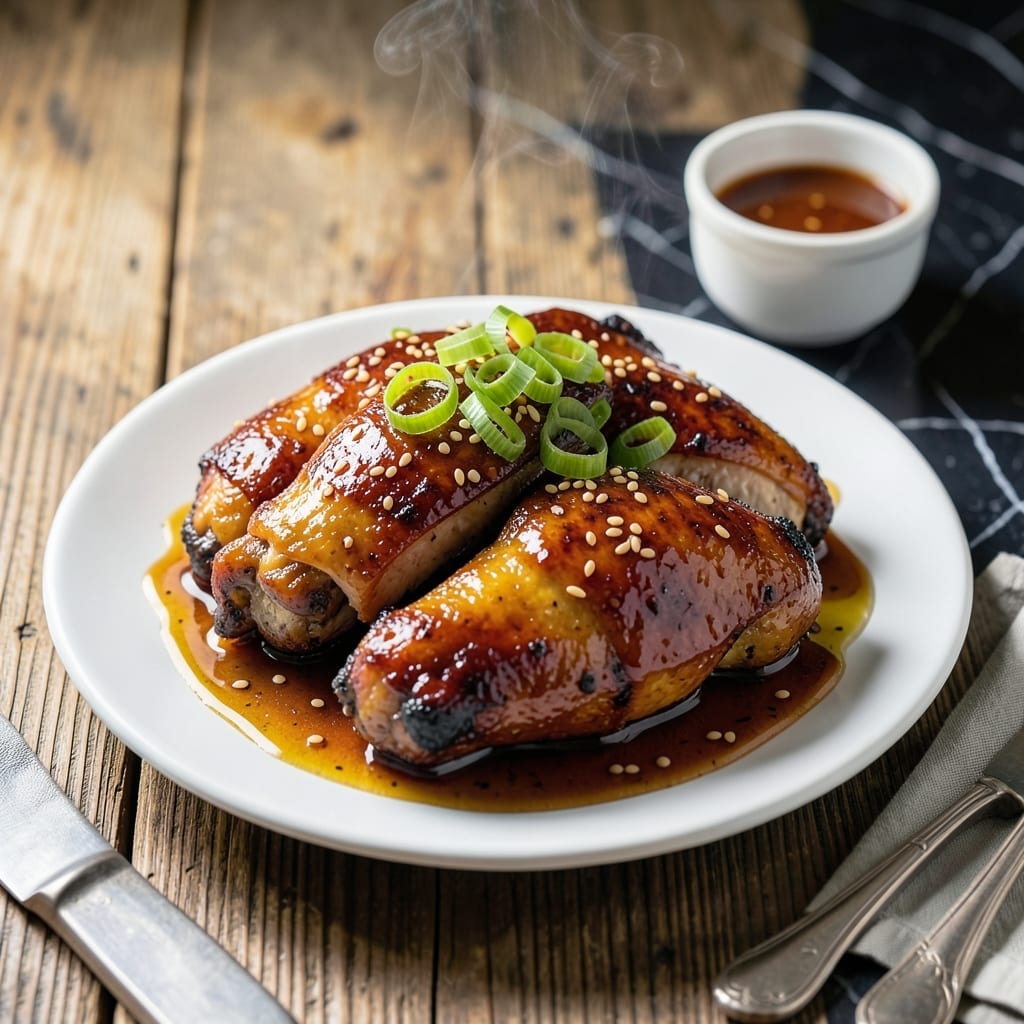
This Instant Pot recipe delivers tender chicken with a glossy teriyaki glaze that’s impossible to resist. The pressure cooker locks in moisture while infusing every bite with sweet and savory flavor.
What makes this dish special is the balance between traditional teriyaki and a modern honey twist. The sauce reduces into a rich, sticky coating that clings perfectly to the chicken.
In under 30 minutes, you’ll have a meal that tastes like it simmered for hours. The result is juicy, fall-apart meat with a sauce so good you’ll want to drink it.
Serve over rice with steamed vegetables for a complete, restaurant-quality dinner at home.
Ingredients for Honey Teriyaki Chicken Instant Pot
Pantry staples plus fresh ginger and garlic. Big flavor, minimal effort.
| Ingredient | Amount | Notes |
|---|---|---|
| Boneless Skinless Chicken Thighs 🍗 | 2 lb | Trimmed of excess fat |
| Soy Sauce 🥢 | ½ cup | Low-sodium preferred |
| Honey 🍯 | ⅓ cup | Pure, not artificial |
| Rice Vinegar 🍶 | 3 tbsp | Or apple cider vinegar |
| Fresh Garlic Cloves 🧄 | 4 cloves | Minced finely |
| Fresh Ginger 🌿 | 1 tbsp | Grated or minced |
| Brown Sugar 🧈 | 3 tbsp | Light or dark |
| Cornstarch 🌾 | 2 tbsp | For thickening sauce |
| Water 💧 | ¼ cup | For deglaing pot |
| Sesame Oil 🫒 | 1 tsp | Toasted preferred |
| Vegetable Oil 🫒 | 1 tbsp | For sautéing aromatics |
| Green Onions 🧅 | 3 whole | Thinly sliced for garnish |
| Sesame Seeds 🌰 | 1 tsp | Toasted for garnish |
The chicken is key here. Thighs stay juicier than breasts in the Instant Pot—look for skinless, boneless at any grocery store. I grab mine from Costco for big batches. The honey matters too—local or raw adds depth. Avoid that cloying artificial stuff. Fresh ginger and garlic (the kind in the mesh bags, not jarred) make the sauce sing. It’s the little things that elevate this from good to restaurant-worthy.
No honey? Maple syrup at a 1:1 swap. Out of rice vinegar? Apple cider vinegar works fine. The soy sauce can be tamari for gluten-free. If you’re missing ginger, ground ginger at a quarter the amount in a pinch. Want extra umami? A splash of oyster sauce (vegetarian if needed) takes it up a notch. The cornstarch slurry is non-negotiable for that glossy finish—don’t skip it.
Sauce thickens as it cools, so it’ll be even better the next day. Stores in the fridge for 4-5 days or freezes for 3 months (portion it first). Reheat gently to keep the chicken tender. I always double the sauce—half for cooking, half for drizzling over rice.
Why You’ll Love This Recipe
- Set It and Forget: I dump everything in the Instant Pot, press a button, and walk away—no babysitting required.
- Sweet-Savory Magic: The honey caramelizes with the soy and garlic into this thick, glossy sauce that coats every bite of tender chicken.
- Meal Prep Hero: I make a double batch on Sunday and it reheats beautifully for lunches all week.
- Budget Friendly: Chicken thighs stay juicy and affordable, and the pantry staples do all the flavor work.
Step-by-Step Instructions for Honey Teriyaki Chicken Instant Pot
This method locks in moisture and delivers that glossy finish we all crave.
Step 1: Sauté Aromatics and Brown the Chicken
Set your Instant Pot to the “Sauté” function and add the 1 tablespoon vegetable oil. Once hot, add the 2 lb boneless skinless chicken thighs in batches, working in two rounds if needed to avoid overcrowding. Sear for 3-4 minutes per side until golden brown.
Remove the chicken and set aside. In the same pot, add the 4 cloves fresh garlic cloves and 1 tablespoon fresh ginger. Sauté for 30 seconds until fragrant. The chicken doesn’t need to be fully cooked at this stage—it’ll finish under pressure.
Step 2: Deglaze and Add Sauce Ingredients
Pour in the 0.25 cup water and scrape the bottom of the pot with a wooden spoon to release any browned bits. This step prevents the “burn” error on your Instant Pot. Add the 0.5 cup soy sauce, 0.33 cup honey, 3 tablespoon rice vinegar, and 3 tablespoon brown sugar. Stir until the brown sugar dissolves completely.
Return the chicken to the pot along with any accumulated juices. Stir to coat the chicken evenly in the sauce. The liquid should be bubbling slightly from the residual heat of the sauté function.
Step 3: Pressure Cook Until Tender
Secure the lid and set the valve to “Sealing.” Cook on high pressure for 8 minutes. The Instant Pot will take about 10-15 minutes to come to pressure before the cooking time begins. You’ll know it’s working when the float valve pops up.
Once the cooking time is complete, allow the pressure to release naturally for 5 minutes, then quick-release any remaining pressure. The chicken should be fall-apart tender when pierced with a fork.
Step 4: Thicken the Sauce and Finish
Remove the chicken from the pot and set aside. In a small bowl, mix the 2 tablespoon cornstarch with 2 tablespoon water to create a slurry. Set the Instant Pot back to “Sauté” and stir in the slurry. Cook for 2-3 minutes, stirring constantly, until the sauce thickens to a glossy consistency that coats the back of a spoon.
Stir in the 1 teaspoon sesame oil, then return the chicken to the pot and toss to coat it in the thickened sauce. The sauce should cling beautifully to each piece.
Step 5: Garnish and Serve
Transfer the chicken to a serving platter and drizzle any remaining sauce from the pot over the top. Sprinkle with the 3 whole green onions, thinly sliced, and the 1 teaspoon sesame seeds. The green onions add a fresh contrast, while the sesame seeds bring a nutty crunch.
Let the chicken rest for 2-3 minutes before serving to allow the sauce to set slightly. This dish pairs perfectly with steamed rice or noodles to soak up every last drop of that rich, sticky glaze.
Pro Tips For Making Honey Teriyaki Chicken Instant Pot
- Deglaze the Pot: After searing the chicken, pour in 1/4 cup water or broth and scrape the bottom with a wooden spoon—this prevents the “burn” error and incorporates all those caramelized bits into the sauce.
- Mince Garlic Fine: Fresh garlic burns easily in the Instant Pot, so mince it as finely as possible or press it—I learned this the hard way after tasting bitter bits in my teriyaki.
- Thicken After Cooking: Skip the cornstarch before cooking and instead thicken the sauce at the end with a cornstarch slurry (1 tbsp cornstarch + 1 tbsp cold water), stirred in after the chicken is done.
- Use Thighs, Not Breasts: Boneless skinless chicken thighs stay juicy under pressure, while breasts can dry out—this isn’t the prettiest cut, but it’s the tastiest for this dish.
Flavor Customization for This Recipe
Spicier Teriyaki
Add 1-2 tsp sriracha or ½ tsp red pepper flakes to the sauce for a kick. I love how the heat balances the sweetness. For extra depth, stir in 1 tbsp gochujang with the soy sauce. The Korean chili paste adds complexity. 🔥
Extra Garlicky Version
Double the garlic to 8 cloves for serious flavor. Roast the extra cloves with the chicken for a milder, sweeter taste. I often add 1 tsp garlic powder too—it intensifies the aroma.
Ginger Forward
Increase ginger to 2 tbsp fresh or add ½ tsp ground ginger for warmth. Fresh ginger has a brighter, zingier taste. I prefer grating it finely so it melts into the sauce.
Sweet Heat Glaze
Swap 2 tbsp honey for 2 tbsp pineapple jam and add 1 chopped jalapeño. The tropical note pairs perfectly with the teriyaki. Remove jalapeño seeds for less heat.
Umami Boost
Stir in 1 tbsp oyster sauce or 1 tsp fish sauce with the soy sauce. This adds a savory depth that’s hard to beat. I always keep Lee Kum Kee oyster sauce on hand for this.
Nutrition Facts
Frequently Asked Questions
Can I use chicken breasts instead of thighs?
Yes, but they may dry out. Thighs stay juicier. If using breasts, reduce cook time to 6 minutes and add an extra ¼ cup water to prevent drying.
How do I prevent the sauce from burning?
Always deglaze the pot with ¼ cup water after browning. Stir well to release all browned bits. This stops the “burn” notice on most models.
Can I make this ahead?
The flavors deepen overnight. Store in an airtight container for up to 4 days. Reheat gently on the stove with a splash of water.
What if my sauce is too thin?
Mix 1 tbsp cornstarch with 1 tbsp water, stir into simmering sauce, and cook for 1-2 minutes until thickened. Never add cornstarch directly.

- 6 Oz Chocolate Chip Cookie Recipe: Perfectly Balanced Crispy Edges and Chewy Hearts - September 25, 2026
- 6-Inch Coffee Cake Recipe: Vanilla Bean Swirls and Buttery Streusel Topping - September 25, 2026
- 1 Hour Soup Recipe: Velvety Richness Without the Wait - September 25, 2026