
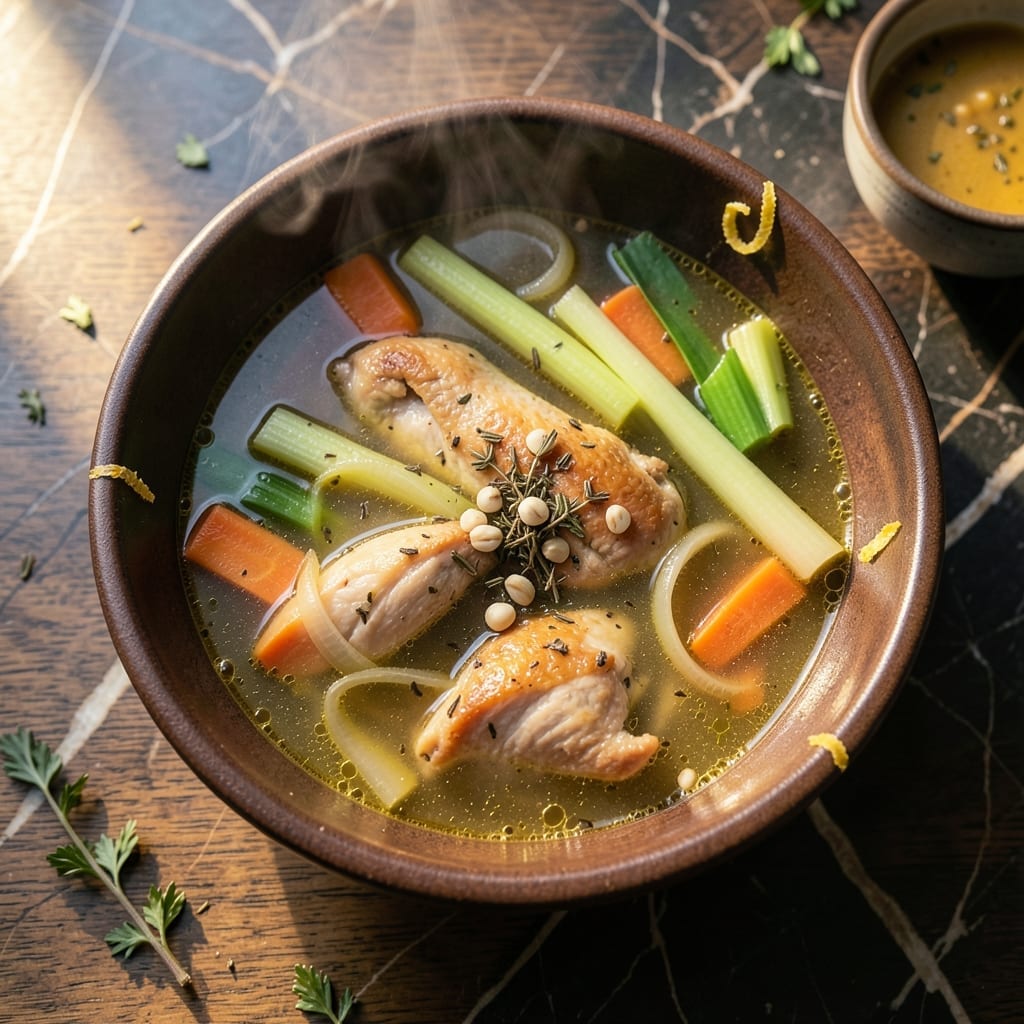
This pressure cooker method delivers restaurant-quality soup without the wait. I’ve perfected this approach to maximize flavor in minimal time, using the Instant Pot’s ability to build depth quickly and efficiently.
The beauty lies in the hands-off cooking—once the ingredients are in, the pot does all the work. High pressure locks in flavors while tenderizing proteins and vegetables simultaneously, creating a rich, cohesive broth in 20 minutes.
What emerges is a hearty soup with layers of taste that usually require hours of simmering. The Instant Pot extracts every bit of flavor from each ingredient, resulting in a dish that tastes like it cooked all day.
Perfect for busy weeknights when you need something warm and satisfying. This method consistently produces excellent results with very little effort.
Ingredients for Insta Pot Soup
Restaurant-quality soup requires just these pantry staples and fresh aromatics. Nothing obscure, only flavor.
| Ingredient | Amount | Notes |
|---|---|---|
| Boneless Chicken Thighs 🍗 | 1 ½ lb | Skinless, cut into bite-sized pieces |
| Yellow Onion 🧅 | 1 whole | Medium, diced finely |
| Carrots 🥕 | 3 whole | Peeled and sliced into rounds |
| Celery Stalks 🌿 | 3 whole | Diced, including leaves |
| Garlic Cloves 🧄 | 4 cloves | Minced for depth of flavor |
| Dried Thyme 🍃 | 1 tsp | Rubbed between fingers to release oils |
| Dried Rosemary 🌿 | 1 tsp | Crushed lightly before adding |
| Bay Leaves 🍃 | 2 whole | Whole, removed before serving |
| Low-Sodium Chicken Broth 💧 | 4 cups | Divided for deglazing and pressure cooking |
| Canned Diced Tomatoes 🍅 | 1 can | 14.5 oz, with juices included |
| Egg Noodles 🍜 | 2 cups | Uncooked, added post-pressure |
| Fresh Parsley 🌿 | ¼ cup | Chopped, for garnish |
| Olive Oil 🫒 | 2 tbsp | Extra-virgin for sautéing |
| Kosher Salt 🧂 | 1 ½ tsp | Diamond Crystal preferred for balance |
| Freshly Ground Black Pepper 🌶️ | 1 tsp | Adjust to taste preference |
The chicken thighs are non-negotiable here—bone-in adds richness, but boneless saves time and still delivers depth. Source from Whole Foods or Costco for consistent quality; look for skinless to avoid excess fat. The broth should be low-sodium so you control the seasoning. For the tomatoes, San Marzano canned diced tomatoes offer superior flavor, but any quality brand will suffice.
No chicken thighs? Boneless chicken breast works but may dry out slightly—reduce pressure time by 2 minutes. Fresh herbs can replace dried at one-third the amount, but dried are more reliable for long cooking. Vegetable broth can substitute chicken broth for a vegetarian version. The egg noodles are added post-pressure to prevent mushiness—any short pasta will do in a pinch.
This soup tastes even better the next day. Refrigerate in airtight containers for up to 4 days or freeze for 3 months. Reheat gently on the stove to preserve texture. The noodles will absorb broth over time, so add a splash of water or extra broth when reheating.
Why You’ll Love This Recipe
- Set and Forget: I dump everything in, press a button, and walk away while the Insta Pot works its magic.
- Deep, Rich Taste: The chicken thighs and garlic create a broth so flavorful I could drink it straight from the pot.
- Meal Prep Hero: I make a double batch on Sunday and have lunches ready for the whole week.
- Budget Stretcher: Boneless thighs are cheap, and this recipe turns them into something crave-worthy.
Step-by-Step Instructions for Insta Pot Chicken Soup
Master the pressure cooker method for building layers of flavor in record time.
Step 1: Sauté Aromatics and Brown the Chicken
Set your Insta Pot to the Sauté function on Normal heat. Add the 2 tbsp Olive Oil and let it heat until shimmering. I add the 1 whole Yellow Onion, 3 whole Carrots, and 3 whole Celery Stalks first, cooking for 3-4 minutes until the onion becomes translucent.
Push the vegetables to one side and add the 1.5 lb Boneless Chicken Thighs, cut into bite-sized pieces. Sear for 2-3 minutes until the pieces develop a light golden crust. This step builds the fond that will create depth in your broth.
Step 2: Deglaze and Add Remaining Ingredients
Add the 4 cloves Garlic Cloves to the pot and stir for 30 seconds until fragrant. Pour in ½ cup of the 4 cups Low-Sodium Chicken Broth to deglaze, scraping the bottom thoroughly with a wooden spoon to release all the browned bits.
Now add the remaining 3½ cups Low-Sodium Chicken Broth, the 1 can Canned Diced Tomatoes with juices, 1 tsp Dried Thyme, 1 tsp Dried Rosemary, 2 whole Bay Leaves, 1.5 tsp Kosher Salt, and 1 tsp Freshly Ground Black Pepper. Stir to combine, ensuring the chicken is submerged in liquid.
Step 3: Pressure Cook to Perfection
Secure the lid, set the valve to Sealing, and cook on High Pressure for 8 minutes. The pot will take about 10 minutes to come to pressure before the cooking time begins. You’ll know it’s working when the float valve pops up.
Once the cooking completes, let the pressure release naturally for 5 minutes, then quick-release the remaining pressure. This gradual release prevents the chicken from becoming tough. Remove the lid carefully, tilting it away from you to avoid the hot steam.
Step 4: Add Noodles and Finish the Soup
Set the Insta Pot back to Sauté mode. Stir in the 2 cups Egg Noodles and cook for 4-5 minutes until the noodles are tender and the soup has thickened slightly. The noodles will absorb some of the liquid, creating a heartier consistency.
Taste and adjust seasoning if needed. Remove and discard the 2 whole Bay Leaves before serving. This is your final chance to ensure the flavors are balanced—remember, the chicken broth was low-sodium, so you might need additional salt.
Step 5: Garnish and Serve
Ladle the soup into bowls and garnish each serving with 0.25 cup Fresh Parsley. The parsley adds a bright, fresh contrast to the rich, savory broth. Serve immediately while hot—the egg noodles will continue to absorb liquid as it sits, so this dish is best enjoyed fresh from the pot.
Pro Tips For Making Insta Pot Soup
- Sear the Chicken First: I learned this the hard way—skipping the sauté step leaves the chicken bland. Brown those thighs in the pot for 3-4 minutes per side before pressure cooking to lock in flavor.
- Uniform Veggie Cuts: Chop the onion, carrots, and celery into ½-inch pieces so they cook evenly. Sounds tedious, but it actually changes the outcome.
- Skip the Overfilling: Resist the urge to cram in extra ingredients. The Instant Pot needs at least 1 cup of liquid and room for steam, or you’ll risk a burnt notice.
- Use Thighs, Not Breasts: My grandmother swore by this, and she was right: boneless chicken thighs stay juicy under pressure, while breasts can dry out.
Storing and Reheating insta pot soup
Refrigerator Storage
Let your soup cool for no more than 2 hours before transferring to airtight containers. I use glass Pyrex with snap-on lids. Store at 40°F or below for up to 4 days. The flavors meld beautifully overnight. ❄️
Freezer Storage
For longer storage, freeze soup in quart-size freezer bags for up to 3 months. Lay flat to save space and thaw faster. Leave 1 inch headspace for expansion, and squeeze out excess air to prevent freezer burn.
Stovetop Reheating
My preferred method: Pour soup into a heavy pot, add ¼ cup water or broth to prevent sticking, and heat over medium-low heat for 10-15 minutes. Stir occasionally and taste for seasoning.
Microwave Reheating
For quick meals, microwave individual portions in a microwave-safe bowl covered with a damp paper towel. Heat on 70% power for 2-3 minutes, stir, then continue in 1-minute intervals until hot. 🔥
Noodle Tip
If storing with noodles, they’ll absorb broth and soften. For best texture, store noodles separately and add when reheating. Alternatively, add a splash of broth or water to revive the soup’s consistency.
Nutrition Facts
Frequently Asked Questions
Can I use frozen chicken instead?
Yes, but add 3-4 minutes to the pressure cooking time. Ensure it’s fully thawed before browning for best results.
Why add noodles after pressure cooking?
Noodles turn mushy under high pressure. Adding them last maintains perfect texture. 4-5 minutes in Sauté mode is ideal.
How do I prevent the Burn notice?
Always deglaze thoroughly with broth after browning. Scrape all browned bits from the bottom. ½ cup liquid is enough.
Can I double this recipe?
Yes, but don’t exceed the ⅔ max fill line. Cook time stays the same, but pressure buildup takes longer.

- 6 Oz Chocolate Chip Cookie Recipe: Perfectly Balanced Crispy Edges and Chewy Hearts - September 25, 2026
- 6-Inch Coffee Cake Recipe: Vanilla Bean Swirls and Buttery Streusel Topping - September 25, 2026
- 1 Hour Soup Recipe: Velvety Richness Without the Wait - September 25, 2026