
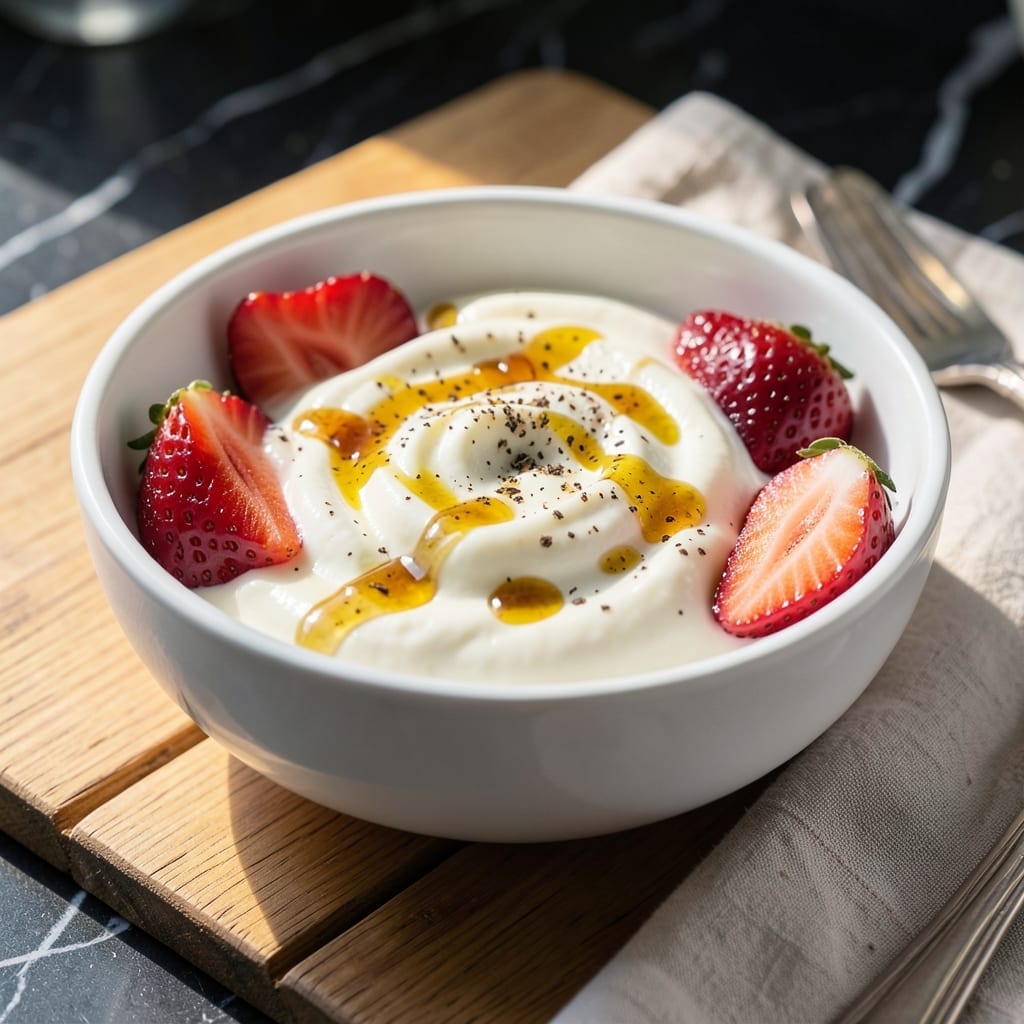
Making yogurt at home in your Instant Pot delivers perfectly thick and tangy results with minimal effort. This hands-off method transforms simple ingredients into creamy, probiotic-rich yogurt that rivals store-bought versions.
The process requires just milk, a starter culture, and precise temperature control. By pasteurizing the milk first, you create an ideal environment for fermentation, ensuring a smooth, consistent texture every time.
After the initial heating and cooling phases, the Instant Pot maintains the ideal warm environment for the cultures to work their magic. In 8 to 12 hours, you’ll have fresh, homemade yogurt ready to enjoy.
Strain it for Greek-style thickness or sweeten it to taste. The results are always fresh, customizable, and far superior to commercial options.
Ingredients for Insta Pot Yogurt
Simple ingredients transform into creamy, tangy perfection with minimal effort.
| Ingredient | Amount | Notes |
|---|---|---|
| Whole Milk 🥛 | 8 cups | Full-fat for creaminess |
| Plain Yogurt with Live Cultures 🥣 | 2 tbsp | Store-bought or previous batch |
| Granulated Sugar 🍚 | 1 tbsp | Optional for sweetness |
| Vanilla Extract 🌿 | 1 tsp | Pure extract preferred |
| Honey 🍯 | 2 tbsp | Optional for sweetening |
| Fresh Strawberries 🍓 | 1 cup | Diced, for topping |
| Granola 🥣 | ½ cup | For serving |
| Chia Seeds 🌱 | 1 tbsp | Optional for texture |
| Lemon Zest 🍋 | ½ tsp | Freshly grated |
| Cinnamon 🌿 | ¼ tsp | Ground, for flavor |
The milk is the foundation here. Whole milk from a trusted dairy (like Organic Valley or your local farm) gives the richest texture. Avoid ultra-pasteurized—it won’t set properly. The starter yogurt needs to have live active cultures (check the label). I usually grab Fage or Siggi’s for the first batch, then use my own after that.
No live-cultured yogurt on hand? A few tablespoons of buttermilk works as a backup. Want it thicker? Strain through cheesecloth for Greek-style results. Skipping sugar? Maple syrup or agave work just as well. The vanilla can be omitted, but it adds a nice depth—use pure extract, not imitation.
Fresh yogurt keeps for 7-10 days in the fridge. If you’re straining it, store the whey for smoothies or baking. The strawberries and granola? Add those fresh—no need to prep ahead.
Why You’ll Love This Recipe
- Set It and Forget: I toss in whole milk, press a button, and walk away—no babysitting required.
- Velvety Vanilla Swirl: The vanilla and honey create a creamy sweetness that’s way better than store-bought.
- Meal Prep MVP: I make a big batch Sunday and grab it all week for breakfasts or smoothies.
- Budget Friendly: A gallon of milk turns into quarts of yogurt for pennies—my wallet finally thanks me.
Step-by-Step Instructions for Insta Pot Yogurt
This hands-off method delivers consistently thick, tangy yogurt with minimal effort.
Step 1: Pasteurize the Whole Milk
Pour all 8 cups Whole Milk into the Insta Pot liner. Secure the lid, set the valve to sealing, and select the “Yogurt” function. Press the “Adjust” button until it displays “Boil” mode. This step pasteurizes the milk, creating the perfect environment for culture growth.
The milk will heat to 180°F and hold for 10 minutes. You’ll notice steam escaping from the float valve when it’s actively heating. Once complete, the Insta Pot will beep and switch to “Yogt” mode automatically.
Step 2: Cool the Milk to Optimal Temperature
After pasteurization, carefully remove the inner pot and let the milk cool to 110-115°F. I place mine in a sink with an inch of cool water to speed this up, stirring occasionally. This temperature range is crucial—too hot will kill the cultures, too cool won’t activate them properly.
Use a clean digital thermometer to check the temperature. When it hits 115°F, you’re ready for the next step. The milk should feel warm to the touch but not hot enough to scald.
Step 3: Temper and Add the Starter Culture
In a small bowl, combine 2 tbsp Plain Yogurt with Live Cultures with a ladle of the warm milk, stirring until smooth. This tempering step prevents thermal shock to the delicate cultures. Pour this mixture back into the inner pot with the remaining milk.
Add 1 tbsp Granulated Sugar and 1 tsp Vanilla Extract at this stage for a sweet vanilla base. Whisk everything together gently but thoroughly to distribute the cultures evenly. The milk should look uniform in color and texture.
Step 4: Incubate for Thick, Tangy Yogurt
Return the inner pot to the Insta Pot, secure the lid, and ensure the valve is set to sealing. Select “Yogurt” function again and set the time for 8-12 hours. The longer the incubation, the tangier your yogurt will become. I find 10 hours hits the perfect balance of thickness and tang.
The Insta Pot will maintain a consistent 110°F during this time. You’ll see the display counting up from 0:00. Avoid opening the lid during incubation—temperature fluctuations can disrupt the culturing process.
Step 5: Chill and Prepare for Serving
After incubation, the yogurt will resemble a thick, jiggly custard. Transfer the inner pot to the refrigerator and let it chill for at least 4 hours, though overnight is ideal. This cooling step thickens the yogurt further and develops the final texture.
Once chilled, portion into serving bowls and top with 1 cup Fresh Strawberries, 2 tbsp Honey, 0.5 cup Granola, 1 tbsp Chia Seeds, 0.5 tsp Lemon Zest, and 0.25 tsp Cinnamon as desired. The yogurt will keep for up to 10 days in the refrigerator.
Pro Tips For Making Insta Pot Yogurt
- Boil Milk First: Heat the whole milk to 180°F in the Instant Pot before cooling—this kills unwanted bacteria and creates a cleaner base for the yogurt cultures to thrive.
- Use Ultra-Filtered Milk: I learned this the hard way—ultra-filtered whole milk (like Organic Valley) gives thicker, creamier yogurt without added thickeners, and it’s worth the extra dollar.
- Skip the Metal Spoon: Stir in your plain yogurt starter with a plastic or wooden spoon after cooling to 110°F—metal can react with the acidity and mess with the fermentation.
- Warm the Jars: Pour hot water into your yogurt jars for a minute before adding the milk mixture—this prevents temperature shock and helps maintain the 110°F needed for consistent incubation.
Wine and Beer Pairings for This Dish
Breakfast Beverages
Pair your yogurt with a cold brew coffee for a smooth, balanced start to the day. The mild acidity cuts through the creaminess beautifully. I love Stumptown or La Colombe for their rich, low-bitterness profiles. 🍵
Fruit-Forward Wines
A chilled Moscato d’Asti from Italy offers bright stone fruit notes that complement the tangy yogurt. Its light effervescence and 5-6% ABV make it perfect for brunch. Riesling Kabinett from Germany is another excellent choice with its honeyed apple flavors.
Sparkling Options
For a non-alcoholic pairing, try sparkling apple cider from Martinelli’s. The bubbles and natural sweetness enhance the yogurt’s texture. A dry sparkling rosé like Whispering Angel also works wonderfully for a touch of sophistication.
Herbal Teas
Chamomile tea with a drizzle of honey mirrors the yogurt’s sweetness while adding floral notes. For a bolder option, Earl Grey with its citrusy bergamot pairs surprisingly well with the vanilla undertones. I always keep Twinings on hand. ✨
Smoothie Companions
Blend 1 cup strawberries and ½ cup yogurt with ice for a matching smoothie. The shared flavors create harmony. For adults, add 1 oz vodka and ½ oz elderflower liqueur for a yogurt-inspired cocktail twist.
Nutrition Facts
Frequently Asked Questions
What type of milk works best?
Whole milk produces the creamiest results. Ultra-pasteurized won’t set properly. For lower fat, use 2% but expect a thinner texture.
Can I use a different starter?
Yes! Buttermilk or kefir work as substitutes. Always ensure your starter has live active cultures for proper fermentation.
Why is my yogurt runny?
This often happens if the milk wasn’t hot enough during pasteurization. Next time, use a thermometer to confirm it reaches 180°F and hold for 10 minutes.
How long does it keep?
Properly stored in the fridge, it stays fresh for 7-10 days. The flavor becomes tangier as it ages.

- 4C Bread Crumbs Meatballs Recipe: Crispy Crust and Juicy Centers - September 25, 2026
- 6 Oz Chocolate Chip Cookie Recipe: Perfectly Balanced Crispy Edges and Chewy Hearts - September 25, 2026
- 6-Inch Coffee Cake Recipe: Vanilla Bean Swirls and Buttery Streusel Topping - September 25, 2026