
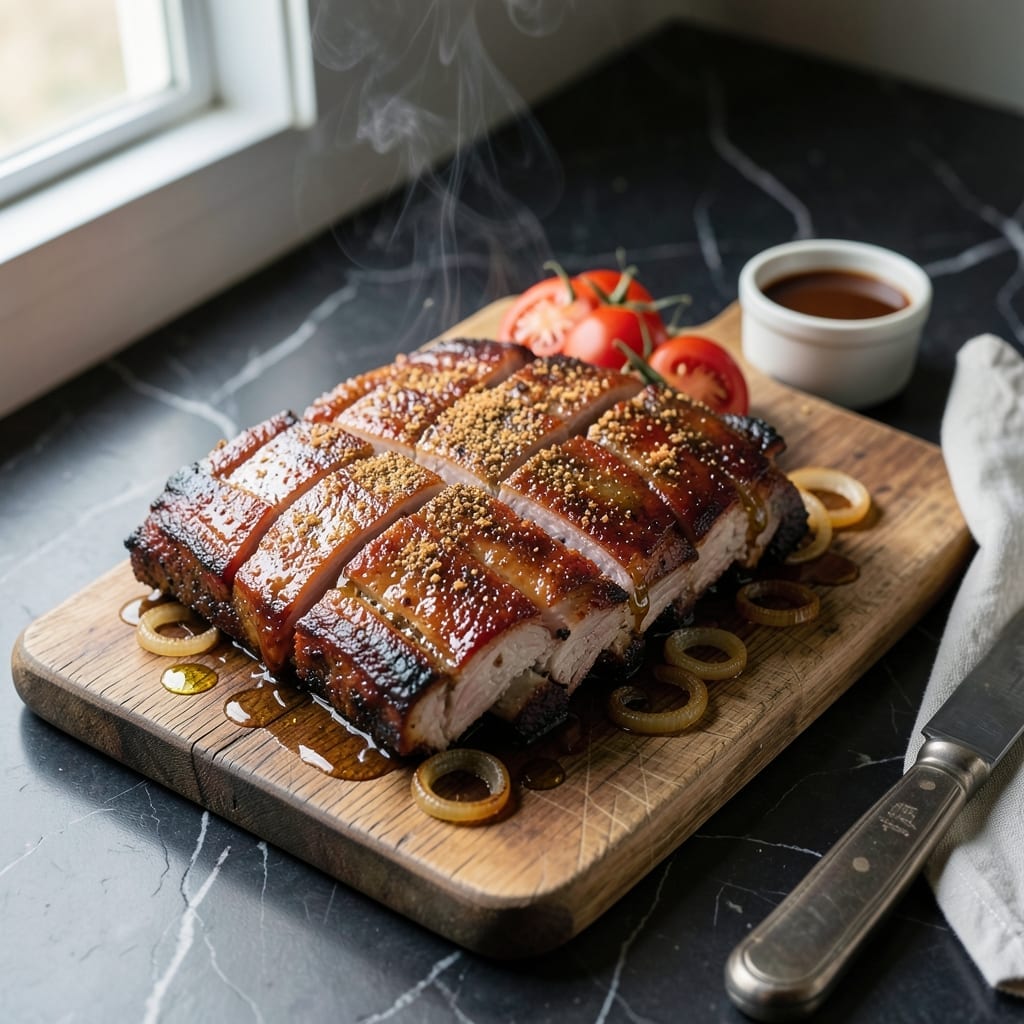
Achieving fall-off-the-bone tender ribs without a smoker is possible with this proven Instant Pot method. The pressure cooker transforms tough baby back ribs into succulent, flavorful meat in just 90 minutes, not all day.
This technique locks in moisture while breaking down connective tissue. A dry rub and brief searing create a flavorful crust before pressure cooking. The result is consistently tender ribs with minimal effort.
Finishing under the broiler adds the perfect caramelized glaze. The meat pulls away from the bone effortlessly, delivering restaurant-quality texture at home. Every bite confirms the method works.
Serve with classic barbecue sides for a complete meal. The process is straightforward enough for weeknight cooking but impressive enough for guests.
Ingredients for Instant Pot Baby Back Ribs
Quality ribs and a bold dry rub create restaurant-worthy results at home.
| Ingredient | Amount | Notes |
|---|---|---|
| Baby Back Ribs 🥩 | 2 lb | Rack, membrane removed |
| Brown Sugar 🧈 | ¼ cup | Light or dark variety |
| Paprika 🌶️ | 1 tbsp | Smoked or sweet variety |
| Garlic Powder 🧄 | 1 tsp | Freshly ground preferred |
| Onion Powder 🧅 | 1 tsp | Fine powder consistency |
| Salt 🧂 | 1 tsp | Kosher or sea salt |
| Black Pepper 🌶️ | ½ tsp | Freshly ground preferred |
| Cayenne Pepper 🔥 | ¼ tsp | Adjust for heat preference |
| Barbecue Sauce 🍯 | 1 ½ cups | Quality bottled or homemade |
| Apple Cider Vinegar 🍏 | ¼ cup | For acidity balance |
| Olive Oil 🫒 | 1 tbsp | For searing ribs |
| Chicken Broth 💧 | 1 cup | Low-sodium preferred |
| Liquid Smoke 🔥 | ½ tsp | Optional for smoky depth |
The ribs are everything here. Baby back ribs are ideal for their tenderness and quick cooking time. Look for racks with good marbling at Costco or your local butcher—avoid pre-cut ribs as they dry out faster. The membrane must be removed (use a paper towel for grip) to ensure the dry rub penetrates properly. For the best flavor, let the seasoned ribs rest for at least 30 minutes before cooking.
No smoked paprika? Regular paprika plus a pinch of chipotle powder works well. Out of brown sugar? Honey or maple syrup can substitute in the dry rub (use half the amount). If you don’t have apple cider vinegar, white vinegar in a pinch—though the flavor will be sharper. For the barbecue sauce, Stubb’s or Sweet Baby Ray’s are reliable store-bought options.
Cooked ribs keep 3-4 days in the fridge, reheat gently to avoid drying. Freeze for up to 3 months (wrap tightly in foil, then plastic). The dry rub mix can be stored airtight for 6 months—great for last-minute cooking.
Why You’ll Love This Recipe
- Set It and Forget: I toss the ribs in the Instant Pot with the spices, press a button, and walk away—no babysitting required.
- Sweet & Smoky Magic: The brown sugar caramelizes while paprika, garlic, and onion powders create that deep, finger-licking crust.
- Crowd Pleaser: I’ve served these at summer BBQs and random weeknights—everyone from my picky nephew to my foodie sister asks for seconds.
- Leftovers for Days: Honestly, they taste even better the next day, and I love having pre-cooked ribs ready for quick sandwiches or tacos.
Step-by-Step Instructions for Instant Pot Baby Back Ribs
Here’s the method. Straightforward, tested, works every time.
Step 1: Prepare and Season the Ribs
Pat the 2 lb Baby Back Ribs completely dry with paper towels. This ensures the dry rub adheres properly and promotes even browning. I remove any remaining membrane by sliding a butter knife under it, then pulling it off with a paper towel for grip.
In a small bowl, combine the 0.25 cup Brown Sugar, 1 tbsp Paprika, 1 tsp Garlic Powder, 1 tsp Onion Powder, 1 tsp Salt, 0.5 tsp Black Pepper, and 0.25 tsp Cayenne Pepper. Rub this mixture evenly over all sides of the ribs, pressing gently so it sticks. Let them sit for 10 minutes while you preheat the Instant Pot.
Step 2: Sear the Ribs for Depth of Flavor
Set your Instant Pot to the “Sauté” function and add the 1 tbsp Olive Oil. When the oil shimmers, carefully add the ribs, meat-side down. Sear undisturbed for 3-4 minutes until they develop a deep, golden brown crust.
Flip the ribs and sear the bone side for another 2-3 minutes. This step builds a flavor foundation. Add the 0.5 tsp Liquid Smoke during the last minute of searing to infuse a subtle smokiness. Transfer the ribs to a plate and cancel the Sauté function.
Step 3: Pressure Cook to Tender Perfection
Pour the 1 cup Chicken Broth and 0.25 cup Apple Cider Vinegar into the Instant Pot. Use a wooden spoon to scrape up any browned bits from the bottom—this prevents the “burn” notice. Place the trivet in the pot and arrange the ribs on it, meat-side up. You may need to cut the rack in half to fit.
Secure the lid, set the valve to “Sealing,” and cook on “High Pressure” for 25 minutes. The ribs are done when the meat pulls back from the ends of the bones and is fork-tender. Allow a natural pressure release for 10 minutes, then quick-release any remaining pressure.
Step 4: Glaze with Barbecue Sauce
Carefully remove the ribs and place them on a foil-lined baking sheet. Brush generously with half of the 1.5 cups Barbecue Sauce. Set the Instant Pot to “Sauté” again and pour in the remaining sauce, simmering for 2-3 minutes until slightly thickened.
For a caramelized finish, broil the ribs in the oven for 3-4 minutes until the sauce bubbles and darkens slightly. Watch closely to avoid burning. Brush with the thickened sauce from the pot before serving. The ribs should be fall-off-the-bone tender with a sticky, glossy glaze.
Pro Tips For Making Instant Pot Baby Back Ribs
- Remove the Membrane: I learned this the hard way—peel off that tough silver skin on the bone side before seasoning, or your ribs will stay chewy no matter how long they pressure cook.
- Use a Dry Rub: Mix the brown sugar, paprika, garlic powder, and onion powder into a dry rub and coat the ribs generously at least 30 minutes before cooking for deeper flavor penetration.
- Don’t Overfill the Pot: After burning a batch, I finally figured out to use the trivet and add only 1 cup of liquid—ribs need space for steam to circulate, or they’ll turn out uneven.
- Quick Release Carefully: Once the cook time’s up, let the pressure release naturally for 5 minutes, then quick release—this keeps the meat from drying out while still saving time.
Flavor Customization for This Recipe
Spicy Kick
For heat lovers, add ½ tsp additional cayenne to the dry rub or mix 1 tbsp sriracha into your barbecue sauce. I also like sprinkling crushed red pepper flakes just before serving for visible heat. The vinegar in the cooking liquid helps balance the spice perfectly. 🌶️
Sweet and Smoky
Swap regular paprika for smoked paprika in the rub and add 2 tbsp honey to your barbecue sauce. This creates a deeper, molasses-like sweetness. For extra smokiness, double the liquid smoke to 1 tsp during searing.
Tangy Twist
Increase the apple cider vinegar to ½ cup in the pressure cooker for extra tang. I also recommend adding 1 tbsp lemon zest to the dry rub. These bright notes cut through the richness beautifully.
Asian Fusion
Replace the barbecue sauce with a mix of ½ cup hoisin, 2 tbsp soy sauce, and 1 tbsp rice vinegar. Add 1 tsp grated ginger to the dry rub. This creates a sticky, umami-packed glaze that’s surprisingly good. 🔥
Coffee Rub
Add 1 tbsp finely ground coffee to your dry rub for a deep, earthy flavor. The bitterness complements the sweetness of the brown sugar wonderfully. I use dark roast coffee for maximum impact.
Herb Crust
Stir 1 tbsp dried rosemary and 1 tbsp dried thyme into your dry rub. These herbs add a fragrant, woodsy note that pairs especially well with the smoky elements. The aroma while cooking is incredible.
Nutrition Facts
Frequently Asked Questions
Can I use a different cut of ribs?
Yes, but adjust cooking time. St. Louis-style ribs need 30 minutes under pressure, while country-style (boneless) may take just 20 minutes. Baby backs are ideal for their tenderness and quick cooking.
What if my Instant Pot shows a “burn” notice?
This usually means there’s not enough liquid. Add another ½ cup broth and deglaze the pot thoroughly, scraping up browned bits. Always use the trivet to keep ribs above the liquid.
How do I know when they’re done?
The meat should pull back from the bone ends and reach 190-203°F internally. If it resists pulling apart, cook for another 5 minutes under pressure.
Can I skip the searing step?
Not recommended. Searing develops a flavorful crust and enhances the final texture. If short on time, sear just the meat side for 2 minutes instead.

- 6 Oz Chocolate Chip Cookie Recipe: Perfectly Balanced Crispy Edges and Chewy Hearts - September 25, 2026
- 6-Inch Coffee Cake Recipe: Vanilla Bean Swirls and Buttery Streusel Topping - September 25, 2026
- 1 Hour Soup Recipe: Velvety Richness Without the Wait - September 25, 2026