
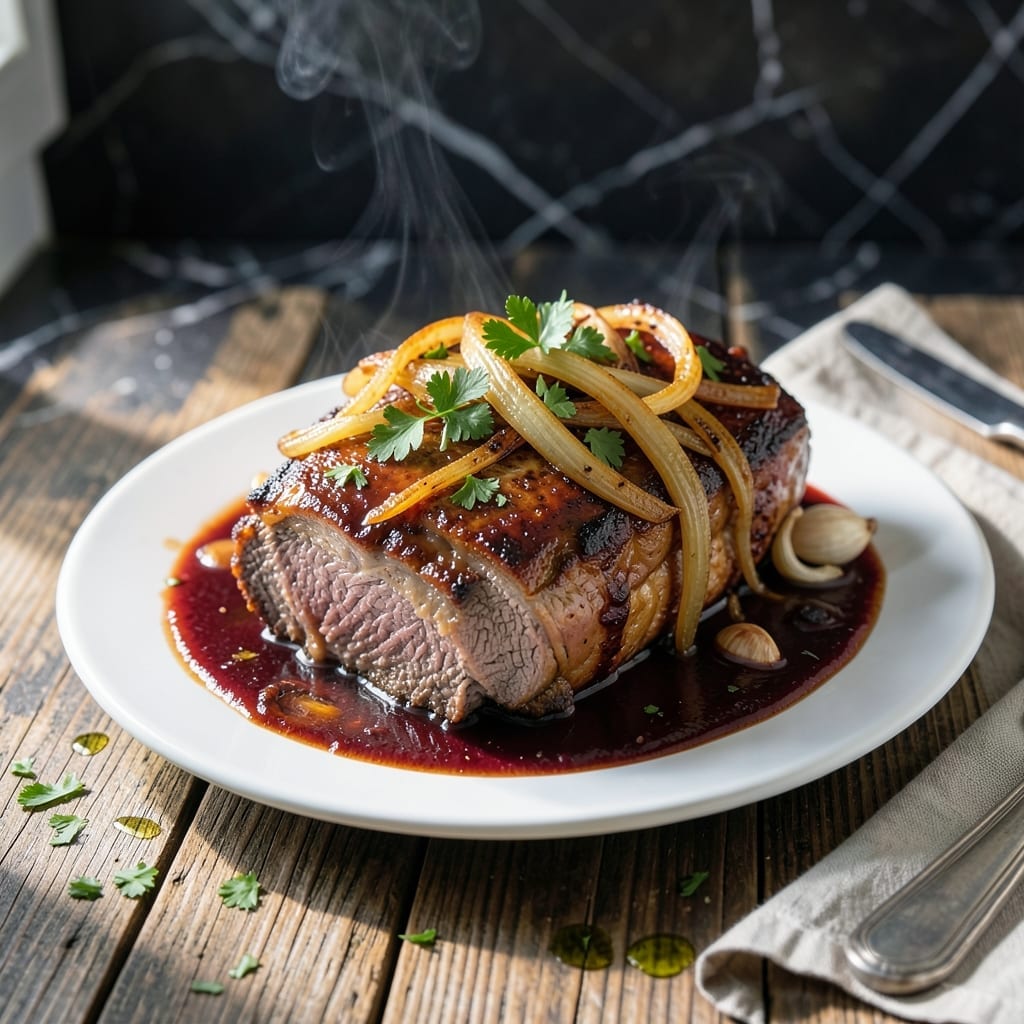
This Instant Pot method transforms tough beef into fork-tender perfection without hours of slow cooking. The pressure cooker works magic on chuck roast, breaking down connective tissue while locking in moisture.
What sets this apart is the smoky BBQ sauce that develops deep, complex flavors as it cooks with the meat. No babysitting required—the Instant Pot handles everything once you set the timer.
You’ll end up with beef so tender it shreds with a fork, coated in a rich, sticky sauce that’s perfect for sandwiches or served over mashed potatoes. The best part? It’s ready in a fraction of traditional cooking time.
This technique guarantees consistent results every time, with no risk of dry, overcooked meat. The sauce reduces naturally during cooking, concentrating all those bold flavors.
Ingredients for Instant Pot Bbq Beef Roast
Transform tough cuts into fork-tender perfection with these robust, smoky ingredients ready for your pressure cooker.
| Ingredient | Amount | Notes |
|---|---|---|
| Chuck Roast 🥩 | 3 lb | Well-marbled, cut into 3-inch chunks |
| Olive Oil 🫒 | 2 tbsp | Divided for searing and sauce |
| Yellow Onion 🧅 | 1 whole | Medium, finely diced |
| Garlic Cloves 🧄 | 4 cloves | Minced for depth of flavor |
| Beef Broth 💧 | 1 ½ cups | Low-sodium preferred for control |
| Barbecue Sauce 🍯 | 2 cups | Smoky, thick variety recommended |
| Apple Cider Vinegar 🍏 | 2 tbsp | Balances sweetness in sauce |
| Brown Sugar 🍚 | 2 tbsp | Light or dark, packed |
| Worcestershire Sauce 🍶 | 1 tbsp | Adds umami complexity |
| Smoked Paprika 🌶️ | 1 tsp | Essential for smoky depth |
| Dried Oregano 🍃 | 1 tsp | Crushed for better infusion |
| Kosher Salt 🧂 | 1 ½ tsp | Diamond Crystal preferred for even seasoning |
| Black Pepper 🌶️ | 1 tsp | Freshly ground for maximum flavor |
| Dijon Mustard 🟡 | 1 tbsp | Sharp flavor enhances sauce |
The beef is non-negotiable here—chuck roast with visible marbling breaks down beautifully under pressure. Costco and Whole Foods carry excellent pre-cubed options, but buying a whole roast and cubing it yourself (into 3-inch pieces) ensures even cooking. Look for USDA Choice grade for the perfect fat-to-meat ratio. Avoid lean cuts like sirloin—they won’t achieve that fall-apart texture.
No chuck roast? Brisket or short ribs work as substitutes, though cooking times may need slight adjustment. For the BBQ sauce, Stubb’s Original or Sweet Baby Ray’s deliver consistent smoky flavor. Out of apple cider vinegar? White vinegar in a pinch, but reduce by half. The Worcestershire can be swapped with soy sauce plus a dash of brown sugar for a similar umami kick.
Store raw beef in the coldest part of your fridge for up to 3 days before cooking. Once cooked, the roast keeps for 4-5 days refrigerated or freezes beautifully for 3 months. Always cool completely before freezing to maintain texture.
Why You’ll Love This Recipe
- I’ll be real: this makes enough for Sunday dinner plus leftovers for sandwiches all week.
- Set and Forget: I toss the chuck roast, onions, and garlic in the Instant Pot, press a button, and walk away—dinner practically makes itself.
- Fallback Flavor: Honestly, the beef broth and garlic turn that tough chuck roast into something so tender and rich, it’s ridiculous.
- Feeds the Crew: I’ll be real: this makes enough for Sunday dinner plus leftovers for sandwiches all week.
Step-by-Step Instructions for Instant Pot BBQ Beef Roast
Master the technique for fall-apart tender beef with rich, smoky sauce in record time.
Step 1: Sear the Chuck Roast for Depth of Flavor
Set your Instant Pot to the Sauté function and add 1 tablespoon of olive oil. While it heats, pat the 3 lb chuck roast dry with paper towels and season generously with 1.5 tsp kosher salt and 1 tsp black pepper on all sides. The dry surface ensures a proper sear rather than steaming.
When the oil shimmers, sear the chuck roast in batches if necessary to avoid overcrowding. Cook for 4-5 minutes per side until deeply browned. This creates a flavorful fond that will enrich your sauce. Remove the beef and set aside.
Step 2: Sauté Aromatics and Build the Sauce Base
In the same pot, add the remaining 1 tablespoon of olive oil if needed. Add the finely diced yellow onion and cook for 3-4 minutes until softened and translucent. Stir in the 4 cloves of minced garlic cloves and cook for 30 seconds until fragrant.
Pour in 1.5 cups beef broth, scraping the bottom to deglaze and release all the browned bits. Add the 2 cups barbecue sauce, 2 tbsp apple cider vinegar, 2 tbsp brown sugar, 1 tbsp Worcestershire sauce, 1 tsp smoked paprika, 1 tsp dried oregano, and 1 tbsp Dijon mustard. Stir to combine.
Step 3: Pressure Cook to Fork-Tender Perfection
Return the seared chuck roast to the pot, along with any accumulated juices. Secure the lid, set the valve to Sealing, and cook on High Pressure for 60 minutes. The beef will transform from tough to buttery as the connective tissue breaks down under pressure.
Once cooking completes, allow a natural release for 15 minutes, then quick-release any remaining pressure. This gradual release prevents the meat from seizing up. Carefully remove the lid and verify the beef is fork-tender—it should pull apart effortlessly with a gentle tug.
Step 4: Shred and Reduce the Sauce
Transfer the beef to a cutting board and shred it using two forks. The meat should separate into long, tender strands with minimal effort. Return the shredded beef to the pot with the sauce.
Set the Instant Pot back to Sauté mode and simmer uncovered for 5-7 minutes to thicken the sauce slightly. Stir occasionally to prevent sticking. The sauce should coat the back of a spoon and cling to the beef beautifully. Taste and adjust seasoning if needed before serving.
Pro Tips For Making Instant Pot Bbq Beef Roast
- Sear the Chuck: Brown the chuck roast in the Instant Pot first using olive oil—about 4-5 minutes per side. I learned this the hard way: skipping this step leaves the beef tasting flat, not rich and deep.
- Slice Against Grain: After cooking, slice the roast against the grain into 1-inch chunks. Sounds fussy, but it makes the meat fall apart in your mouth instead of feeling chewy.
- Use Enough Broth: Add at least 1.5 cups of beef broth—enough to cover the bottom but not drown the roast. My first few attempts were dry because I skimped, thinking it would concentrate flavor.
- Natural Release Only: Let the pressure release naturally for 15 minutes before quick-releasing. I was skeptical until I tried it—this keeps the beef moist, not tough and rubbery.
Make-Ahead Tips for This Dish
Overnight Prep
You can prep all your ingredients the night before—dice the onion, mince the garlic, and measure the sauces and spices. Store them in separate containers in the fridge. I keep my chuck roast in its original packaging until ready to sear. 💡
Morning Cooking
Start the cooking process first thing in the morning. The 60-minute pressure cook plus 15-minute natural release means you’ll have tender beef by lunchtime. I often set it up before my coffee and let the Instant Pot work its magic.
Freezer Meal Prep
Combine the onion, garlic, and all sauce ingredients in a freezer bag with the raw chuck roast. Freeze flat for up to 3 months. Thaw overnight in the fridge before cooking as directed. ❄️
Sauce Adjustments
If making ahead, under-reduce the sauce slightly—it will thicken more when reheated. Store shredded beef and sauce separately in the fridge for up to 4 days. This prevents the beef from absorbing too much liquid.
Reheating Tips
Reheat in the Instant Pot on Sauté mode with a splash of beef broth for 5-7 minutes. Or microwave covered portions in 1-minute intervals, stirring between each. The flavors deepen after a day in the fridge.
Serving Flexibility
This dish holds well in a slow cooker on Warm for up to 2 hours—perfect for potlucks or buffets. I love how the sauce stays rich and the beef remains juicy when kept at the right temperature. 🔥
Nutrition Facts
Frequently Asked Questions
Can I use a different cut of beef?
Brisket or short ribs work as alternatives to chuck roast. They have similar marbling and connective tissue that breaks down under pressure. Adjust cooking time slightly if pieces are larger than 3 inches.
Why do I need to sear the meat first?
Searing creates a flavorful fond that enriches the sauce. It also develops deeper color and taste through the Maillard reaction. Skip this step and you’ll miss out on complexity.
What if my sauce is too thin?
Simmer uncovered on Sauté mode for an extra 5-7 minutes to thicken. For faster results, mix 1 tbsp cornstarch with 1 tbsp water and stir in.
Can I make this with frozen beef?
Yes, but add 10-15 minutes to the pressure cooking time. Ensure the beef is fully submerged in liquid for even cooking. Thawing first yields more consistent results.

- 6 Oz Chocolate Chip Cookie Recipe: Perfectly Balanced Crispy Edges and Chewy Hearts - September 25, 2026
- 6-Inch Coffee Cake Recipe: Vanilla Bean Swirls and Buttery Streusel Topping - September 25, 2026
- 1 Hour Soup Recipe: Velvety Richness Without the Wait - September 25, 2026