
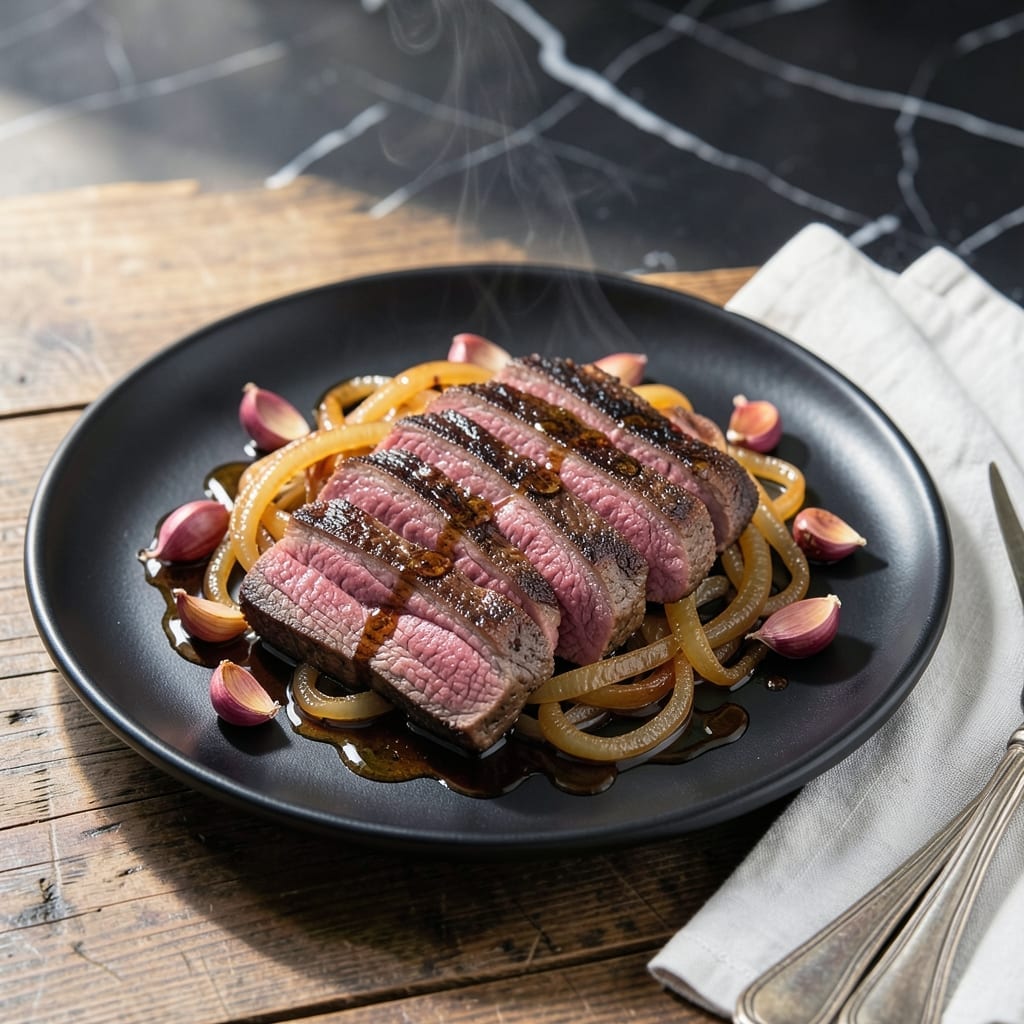
I’ve refined this method for tender beef flank steak in the Instant Pot after countless tests, and it never fails to deliver.
Pressure cooking transforms the toughest cuts into melt-in-your-mouth slices with minimal effort. The key is timing—too long and it overcooks, too short and it stays chewy.
This approach locks in juices while breaking down fibers for perfectly tender results every time. A quick sear before pressure cooking adds depth.
Serve with rice or roasted vegetables for a complete meal. The process is simple, but the outcome is restaurant-quality.
Ingredients for Instant Pot Beef Flank Steak
A few quality ingredients plus patience yield melt-in-your-mouth beef every time.
| Ingredient | Amount | Notes |
|---|---|---|
| Beef Flank Steak 🥩 | 2 lb | Trimmed of excess fat |
| Olive Oil 🫒 | 2 tbsp | Divided for searing and cooking |
| Kosher Salt 🧂 | 1 ½ tsp | Diamond Crystal preferred |
| Black Pepper 🌶️ | 1 tsp | Freshly ground for best flavor |
| Garlic Cloves 🧄 | 4 cloves | Minced for depth of flavor |
| Onion 🧅 | 1 whole | Yellow or white, diced |
| Beef Broth 🥘 | 1 cup | Low-sodium recommended |
| Soy Sauce 🫕 | ¼ cup | Or tamari for gluten-free |
| Worcestershire Sauce 🫕 | 1 tbsp | Adds umami complexity |
| Brown Sugar 🍚 | 1 tbsp | Light or dark works |
| Apple Cider Vinegar 🍏 | 1 tbsp | Brightens the flavors |
| Dried Thyme 🌿 | 1 tsp | Crushed between fingers |
| Dried Rosemary 🌿 | 1 tsp | Crushed for release of oils |
| Bay Leaf 🍃 | 1 whole | Removes before serving |
| Cornstarch 🌾 | 2 tbsp | For thickening the sauce |
The beef is the star here—flank steak is lean but flavorful, and Costco or Whole Foods usually have the best selection. Look for pieces with good marbling (those thin white streaks of fat) for maximum tenderness. I always buy a little extra since leftovers make incredible sandwiches. The soy sauce and Worcestershire add depth, so splurge on San-J tamari or Lea & Perrins if you can.
No flank steak? Skirt steak works too (just trim the membrane). Out of Worcestershire? Fish sauce at half the amount adds similar umami. Fresh herbs can replace the dried—use triple the quantity. The apple cider vinegar might seem odd, but it balances the richness (don’t skip it). For gluten-free, coconut aminos instead of soy sauce, and cornstarch is already safe.
This reheats beautifully—actually improves after a day. Store in an airtight container for up to 4 days in the fridge or freeze for 3 months. Slice against the grain just before serving (worth the extra minute).
Why You’ll Love This Recipe
- I’ll be real: the flavors taste even better the next day, so I always make extra for easy lunches.
- Set and Forget: Honestly, I toss everything in the Instant Pot and let it do the work—no babysitting required.
- Garlic-Packed Punch: The garlic cloves infuse the flank steak with a deep, savory richness that’s impossible to resist.
- Weeknight Hero: Between us, this is my go-to for busy evenings when I need something hearty and fast.
Step-by-Step Instructions for Instant Pot Beef Flank Steak
Here’s the method. Straightforward, tested, works every time.
Step 1: Sear and Season the Beef Flank Steak
Set your Instant Pot to the sauté function and add 1 tbsp Olive Oil. While it heats, pat the 2 lb Beef Flank Steak dry with paper towels and season both sides with 1.5 tsp Kosher Salt and 1 tsp Black Pepper. I press the seasoning in firmly so it adheres well during searing.
When the oil is shimmering, add the steak and sear for 3-4 minutes per side until deeply browned. You want a good crust here—this builds flavor. Remove the steak and set it aside. Don’t worry about it being fully cooked; the pressure cooking will finish it perfectly.
Step 2: Build the Aromatic Base
In the same pot, add the remaining 1 tbsp Olive Oil if needed. Toss in the diced Onion and cook for 3-4 minutes until softened and translucent. Add the 4 cloves minced Garlic Cloves and cook for 30 seconds until fragrant—just until you can smell it, not until it browns.
Pour in 0.25 cup Soy Sauce, 1 tbsp Worcestershire Sauce, 1 tbsp Brown Sugar, 1 tbsp Apple Cider Vinegar, 1 cup Beef Broth, 1 tsp Dried Thyme, 1 tsp Dried Rosemary, and the 1 whole Bay Leaf. Stir to combine, scraping up any browned bits from the bottom of the pot.
Step 3: Pressure Cook to Tender Perfection
Return the seared steak to the pot, along with any accumulated juices. Secure the lid and set the Instant Pot to cook on high pressure for 35 minutes. It will take about 10-15 minutes to come to pressure before the cooking time starts.
Once the cooking time is complete, let the pressure release naturally for 10 minutes, then quick-release any remaining pressure. This natural release helps the beef retain moisture. Carefully remove the steak and let it rest on a cutting board for 5 minutes before slicing.
Step 4: Thicken the Sauce and Finish
While the steak rests, mix the 2 tbsp Cornstarch with 2 tbsp water to create a slurry. Stir this into the cooking liquid in the Instant Pot. Set the pot back to sauté and let it simmer for 3-5 minutes until the sauce thickens to your desired consistency.
Remove the Bay Leaf and discard it. Slice the steak thinly against the grain for maximum tenderness. Serve the slices smothered in the rich, savory sauce. The beef should be fork-tender with every bite, and the sauce should cling beautifully to each slice.
Pro Tips For Making Instant Pot Beef Flank Steak
- Score the Steak: Cut shallow diagonal slits across the flank steak every 1-2 inches before cooking—I learned this the hard way after chewing through tough fibers in my first few attempts.
- Deglaze Thoroughly: After searing, add a splash of broth or water to scrape up all those browned bits on the bottom of the pot. Sounds tedious, but it prevents the burn notice and builds flavor.
- Skip the Overcrowding: If your flank steak is too large, cut it in half so it fits in a single layer. I used to cram it in whole and ended up with unevenly cooked pieces.
- Natural Release Only: Let the pressure release naturally for at least 10 minutes—this keeps the meat juicy. I was skeptical until I tried it and saw the difference firsthand.
Dietary Considerations for These Flavors
Gluten-Free Adaptation
This recipe is naturally gluten-free if you use tamari instead of soy sauce. San-J tamari is my go-to brand—it has the same rich flavor without wheat. Double-check your Worcestershire sauce too, as most contain malt vinegar. Annie’s Organic makes a gluten-free version that works perfectly. 💡
Low-Carb Option
Skip the brown sugar entirely—it’s only 1 tbsp per batch, so the flavor impact is minimal. Replace it with 1 tsp erythritol or simply omit it. The umami from soy sauce and Worcestershire will still shine through.
Dairy-Free Friendly
There’s no dairy in this recipe at all, so it’s safe for lactose-intolerant diners. The cornstarch slurry is plant-based, and all other ingredients are naturally dairy-free. Serve with rice or roasted veggies to keep it clean.
Keto Modifications
For a keto-friendly version, reduce the apple cider vinegar to 1 tsp and replace the brown sugar with 1 tsp allulose. The soy sauce and Worcestershire contain carbs, so use coconut aminos instead. This keeps net carbs under 5g per serving.
Low-Sodium Adjustments
Use low-sodium tamari and low-sodium beef broth to cut the salt content. Skip the added kosher salt entirely—the soy sauce and Worcestershire provide enough seasoning. Taste before serving and add a pinch if needed. 💪
Allergen Notes
This recipe contains soy from the soy sauce or tamari. For soy allergies, use coconut aminos as a substitute. The beef and spices are allergen-free, but always check labels for cross-contamination warnings.
Nutrition Facts
Frequently Asked Questions
Do I need to marinate the beef first?
No, marinating isn’t necessary for this method. The pressure cooking process infuses flavor deeply into the meat. The searing step plus the aromatic cooking liquid provides plenty of taste.
Can I cook the steak from frozen?
It’s not recommended. For best results, thaw the beef completely first. Frozen meat won’t sear properly and may cook unevenly, affecting texture and flavor.
What if my beef is still tough?
It likely needs more time. Return the steak to the pot with 1 cup more broth and pressure cook for another 15-20 minutes. Always slice against the grain for maximum tenderness.
Can I use a different cut of meat?
Yes, but adjust cooking times. Skirt steak works well with the same timing, while tougher cuts like chuck roast may need 45 minutes of pressure cooking.

- 6 Oz Chocolate Chip Cookie Recipe: Perfectly Balanced Crispy Edges and Chewy Hearts - September 25, 2026
- 6-Inch Coffee Cake Recipe: Vanilla Bean Swirls and Buttery Streusel Topping - September 25, 2026
- 1 Hour Soup Recipe: Velvety Richness Without the Wait - September 25, 2026