
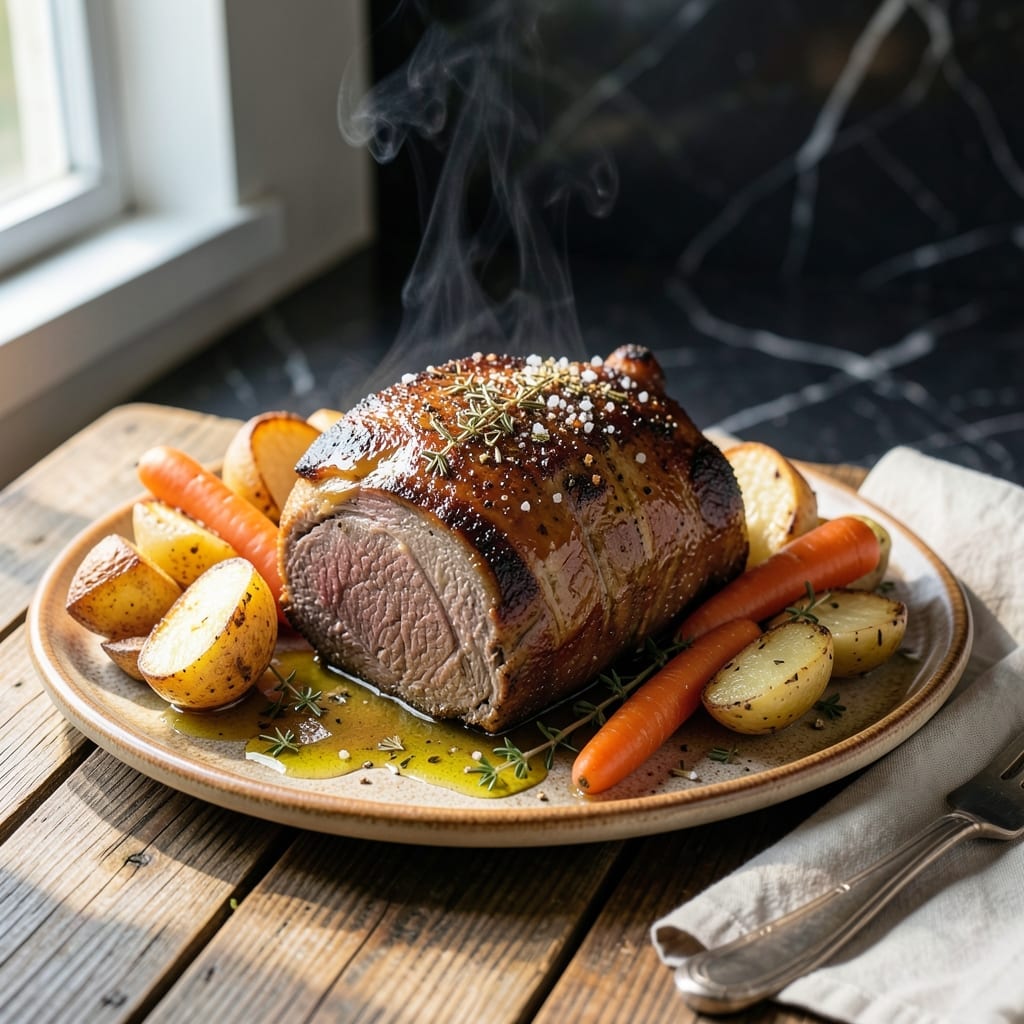
I used to think beef shoulder needed hours in the oven to get tender, but my Instant Pot changed everything. This method delivers fall-apart meat with deep, rich flavor in a fraction of the time.
The secret is searing the beef first to lock in juices, then pressure cooking with simple seasonings and broth. I’ve tested this with different cooking times, and 60 minutes on high pressure is the sweet spot for perfect doneness.
What comes out is meat so tender it shreds with a fork, swimming in a flavorful sauce that’s ready to serve as-is or thicken into gravy. The best part? Your kitchen stays clean and cool.
It’s my go-to for Sunday dinners or busy weeknights when I want something hearty without the fuss.
Ingredients for Instant Pot Beef Shoulder Roast
Pantry staples plus beef shoulder make this hearty dish come alive quickly.
| Ingredient | Amount | Notes |
|---|---|---|
| Beef Shoulder Roast 🥩 | 3 lb | Boneless, trimmed of excess fat |
| Kosher Salt 🧂 | 1 ½ tsp | Divided for seasoning |
| Black Pepper 🌶️ | 1 tsp | Freshly ground preferred |
| Garlic Powder 🧄 | 1 tsp | Not garlic salt |
| Onion Powder 🧅 | 1 tsp | For depth of flavor |
| Dried Thyme 🌿 | 1 tsp | Or 1 tbsp fresh |
| Olive Oil 🫒 | 2 tbsp | For searing beef |
| Beef Broth 🥣 | 1 ½ cups | Low-sodium preferred |
| Yellow Onion 🧅 | 1 whole | Medium, chopped |
| Carrots 🥕 | 3 whole | Medium, chopped |
| Celery Stalks 🌿 | 2 whole | Chopped for base |
| Tomato Paste 🍅 | 2 tbsp | For richness |
| Worcestershire Sauce 🫒 | 1 tbsp | Adds umami depth |
| Bay Leaf 🌿 | 1 whole | For aromatic flavor |
The beef is everything here. Chuck roast works too if shoulder’s hard to find—just look for good marbling. I grab mine from Costco (the big packs freeze well) or Whole Foods for grass-fed. Trim off any big chunks of fat before searing, but don’t go overboard (that fat = flavor). A 3-pound roast is perfect for 4 servings with leftovers.
No beef broth? Mushroom broth plus a splash of soy sauce gets you close. Out of fresh veggies? Frozen mirepoix mix (onions, carrots, celery) from Trader Joe’s saves the day. Don’t have Worcestershire? A little extra soy or fish sauce works (but skip if you’re vegetarian). The tomato paste can be swapped for ketchup in a pinch (use half the amount).
Leftovers keep 4-5 days in the fridge, taste even better reheated. Freezes beautifully for 3 months—portion into containers for easy meals later. The cooking liquid makes amazing gravy (just reduce it down).
Why You’ll Love This Recipe
- Dump and Go: I just toss the beef shoulder in with salt, pepper, garlic, and onion powder—no prep work, no fuss.
- Fall-Apart Tender: The instant pot turns this cut into melt-in-your-mouth perfection every single time.
- Feeds the Whole Crew: One roast makes enough for tacos tonight, sandwiches tomorrow, and maybe even a little for the freezer.
- Budget Hero: Honestly, beef shoulder is cheap, and my instant pot makes it taste like a million bucks.
Step-by-Step Instructions for Pressure Cooked Beef Shoulder Roast
This method guarantees tender, fall-apart meat with rich, deep flavors in record time.
Step 1: Season and Sear the Beef Shoulder Roast
Pat the 3 lb Beef Shoulder Roast dry with paper towels to ensure a good sear. Season all sides generously with 1.5 tsp Kosher Salt, 1 tsp Black Pepper, 1 tsp Garlic Powder, 1 tsp Onion Powder, and 1 tsp Dried Thyme. These spices create a flavorful crust that locks in juices.
Heat the 2 tbsp Olive Oil in your Instant Pot on the sauté function until shimmering. Sear the roast on all sides for 3-4 minutes per side until deeply browned. This step builds a flavor base that transforms simple broth into a rich, complex sauce.
Step 2: Sauté the Aromatic Vegetables
Remove the seared roast and set aside. Add the chopped 1 whole Yellow Onion, 3 whole Carrots, and 2 whole Celery Stalks to the pot. Cook for 4-5 minutes, stirring occasionally, until the vegetables soften and begin to caramelize around the edges.
Stir in the 2 tbsp Tomato Paste and cook for 1 minute to deepen its flavor. Then add 1 tbsp Worcestershire Sauce and cook for 30 seconds, scraping up any browned bits from the bottom. These elements form the backbone of your braising liquid.
Step 3: Pressure Cook to Tender Perfection
Return the roast to the pot and pour in the 1.5 cups Beef Broth. Add the 1 whole Bay Leaf for aromatic depth. Secure the lid and set the Instant Pot to high pressure for 60 minutes. The long cook time breaks down the connective tissue in the beef shoulder, transforming it into melt-in-your-mouth tenderness.
Allow the pressure to release naturally for 15 minutes, then quick-release any remaining pressure. This gradual release prevents the meat from toughening up. The beef is done when it shreds easily with a fork.
Step 4: Rest and Serve
Carefully remove the roast from the pot and transfer it to a cutting board. Let it rest for 10 minutes before slicing or shredding. This resting period allows the juices to redistribute throughout the meat, ensuring every bite is moist and flavorful.
Skim excess fat from the cooking liquid if desired, then serve the beef with the vegetables and sauce spooned over the top. The sauce should be rich and velvety, with layers of savory depth from the beef, vegetables, and spices.
Pro Tips For Making Instant Pot Beef Shoulder Roast
- Sear the Roast: I learned this the hard way—skipping the sear leaves the beef bland. Use the Instant Pot’s sauté function to brown the roast on all sides before pressure cooking.
- Season Generously: Beef shoulder can handle bold flavor, so don’t be shy with the kosher salt, black pepper, garlic powder, and onion powder. Coat the roast thoroughly before searing.
- Don’t Overfill Liquid: After burning three batches, I finally figured out that 1 cup of broth or water is plenty—too much liquid dilutes the flavor and can lead to a soggy roast.
- Natural Release Only: Resist the urge to quick-release the pressure. Letting it release naturally for 15-20 minutes keeps the meat tender and juicy.
Troubleshooting This Recipe
Burn Notice
If you see the “burn” error on your Instant Pot, don’t panic. This usually happens when food sticks to the bottom. I always add ½ cup extra broth when using tomato paste, as its sugar content can cause this. Deglaze the pot thoroughly after sautéing to prevent it. 💡
Tough Meat
Ended up with chewy beef? It likely needed more time. Beef shoulder has tough connective tissue that needs the full 60 minutes under pressure to break down. If unsure, cook for an extra 10-15 minutes next time.
Weak Flavor
Bland results often mean under-seasoning. I double the Kosher Salt and spices when using low-sodium broth.
Thin Sauce
For a thicker sauce, remove the beef and switch to sauté mode. Mix 1 tbsp cornstarch with 1 tbsp water, then stir into the cooking liquid. Simmer for 2-3 minutes until it coats the back of a spoon. 🔥
Sealing Issues
If your Instant Pot won’t come to pressure, check the silicone ring is properly seated. Also ensure the steam release valve is set to “Sealing.” I keep a spare ring on hand—sometimes old ones lose their elasticity.
Vegetable Texture
Mushy veggies? Add them after pressure cooking. Sauté the aromatics as directed, but for firmer texture, add carrots and celery just before serving. They’ll soak up the flavors without turning to mush.
Nutrition Facts
Frequently Asked Questions
Can I use a different cut of beef?
Yes, chuck roast works perfectly as a substitute. It has similar marbling and connective tissue that breaks down beautifully under pressure. Just adjust cooking time to 60-70 minutes for the same tender results.
Do I need to brown the meat first?
Searing creates a flavorful crust and deepens the taste of your sauce. Skip this step and you’ll miss out on the rich, caramelized flavors that make this dish special.
How do I know when it’s done?
The beef is ready when it shreds easily with a fork. If it’s still tough after 60 minutes, cook for an additional 10-15 minutes under pressure. The meat should reach about 200°F internally.
Can I make this ahead of time?
Yes! The flavors actually improve overnight. Store in the fridge for up to 4-5 days or freeze for 3 months. Reheat gently on the stove with a splash of broth.

- 6 Oz Chocolate Chip Cookie Recipe: Perfectly Balanced Crispy Edges and Chewy Hearts - September 25, 2026
- 6-Inch Coffee Cake Recipe: Vanilla Bean Swirls and Buttery Streusel Topping - September 25, 2026
- 1 Hour Soup Recipe: Velvety Richness Without the Wait - September 25, 2026