
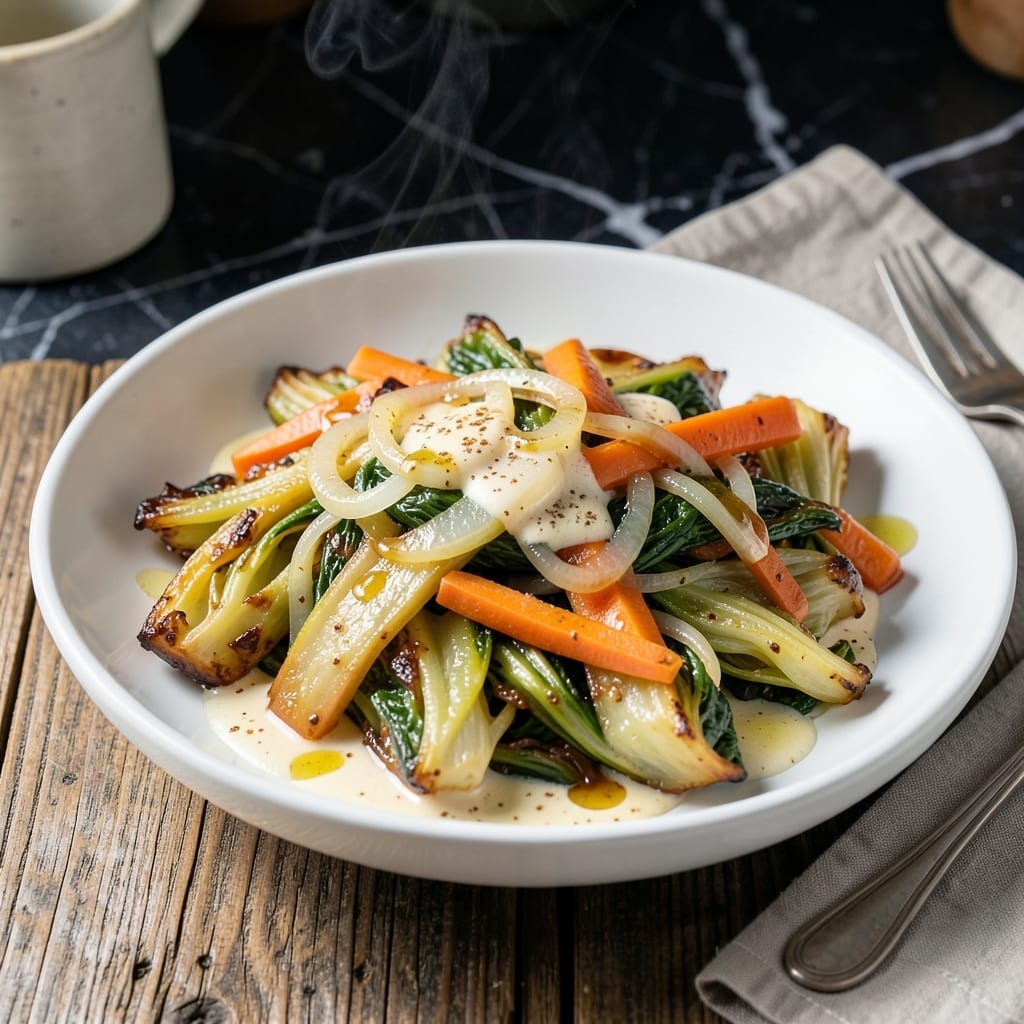
This recipe transforms humble cabbage into a sweet and savory side dish with minimal effort. The Instant Pot works its magic, turning crisp leaves into tender, flavorful strands in under 30 minutes.
No complicated techniques here—just simple ingredients and the pressure cooker doing most of the work. The result is a dish that pairs perfectly with grilled meats or stands proudly on its own.
The natural sweetness of cabbage shines through, balanced by tangy vinegar and aromatic spices. Each bite delivers a satisfying mix of textures and flavors that will surprise even the skeptics.
Ready to elevate your weeknight meals with this hands-off approach? Let’s begin.
Ingredients for Instant Pot Cabbage
Simple pantry staples and fresh produce create this vibrant, tangy side dish effortlessly.
| Ingredient | Amount | Notes |
|---|---|---|
| Green Cabbage 🥬 | 1 whole | Medium head, about 2 lbs |
| Unsalted Butter 🧈 | 4 tbsp | Melted for richness |
| Yellow Onion 🧅 | 1 whole | Medium, finely diced |
| Granulated Sugar 🍚 | 2 tbsp | Balances acidity |
| Apple Cider Vinegar 🍏 | ¼ cup | For tangy brightness |
| Carrots 🥕 | 2 whole | Medium, julienned |
| Celery Ribs 🌿 | 2 whole | Diced for crunch |
| Garlic Cloves 🧄 | 3 cloves | Minced for depth |
| Dijon Mustard 🟡 | 1 tbsp | Adds sharp complexity |
| Caraway Seeds 🌿 | 1 tsp | Optional, for earthy notes |
| Kosher Salt 🧂 | 1 tsp | Diamond Crystal preferred |
| Black Pepper 🌶️ | ½ tsp | Freshly ground |
| Chicken Stock 💧 | ½ cup | Or vegetable stock |
The cabbage is the foundation here. Choose a firm, dense head with tight outer leaves—avoid any with soft spots or blemishes. Green cabbage is standard, but red or savoy work too (adjust cooking time slightly). Whole Foods or local farmers markets often have the freshest selection. For the vinegar, apple cider vinegar adds the perfect sweet-tangy balance (white vinegar is too harsh).
No apple cider vinegar? White wine vinegar at equal parts works in a pinch. Fresh lemon juice can substitute but add a pinch of sugar to compensate. The butter can be swapped for olive oil if avoiding dairy, though the flavor profile shifts slightly. Caraway seeds are traditional but skip them if you dislike the taste—the dish still shines without.
Leftovers keep in an airtight container for 4-5 days in the fridge. Reheats beautifully, though the texture softens further. Freeze for up to 3 months (thaw before reheating). Cabbage is best prepped just before cooking to preserve freshness.
Why You’ll Love This Recipe
- Set It and Forget: I toss everything in the Instant Pot, press a button, and walk away—no babysitting required.
- Sweet-Tangy Magic: That buttery caramelized onion with the vinegar’s zip makes the cabbage ridiculously good.
- Feeds the Week: One head of cabbage turns into four meals’ worth of sides. Honestly, it reheats even better.
- Pennywise Comfort: A cabbage, a onion, and pantry staples—this dinner costs less than a coffee and tastes like home.
Step-by-Step Instructions for Instant Pot Sweet and Savory Cabbage Slaw
This method delivers tender cabbage with a tangy, slightly sweet dressing in minimal active time.
Step 1: Sauté Aromatics for Flavor Foundation
Set the Instant Pot to Sauté mode on Normal heat. Add the 4 tbsp unsalted butter and let it melt completely, which takes about 1-2 minutes. The butter should foam slightly but not brown—this indicates it’s ready for the next ingredients.
Add the finely diced yellow onion, julienned carrots, and diced celery ribs. Sauté for 4-5 minutes until the vegetables soften and the onion becomes translucent. Stir occasionally to prevent browning, as this step builds the base flavors without caramelization.
Stir in the minced 3 cloves garlic cloves and 1 tsp caraway seeds, cooking for an additional 30 seconds until fragrant. The aroma should be pronounced but not bitter—this signals the garlic is perfectly cooked.
Step 2: Deglaze and Sweeten the Mixture
Pour in the 0.25 cup apple cider vinegar and 2 tbsp granulated sugar, stirring to dissolve the sugar completely. The vinegar will bubble as it deglazes the pot, lifting any browned bits from the bottom—this adds depth to the final dish.
Let the mixture simmer for 2-3 minutes until the liquid reduces slightly and the sugar fully incorporates. You’ll notice the sharp vinegar scent mellowing as it combines with the sweetness. This balance is crucial for the tangy-sweet profile.
Step 3: Pressure Cook the Cabbage
Cut the green cabbage into 8 even wedges, keeping the core intact so the leaves stay together during cooking. Arrange the wedges in the Instant Pot on top of the vegetables, slightly overlapping if necessary. Pour the 0.5 cup chicken stock around the edges of the pot, not directly over the cabbage.
Secure the lid, set the valve to Sealing, and cook on High Pressure for 4 minutes. The cabbage will soften perfectly while retaining some texture. After cooking, let the pressure release naturally for 5 minutes, then quick-release any remaining pressure.
Step 4: Finish with Mustard and Seasoning
Carefully remove the lid and transfer the cabbage wedges to a serving dish. Stir the 1 tbsp Dijon mustard, 1 tsp kosher salt, and 0.5 tsp black pepper into the pot’s liquid, mixing until fully combined. The mustard will thicken the sauce slightly while adding its signature sharpness.
Pour the sauce over the cabbage, ensuring each wedge is evenly coated. Let it sit for 2-3 minutes to allow the flavors to meld. The cabbage should be tender but still hold its shape, with a glossy, flavorful finish.
Pro Tips For Making Instant Pot Cabbage
- Sear the Onions: Cook the yellow onions in the Instant Pot first using the sauté function until they’re soft and translucent—about 5 minutes. This builds a flavor base that makes the cabbage taste richer.
- Core the Cabbage: Cut out the tough core before chopping the green cabbage into wedges. I learned this the hard way—leaving it in makes for chewy, unpleasant bites.
- Use Natural Release: Let the pressure release naturally for 10 minutes after cooking. Resist the urge to quick-release, or you’ll end up with mushy cabbage instead of tender-crisp.
- Add Vinegar Last: Stir in the apple cider vinegar after pressure cooking. Adding it at the start can make the cabbage dull and gray—this keeps it bright and tangy.
Troubleshooting Great instant pot cabbage
Mushy Cabbage
If your cabbage turns to mush, it likely cooked too long. Stick to the 4-minute high pressure time and natural release for 5 minutes. Overcrowding can also cause this—cut into 8 wedges max for even cooking. 💡
Burn Notice
Avoid the dreaded burn error by always deglazing with 0.25 cup apple cider vinegar before pressure cooking. Scrape the bottom well after sautéing. If it happens, release pressure, scrape, add ½ cup extra stock, and restart.
Bland Flavor
If your dish tastes flat, boost it with an extra 1 tbsp apple cider vinegar or ½ tsp kosher salt. The Dijon mustard is key for depth—don’t skip it. Taste before serving and adjust as needed.
Watery Sauce
For a thicker sauce, use the Sauté function after pressure cooking to reduce the liquid by ¼. Alternatively, mix 1 tsp cornstarch with 1 tbsp water and stir in while simmering. This tightens the sauce beautifully.
Cabbage Not Tender
Undercooked cabbage usually means the wedges were too large. Cut into 6-8 even wedges for consistent results. If needed, pressure cook for an additional 2 minutes with a quick release. Check the core—it should pierce easily with a fork.
Strong Vinegar Taste
Balance an overly tangy dish with 1 tsp granulated sugar or a pinch of baking soda. The sugar enhances natural sweetness, while baking soda neutralizes acidity. Stir well and let sit for 2-3 minutes before tasting again. ✨
Nutrition Facts
Frequently Asked Questions
Can I use red cabbage instead?
Red cabbage works beautifully and adds vibrant color. Expect a slightly earthier taste and adjust cooking time to 5 minutes for optimal tenderness.
What if I don’t have apple cider vinegar?
White wine vinegar is the best substitute at equal parts. In a pinch, use lemon juice plus a pinch of sugar to balance the acidity.
How do I store leftovers?
Keep in an airtight container for 4-5 days in the fridge. Freeze for up to 3 months, though texture may soften slightly.
Can I make this without butter?
Yes! Swap the butter for olive oil or coconut oil. The flavor will differ slightly but the dish will still be delicious.

- 4C Bread Crumbs Meatballs Recipe: Crispy Crust and Juicy Centers - September 25, 2026
- 6 Oz Chocolate Chip Cookie Recipe: Perfectly Balanced Crispy Edges and Chewy Hearts - September 25, 2026
- 6-Inch Coffee Cake Recipe: Vanilla Bean Swirls and Buttery Streusel Topping - September 25, 2026