
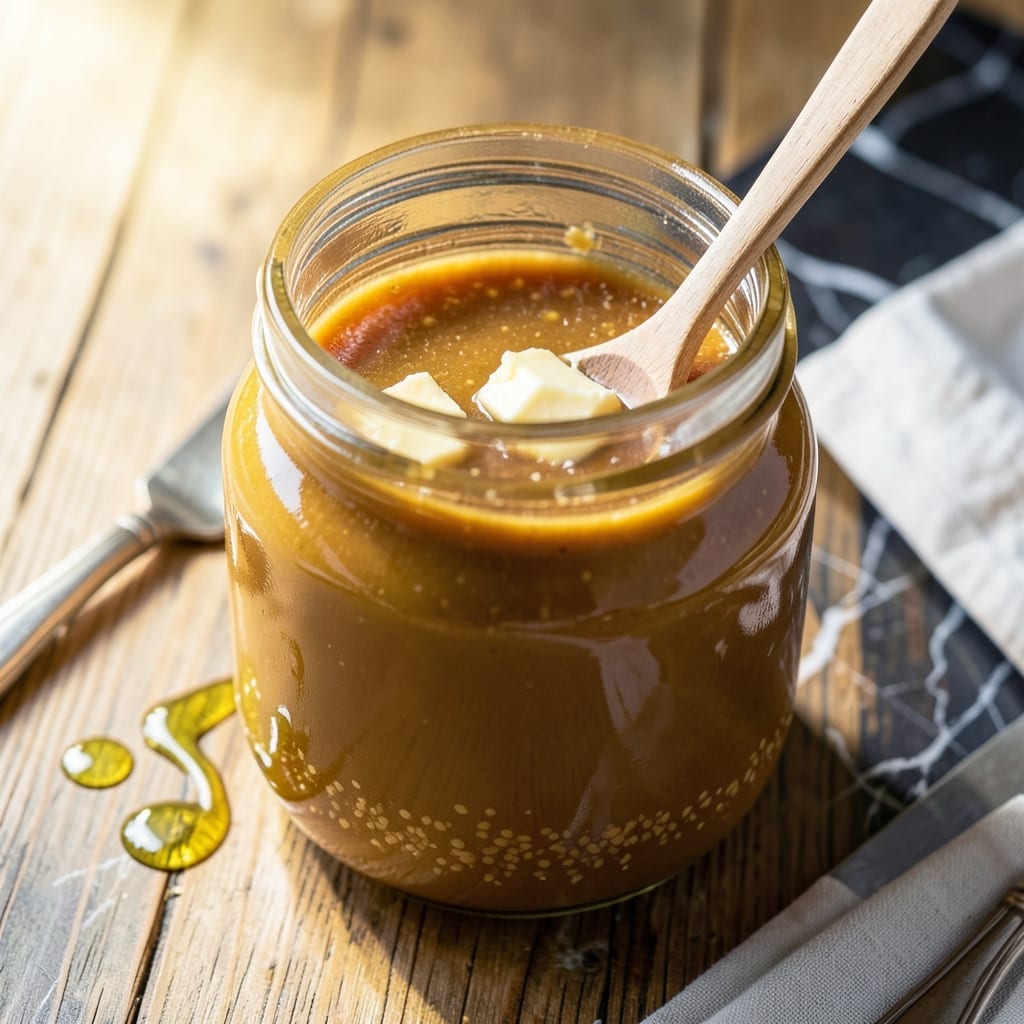
Making clarified butter at home is simpler than you think, especially with an Instant Pot handling most of the work. This method delivers golden ghee with rich, nutty flavor and a high smoke point perfect for cooking.
The process removes milk solids and water, leaving behind pure butterfat that stays fresh for months. No constant stirring or careful temperature monitoring needed—just set the timer and let the appliance do its job.
You’ll end up with a jar of deep amber ghee that’s ideal for sautéing, baking, or drizzling over dishes. The Instant Pot makes this traditionally labor-intensive process nearly hands-off.
Store it at room temperature in an airtight container for up to three months. Here’s how to make it perfectly every time.
Ingredients for Instant Pot Ghee
Just butter and water. That is all you need for this.
| Ingredient | Amount | Notes |
|---|---|---|
| Unsalted Butter 🧈 | 2 lb | High-fat content preferred, 80-85% fat |
| Water 💧 | 1 cup | For initial melting phase |
Butter quality matters here. Plugra or Kerrygold are my go-tos—higher fat content means less water to evaporate off. I grab mine from Whole Foods or Trader Joe’s (their cultured butter is fantastic). Avoid anything labeled ‘light’ or ‘reduced fat’—those won’t give you the right texture. The water helps prevent burning in the Instant Pot (worth the extra minute).
No unsalted butter? Salted works at a pinch—the milk solids will settle out anyway, but your ghee might have a slightly saltier taste. Want more nutty flavor? Brown the butter slightly before clarifying. The water amount isn’t critical—just enough to cover the bottom of the pot. Some recipes skip it entirely, but I find it prevents sticking.
Ghee keeps 3-6 months at room temperature in an airtight jar. No fridge needed. The color deepens as it ages—that’s normal (and delicious). I reuse glass pasta sauce jars for storage. Just make sure they’re spotless and dry first.
Why You’ll Love This Recipe
- Set and Forget: Honestly, I just dump the butter in the Instant Pot, press a button, and walk away—no stirring, no babysitting.
- Rich Nutty Depth: That slow caramelization of the milk solids gives it this warm, toasty flavor that store-bought can’t touch.
- Meal Prep Hero: I make a big batch on Sunday and use it all week for cooking, drizzling, even bulletproof coffee.
- Pantry Staple: One pound of butter turns into a jar of ghee that keeps for months, so I’m never scrambling last-minute.
Step-by-Step Instructions for Instant Pot Ghee
Here’s the tested method that turns butter into golden clarified goodness with almost no effort.
Step 1: Add Butter and Water to the Instant Pot
Place the 2 lb Unsalted Butter directly into your Instant Pot inner pot. I cut it into chunks first—this helps it melt faster and more evenly. Add the 1 cup Water to the pot as well. The water prevents the butter from burning during the melting phase.
Secure the lid and set the valve to Sealing. Select the Sauté function on Normal heat. The water will help create steam initially, but don’t worry—it’ll all evaporate as the process continues, leaving you with pure clarified butter.
Step 2: Melt and Separate the Butter
Let the butter melt completely, which takes about 10-12 minutes. You’ll notice the butter start to bubble as the water content evaporates. This is normal—the moisture in the butter is cooking off. Resist the urge to stir; you want the milk solids to separate and settle at the bottom.
As the butter continues to cook, it will begin to foam. This is the whey proteins separating out. After about 15-20 minutes total, the foaming will subside, and you’ll see the golden liquid start to clarify. The milk solids will sink to the bottom, turning a light golden brown.
Step 3: Monitor for Perfect Clarification
Once the foaming stops, watch closely for the milk solids to turn a rich amber color. This usually happens at the 20-25 minute mark. The ghee is ready when the liquid is a deep golden color and completely clear, with browned milk solids settled at the bottom.
Don’t walk away during this stage. If the milk solids start to darken too quickly, reduce the heat to Low on the Sauté function. You want them to brown gently, not burn. Burnt milk solids will give your ghee a bitter taste, so this step requires your attention.
Step 4: Strain and Store the Ghee
Turn off the Instant Pot and let the ghee cool for about 5 minutes to stop the cooking process. Carefully strain the ghee through a fine-mesh sieve lined with cheesecloth into a clean, dry jar. This double-straining ensures you remove all the milk solids for maximum shelf life.
Discard the milk solids left in the sieve. Let the ghee cool completely at room temperature—it will solidify into a beautiful golden color. Once cooled, seal the jar tightly. Your ghee will keep at room temperature for up to 3 months, or in the refrigerator for even longer.
Pro Tips For Making Instant Pot Ghee
- Use High-Quality Butter: I learned this the hard way—cheap butter has more water and impurities, which means more skimming and a less rich final product. Stick with a trusted brand of unsalted butter for the cleanest ghee.
- Don’t Overfill the Pot: After burning a batch from butter bubbling over, I now use no more than 2 pounds of butter in my 6-quart Instant Pot. It needs room to expand as it melts and separates.
- Skip the Lid: Resist the urge to seal the Instant Pot—this isn’t a pressure cook. Use the sauté function with the lid off so moisture can escape and the butter can properly clarify.
- Wait for Full Separation: I was skeptical until I tried it, but letting the milk solids brown fully (about 15-20 minutes on sauté) gives the ghee that deep, nutty flavor. Don’t rush it—golden-brown solids mean it’s ready.
Regional Styles of This Dish
Indian Tradition
In India, ghee is sacred in both cooking and Ayurvedic medicine, often made from buffalo milk for its rich flavor. The traditional bilona method involves churning yogurt into butter first, then clarifying it over a slow fire. This yields a deeper, nuttier taste than the Instant Pot method.
Middle Eastern Approach
Middle Eastern versions often use sheep or goat milk butter, which has a tangier profile. They typically clarify the butter over low heat in a copper pot, believing it enhances the final flavor. The ghee is then used in dishes like halva or drizzled over rice.
I love the caramelized notes this method produces. 💛
European Clarified Butter
French beurre noisette is similar but stops short of full clarification, keeping some milk solids for a brown butter flavor. It’s made by melting butter slowly until the solids turn nutty and brown, then straining. This works beautifully in sauces and pastries.
American Adaptation
Many American chefs prefer using grass-fed butter for ghee, like Kerrygold, for its higher nutrient content. The Instant Pot method aligns perfectly with modern convenience, making ghee accessible without sacrificing quality.
Eastern European Style
In Ukraine and Russia, ghee is often made with a touch of salt and sometimes infused with herbs. It’s commonly used in baking and spreading on bread. The addition of herbs like dill or thyme adds a unique twist to the flavor profile.
Nutrition Facts
Frequently Asked Questions
Can I use salted butter?
Yes, but the ghee may have a slightly saltier taste. The milk solids settle out regardless, so it’s safe to use. For best results, stick with unsalted.
How do I know when it’s done?
The ghee is ready when the liquid turns deep golden and clear, with browned milk solids at the bottom. This usually happens around the 20-25 minute mark.
Why add water to the Instant Pot?
The 1 cup water prevents burning during the initial melting phase. It evaporates completely, leaving pure clarified butter behind.
How should I store it?
Let it cool completely, then transfer to an airtight container. It keeps at room temperature for up to 3 months.

- 4C Bread Crumbs Meatballs Recipe: Crispy Crust and Juicy Centers - September 25, 2026
- 6 Oz Chocolate Chip Cookie Recipe: Perfectly Balanced Crispy Edges and Chewy Hearts - September 25, 2026
- 6-Inch Coffee Cake Recipe: Vanilla Bean Swirls and Buttery Streusel Topping - September 25, 2026