
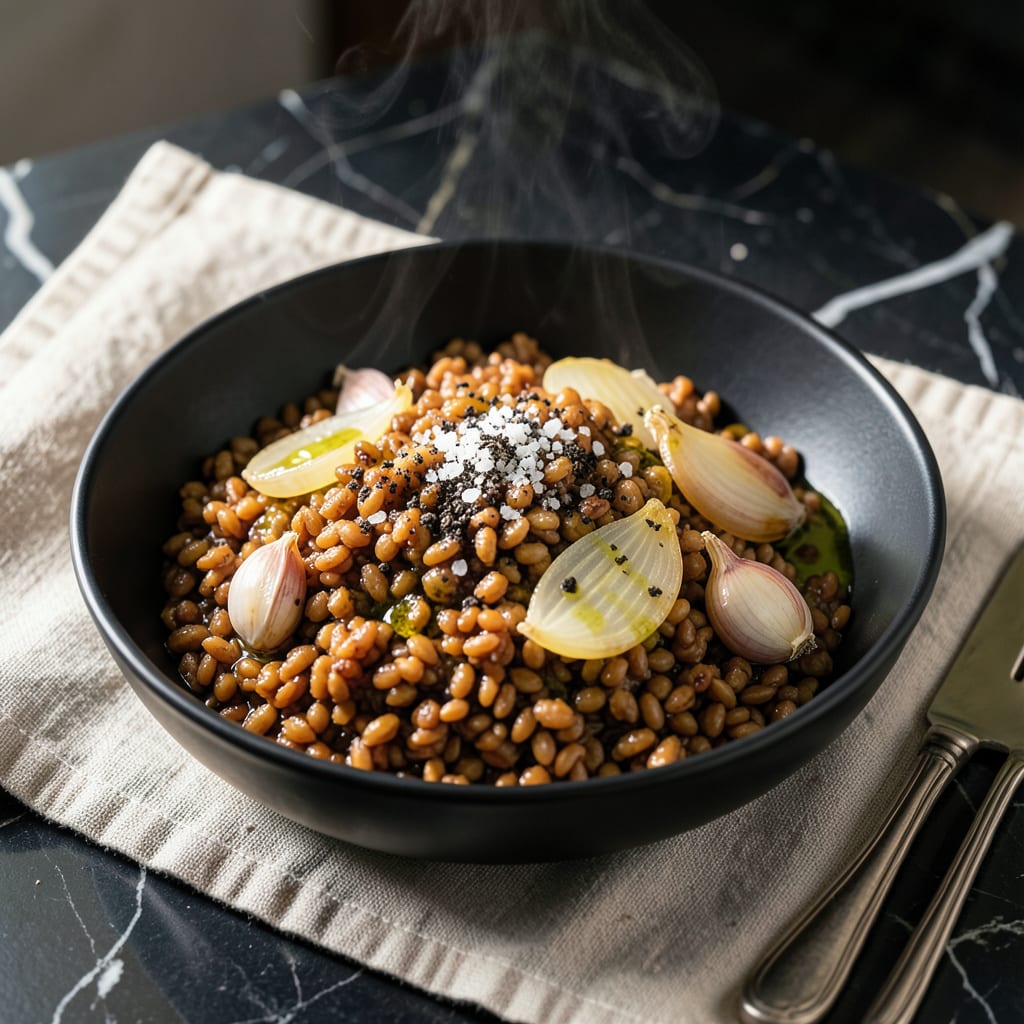
Whole groats offer a satisfying, nutty flavor that’s often overlooked in modern cooking. This method transforms them into a tender side dish without the long stovetop time.
With the Instant Pot, you’ll achieve perfectly cooked groats in a fraction of the traditional time. Their chewy texture pairs well with savory dishes or as a hearty breakfast base.
Ingredients for Instant Pot Groats
Whole groats and simple aromatics create a nutty, tender side dish in minutes.
| Ingredient | Amount | Notes |
|---|---|---|
| Whole Groats 🌾 | 1 ½ cups | Rinsed thoroughly before cooking |
| Water 💧 | 3 ½ cups | Or substitute vegetable broth |
| Olive Oil 🫒 | 1 tbsp | Extra-virgin preferred for flavor |
| Salt 🧂 | ½ tsp | Kosher or sea salt for best results |
| Black Pepper 🌶️ | ¼ tsp | Freshly ground recommended |
| Garlic Cloves 🧄 | 2 cloves | Minced for even distribution |
| Onion 🧅 | ½ whole | Yellow or white, finely diced |
| Bay Leaf 🍃 | 1 whole | Dried, removed before serving |
| Dried Thyme 🌿 | ½ tsp | Crushed to release flavor |
| Butter 🧈 | 1 tbsp | Optional, for finishing |
| Fresh Parsley 🍃 | 2 tbsp | Chopped, for garnish |
The groats are the star here. Bob’s Red Mill offers consistent quality, but any whole grain groats will work—just ensure they’re not steel-cut or rolled. Look for packages labeled simply as ‘groats’ or ‘whole oat groats’ at Whole Foods or well-stocked supermarkets. The texture difference between brands is minimal, but fresher groats cook more evenly.
No bay leaf? One-fourth teaspoon dried rosemary works as a substitute. Short on fresh parsley? Dried parsley at half the amount or a sprinkle of chives will do. Vegetable broth can replace water for extra depth. The onion can be shallot if you prefer a milder flavor. For a richer finish, swap the butter for ghee or an extra drizzle of olive oil.
Cooked groats keep well in the fridge for 4-5 days in an airtight container. They freeze beautifully for up to 3 months. Reheat with a splash of water or broth to restore moisture. The flavor deepens over time, making leftovers ideal for meal prep.
Why You’ll Love This Recipe
- Set It and Forget: I toss in the groats, water, and a drizzle of olive oil, then walk away—no stirring, no babysitting.
- Nutty Comfort: The groats cook up with this rich, toasty depth that pairs perfectly with just salt and pepper.
- Meal Prep Hero: I make a big batch on Sunday and it reheats beautifully for lunches all week.
- Pantry MVP: Between us, whole groats cost pennies and fill us up like a much pricier grain.
Step-by-Step Instructions for Instant Pot Groats
This method ensures perfectly cooked groats with a nutty flavor and tender texture every time.
Step 1: Sauté the Aromatics
Set the Instant Pot to the Sauté function on Normal heat. Add the 1 tbsp Olive Oil and allow it to heat for 30 seconds. Add the 0.5 whole Onion and sauté for 3-4 minutes until softened and translucent.
Stir in the 2 cloves Garlic Cloves, 0.5 tsp Salt, 0.25 tsp Black Pepper, and 0.5 tsp Dried Thyme. Sauté for an additional 1 minute until the garlic is fragrant. This step builds a flavor foundation for the groats.
Step 2: Toast the Whole Groats
Add the 1.5 cups Whole Groats to the Instant Pot and stir to coat them in the oil and aromatics. Toast for 2-3 minutes, stirring frequently, until the groats are lightly golden and smell nutty. This enhances their natural flavor.
Be careful not to let the groats brown too deeply, as this can lead to a bitter taste. The goal is a light toast that brings out their inherent nuttiness without overcooking.
Step 3: Pressure Cook the Groats
Pour in the 3.5 cups Water and add the 1 whole Bay Leaf. Stir to combine, ensuring all groats are submerged. Secure the lid, set the valve to Sealing, and cook on High Pressure for 22 minutes.
Once the cooking time is complete, allow the pressure to release naturally for 10 minutes, then quick-release any remaining pressure. This gradual release prevents the groats from becoming mushy.
Step 4: Finish and Serve
Open the Instant Pot and remove the 1 whole Bay Leaf. Stir in the 1 tbsp Butter (if using) to add a rich, creamy finish. Let the groats sit for 2-3 minutes to absorb any remaining liquid.
Fluff the groats gently with a fork and taste for seasoning. Adjust with additional salt or black pepper if needed. Garnish with 2 tbsp Fresh Parsley before serving. The groats should be tender but still slightly chewy, with a nutty, earthy flavor.
Pro Tips For Making Instant Pot Groats
- Rinse the Groats: Always rinse whole groats before cooking—this removes excess starch and prevents a gummy texture in your Instant Pot.
- Use the Right Ratio: Stick to a 1:2.5 groats-to-water ratio for perfect tenderness; I learned this the hard way after a few mushy batches.
- Skip the Quick Release: Let the pressure release naturally for 10 minutes to avoid undercooked or unevenly cooked groats.
- Toast First: Sauté the groats in olive oil for 2-3 minutes before adding water—it adds a nutty depth that plain boiling can’t match.
Flavor Customization for This Recipe
Savory Herb Boost
For earthier notes, add 1 tsp dried rosemary or ½ tsp sage when toasting the groats. I love how these herbs complement the natural nuttiness. A pinch of smoked paprika adds subtle depth. 🌿
Spicy Kick
Stir in ¼ tsp cayenne pepper with the salt, or add 1 minced jalapeño when sautéing onions. The heat balances the groats’ richness beautifully. For milder spice, try ½ tsp chili flakes instead.
Umami Richness
Boost flavor with 1 tbsp soy sauce or 1 tsp mushroom powder added to the cooking liquid. I often add 1 crumbled vegetable bouillon cube for extra savoriness. These small additions make a noticeable difference.
Sweet & Tangy
Finish with 1 tbsp maple syrup and 1 tsp apple cider vinegar after cooking. The sweetness enhances the groats’ natural flavor while vinegar brightens the dish. A sprinkle of dried cranberries adds chewy texture.
For a Mediterranean twist, stir in 2 tbsp crumbled feta and 1 tbsp lemon zest before serving.
Creamy Comfort
After cooking, stir in ¼ cup heavy cream or 2 tbsp cream cheese for a luxurious texture. I sometimes add ½ cup grated Parmesan for an extra-rich finish. This works especially well for breakfast dishes. ✨
Nutrition Facts
Frequently Asked Questions
Do I need to rinse the groats before cooking?
Yes, always rinse 1.5 cups of groats thoroughly under cold water to remove any debris. This prevents a bitter taste and ensures even cooking.
Can I use steel-cut oats instead?
No, steel-cut oats cook much faster and will turn mushy. Stick to whole groats for the best texture and flavor. They hold their shape better during pressure cooking.
What if my groats are still firm after cooking?
If they’re undercooked, add 1/2 cup more water and pressure cook for another 5-7 minutes. Let the pressure release naturally this time for optimal tenderness.
How do I store leftovers?
Transfer to an airtight container and refrigerate for up to 5 days. For longer storage, freeze for 3 months. Reheat with a splash of water to restore moisture.

- 4C Bread Crumbs Meatballs Recipe: Crispy Crust and Juicy Centers - September 25, 2026
- 6 Oz Chocolate Chip Cookie Recipe: Perfectly Balanced Crispy Edges and Chewy Hearts - September 25, 2026
- 6-Inch Coffee Cake Recipe: Vanilla Bean Swirls and Buttery Streusel Topping - September 25, 2026