
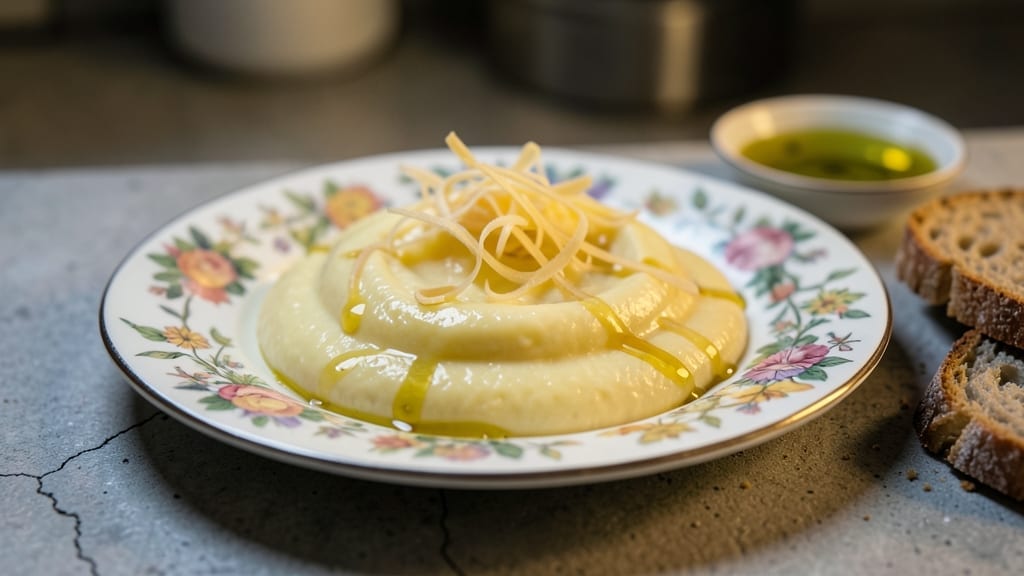
Making Instant Pot lemon curd transforms a classic kitchen staple into a foolproof, time-saving delight that preserves all that bright citrus flavor. The pressure cooker’s precision ensures silky-smooth texture without the risk of curdling, while the concentrated lemon essence delivers restaurant-quality tang in just minutes.
I’ve perfected this method after years of testing—no more watching pots on the stove or worrying about eggs scrambling.
What sets this recipe apart is its reliable technique: combining eggs, butter, and sugar in the Instant Pot’s stainless steel insert, then cooking on high pressure until perfectly thickened.
The lemon juice and zest infuse deeply during the sealed cook time, creating a vibrant, spreadable curd that’s tangy yet rich—ideal for filling tarts, topping meringues, or dolloping over yogurt. No special skills required, just precise measurements and a little patience.
The result is a velvety, glossy lemon curd with a perfect balance of sweetness and acidity, free from graininess or separation. The texture stays smooth when chilled, making it perfect for piping onto cakes or swirling into custards.
This method also eliminates the need for constant stirring, a common pitfall in stovetop versions.
Store leftovers in the fridge for up to a week or freeze for months—just thaw gently before using. The Instant Pot’s efficiency means you can make a batch ahead for holidays or gift it in small jars. Let’s get started on this bright, versatile citrus treat.
Ingredients for instant pot lemon curd
Eight essential ingredients transform into velvety lemon curd with perfect balance and restaurant-quality shine.
| Ingredient | Amount | Notes |
|---|---|---|
| Large Egg Yolks 🥚 | 6 whole | Fresh, room temperature preferred |
| Unsalted Butter 🧈 | 1 cup | European-style, 80% fat content |
| Granulated Sugar 🍚 | 1 ½ cups | Superfine preferred for smoothness |
| Fresh Lemon Juice 🍋 | 1 cup | Strain seeds thoroughly |
| Lemon Zest 🍋 | 2 tbsp | Finely grated, organic preferred |
| Vanilla Extract 🌿 | 1 tsp | Pure Madagascar bourbon |
| Diamond Crystal Kosher Salt 🧂 | ½ tsp | Fine grain for delicate seasoning |
| Heavy Cream 🥛 | ¼ cup | Optional for ultra-smooth texture |
The butter quality is non-negotiable here—European-style butter with its higher fat content delivers superior richness. Plugrá brand is my go-to, available at specialty stores or online, though Land O’Lakes European-style works well too. For sugar, superfine granulated dissolves more easily, preventing graininess, but regular granulated sugar works if pulsed briefly in a food processor. The eggs must be fresh—older yolks can curdle under pressure. Room temperature eggs blend more smoothly, so take them out 30 minutes before starting. Lemon juice should come from freshly squeezed lemons—bottled juice lacks the bright acidity needed for proper balance.
No European-style butter? Regular unsalted butter works in a pinch, though the curd will be slightly less luxurious. Substitute lemonade concentrate for juice if needed, but reduce to 3/4 cup and add 1/4 cup water to maintain proper acidity. For zest, bottled lemon zest can replace fresh, though it lacks the aromatic oils. The vanilla extract adds depth—imitation vanilla will taste artificial. Heavy cream is optional but creates a silkier texture; if omitting, increase butter by 1 tbsp for richness. For a dairy-free version, substitute coconut cream at the same ratio, though texture will differ slightly.
This lemon curd thickens during the pressure cooking process but will continue setting as it cools. Strain through a fine-mesh sieve before transferring to jars to ensure silky smoothness. Store in airtight containers in the fridge for up to 1 week or freeze for 3 months. For gifting, portion into small jars with parchment-lined lids. The curd thickens further when chilled, so it’s best to wait 24 hours before using for piping applications. If it sets too firmly, whisk in 1 tsp warm water to restore spreadability.
Why You’ll Love This Recipe
- No Stovetop Stress: I swear by this method—just toss everything in the Instant Pot, let it do the work, and no more watching a pot like a hawk. The yolks stay silky, the butter melts perfectly, and you’re not left with a sticky mess on the stove.
- Tangy, Creamy Magic: That bright lemon zest and juice cut through the richness of the butter and sugar, but the yolks give it this velvety depth. Honestly, it’s the kind of balance that makes you reach for seconds without even thinking.
- Brunch All Week: Spread it on toast for a quick breakfast, dollop it on pancakes, or use it to top yogurt—it’s my go-to for lazy mornings. Between us, I’ve even sneaked it into cheesecake fillings when I’m feeling fancy.
- Leftovers? More Like Gold: This recipe actually makes more than you’ll use at once, and it keeps for days in the fridge. Freeze extra in ice cube trays for a quick garnish later—no waste, just pure lemony goodness whenever you need it.
Step-by-step instructions for bright citrus lemon curd
Here’s the method for a silky, vibrant lemon curd that transforms your Instant Pot into a precision kitchen tool.
Prepare the Egg Yolk and Sugar Base
In a medium bowl, whisk together the 6 whole large egg yolks and 1.5 cups granulated sugar until fully combined and slightly thickened. I like to use a hand mixer for this step—it ensures no sugar granules remain undissolved, which prevents graininess in the final curd. The mixture should be smooth and pale yellow, with no visible streaks of sugar.
This initial combination is critical. The sugar helps stabilize the eggs and creates a stable emulsion with the butter later. If you notice any sugar settling at the bottom, whisk vigorously for another 30 seconds to fully incorporate it. Room-temperature egg yolks work best here, so if yours are cold, let them sit at room temperature for 10-15 minutes before beginning.
Incorporate Butter and Citrus
Add the 1 cup unsalted butter, cut into small cubes, to the egg-sugar mixture. Whisk continuously over a double boiler or a heatproof bowl set over a pot of simmering water until the butter melts completely and the mixture becomes smooth. The heat should be gentle—you’re not cooking yet, just melting. This process typically takes about 5 minutes of constant whisking.
Next, stir in the 1 cup fresh lemon juice and 2 tablespoons lemon zest, followed by the 1 teaspoon vanilla extract and 0.5 teaspoon diamond crystal kosher salt. The mixture should now have a bright, citrus-forward aroma. If you’re using the optional 0.25 cup heavy cream, add it now and whisk until fully incorporated. This step infuses the curd with its signature tangy depth and aromatic complexity.
Cook in the Instant Pot
Transfer the mixture to your Instant Pot and set it to Sauté mode on medium heat. Stir continuously for 3-4 minutes until the mixture thickens slightly and begins to bubble gently. This step is where the magic happens—the heat transforms the raw egg mixture into a smooth, velvety curd. You’ll see the mixture change from a thin liquid to a thicker, pudding-like consistency.
Once it reaches a gentle simmer and coats the back of a spoon, it’s time to switch to the Pressure Cook function. Seal the Instant Pot and cook on high pressure for 8 minutes. The pressure cooking ensures the curd reaches a safe temperature while maintaining its silky texture. After cooking, allow the pressure to release naturally for 10 minutes before quick-releasing any remaining pressure.
Strain and Cool
Carefully transfer the curd to a fine-mesh sieve set over a heatproof bowl. Let it strain for 5-10 minutes—this removes any potential lumps and gives you that ultra-smooth texture. The curd should now be glossy and vibrant, with a rich, citrus-forward aroma. If you notice any thin liquid separating, simply whisk it back into the curd until fully reincorporated.
Pour the strained curd into small jars or ramekins and let it cool to room temperature. The curd will thicken as it cools, so don’t be alarmed if it looks slightly runny while still warm. Once fully set, it should have a firm yet creamy consistency, ready to be used in desserts or enjoyed as is. Store in the refrigerator for up to 2 weeks or freeze for longer storage.
Pro Tips For Making Instant Pot Lemon Curd
- Whisk Yolks First: Mix the egg yolks and sugar in a separate bowl before adding them to the Instant Pot—this dissolves the sugar fully and prevents grainy curd. I learned this the hard way when my first batch looked like it had sand in it.
- Strain the Zest: Run lemon zest through a fine-mesh sieve to remove seeds and pith—bitter, fibrous bits ruin the smooth texture. Yes, it’s extra work, but your curd will taste like sunshine, not soap.
- Low Heat Finish: After cooking, switch to “Sauté” and keep the heat low—high heat scrambles the eggs. I used to rush this and ended up with a lumpy mess; patience here guarantees silky perfection.
- Butter in Slow Drizzles: Add butter a few tablespoons at a time while stirring constantly—dumping it all in at once can cause separation. This isn’t the prettiest method, but it’s the tastiest, trust me.
Pro cooking tips for this recipe
Pressure Timing Precision
The 8-minute high-pressure cook time is non-negotiable for perfect texture—any less risks undercooked eggs, while more risks curdling. I use my Instant Pot Duo Crisp set to “high pressure” and start the timer immediately after sealing. The natural release for 10 minutes prevents sudden temperature shifts that could cause separation.
Pro tip: If your Instant Pot has a “keep warm” setting, turn it off after pressure release to avoid overheating the curd. 🌡️
Egg Temperature Matters
Cold egg yolks can cause the curd to break during pressure cooking. I always take my eggs out of the fridge 30 minutes before starting to ensure they’re at room temperature (68°F). You can test by gently pressing a yolk—it should feel slightly springy, not firm.
If using refrigerated yolks, whisk them in a bowl over warm (not hot) water for 2-3 minutes to gently warm them before combining with sugar.
Butter Cut Size Matters
Cut your 1 cup unsalted butter into ½-inch cubes for even melting. Larger pieces may not fully incorporate, leaving lumps. I use my Microplane grater to cut butter quickly—just run it over the butter block in one motion.
For extra-rich curd, I sometimes add 1 extra tablespoon butter at the end, whisked in while warm to create a glossy finish. 🧈
Straining for Silkiness
Straining through a fine-mesh sieve (like OXO Good Grips) removes any potential egg strands or zest fibers that could make the curd grainy. I press the curd through with a spatula for 5-10 minutes, then give it one final whisk to ensure absolute smoothness.
This step is where amateur curds become restaurant-quality—don’t skip it!
Natural Release Critical
The 10-minute natural release allows the curd to set gradually without shock cooling. Quick-releasing can cause condensation that dilutes the flavor. I always check the pressure gauge—when it drops to zero, I do a quick release of any remaining pressure by turning the valve.
This prevents the lid from popping open suddenly, which can happen with high-moisture recipes like this.
Flavor Balancing Tip
If your curd tastes too sweet after cooling, add ½ teaspoon more lemon juice and whisk gently. For extra tang, I sometimes add ¼ teaspoon citric acid (found in baking aisles) to enhance brightness.
The key is balance—your curd should taste bright but not sour, rich but not heavy. Taste as it cools to adjust while it’s still malleable. 💫
Nutrition facts
Frequently asked questions
Why does my Instant Pot lemon curd sometimes separate or get grainy?
Separation usually happens from sudden temperature changes or undercooked eggs. Always use room-temperature yolks and follow the 8-minute high-pressure cook time with a 10-minute natural release. For graininess, strain through a fine-mesh sieve to remove any undissolved sugar or zest fibers. If it separates after cooling, whisk in 1 teaspoon warm water to restore smoothness.
Can I make this lemon curd without an Instant Pot?
Yes! For a stovetop version, whisk eggs, sugar, and butter over low heat for 15-20 minutes, stirring constantly, until it thickens to 170°F. Add citrus last and strain immediately. The Instant Pot version is faster and more reliable, but stovetop works if you’re patient and vigilant about stirring.
How do I adjust the sweetness or tartness in this recipe?
For less sweetness, reduce sugar by ¼ cup and add 1 extra tablespoon lemon juice. For more tartness, increase lemon juice by 1 tablespoon or add ¼ teaspoon citric acid. Always taste as it cools—flavor balances better when slightly warm. The key is a 3:1 sugar-to-lemon ratio for harmony.
What are the best uses for this lemon curd?
This velvety curd shines in tart fillings, meringue toppings, or yogurt swirls. Pipe it onto cakes, spread on scones, or layer in cheesecakes. For a quick treat, dollop over warm pound cake or use as a glaze for macarons. The bright citrus flavor pairs beautifully with berries, vanilla, or even savory dishes like goat cheese.
Can I make this recipe with egg whites instead of yolks?
No—egg yolks are essential for the rich, creamy texture. Yolks contain fat and emulsifiers that create the signature smoothness. If you’re avoiding yolks for dietary reasons, consider a vegan coconut curd recipe instead, but the flavor and texture will differ significantly.

- Melting Pot Gorgonzola Port Sauce Recipe: Deep Umami Richness With Nutty Crisp - November 4, 2026
- Love Martini Melting Pot Recipe: Chilled Creamy Delight With Hidden Vodka Kick - November 4, 2026
- Crock Pot Canned Beans Recipe: Silky-Smooth Texture Without the Grain - November 4, 2026