
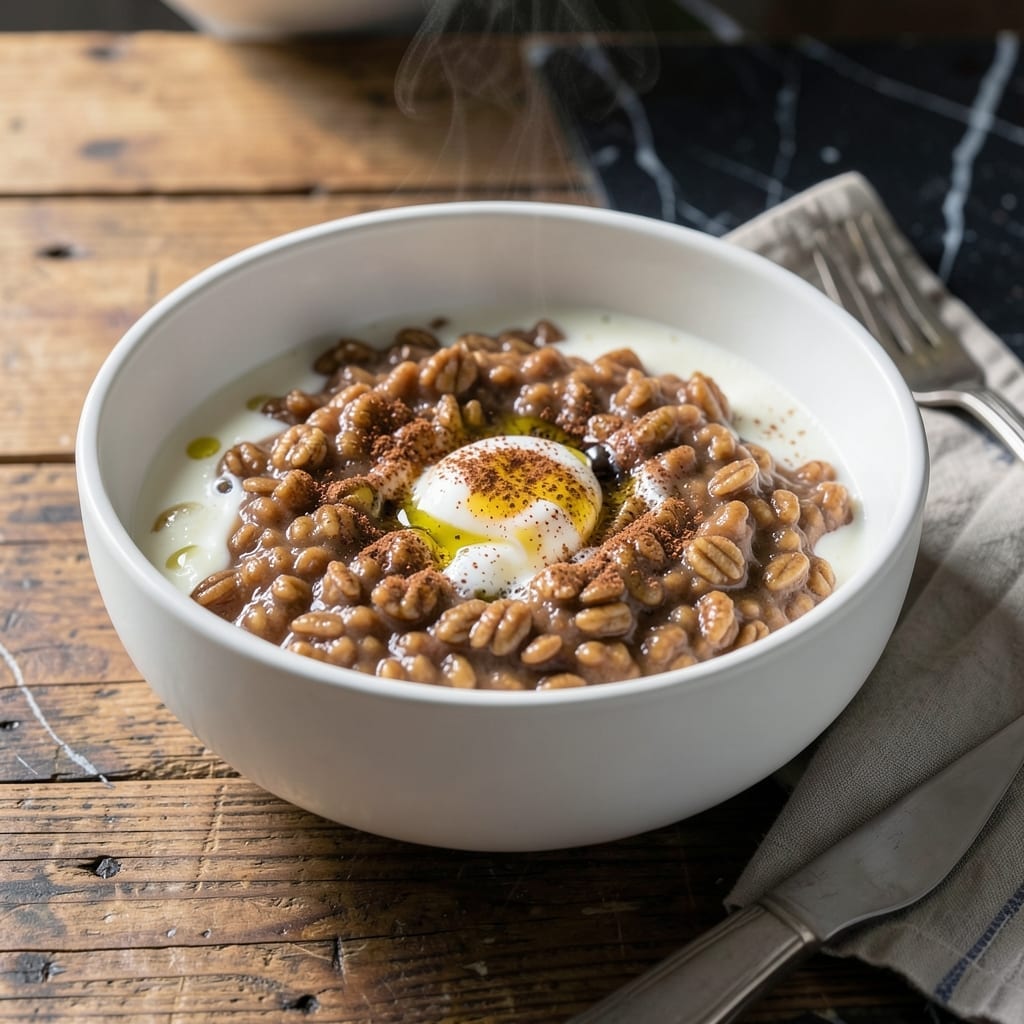
Wake up to perfectly creamy oats without lifting a finger—this Instant Pot method delivers consistent results every morning.
No stirring, no watching, no burnt bottoms. The pressure cooker transforms simple ingredients into a smooth, velvety breakfast with minimal effort.
Steel-cut or rolled oats work equally well, and the hands-free process means you can prep the night before for an even quicker start.
Customize with your favorite toppings for a warm, satisfying meal that feels like a hug in a bowl.
Ingredients for Instant Pot Oats
Simple pantry staples transform into the creamiest morning bowl with almost zero effort.
| Ingredient | Amount | Notes |
|---|---|---|
| Steel-Cut Oats 🌾 | 1 cup | Or substitute rolled oats |
| Water 💧 | 3 cups | Or milk for creamier texture |
| Whole Milk 🥛 | 1 cup | Optional for extra creaminess |
| Unsalted Butter 🧈 | 1 tbsp | Or coconut oil for dairy-free |
| Pure Vanilla Extract 🌿 | 1 tsp | High-quality recommended |
| Ground Cinnamon 🌶️ | ½ tsp | Freshly ground if possible |
| Sea Salt 🧂 | ¼ tsp | Adjust to taste |
| Brown Sugar 🍚 | 2 tbsp | Or maple syrup for liquid sweetener |
| Chopped Walnuts 🌰 | ½ cup | Toasted for extra crunch |
| Dried Cranberries 🍇 | ½ cup | Or raisins/other dried fruit |
| Fresh Blueberries 🫐 | ½ cup | Or other fresh fruit |
| Chia Seeds 🌱 | 1 tbsp | Optional for extra fiber |
The oats are the foundation here. Bob’s Red Mill steel-cut are my go-to (the texture is unbeatable), but old-fashioned rolled oats work too for a slightly softer result. If you’re using rolled oats, reduce the water by half a cup since they absorb less liquid. Whole Foods has great bulk oats if you want to stock up—cheaper and you can buy exactly what you need (plus, no packaging waste).
No milk? Any plant-based milk works—oat milk ironically makes it extra creamy. Swapping brown sugar? Maple syrup or honey at the same amount, but add it after cooking to preserve the flavor. Out of cinnamon? Cardamom or nutmeg add a nice warmth (just use a pinch). The butter can be skipped entirely, but it adds that rich, velvety finish that makes it taste like a restaurant bowl.
Leftover oats keep in the fridge for 4-5 days—just add a splash of milk when reheating. They thicken up as they sit, so you might need to stir in a little water. Freezing works too for up to 3 months (portion into muffin tins for single servings). The toppings are where it gets fun—swap in whatever fruit is in season (peaches in summer, apples in fall).
Why You’ll Love This Recipe
- Set and Forget: I dump everything in the Instant Pot, press a button, and walk away—no stirring, no watching.
- Creamy Vanilla Dream: The whole milk and butter create this rich, velvety texture, and the vanilla? Pure cozy in a bowl.
- Meal Prep Hero: I make a big batch on Sunday and grab a bowl all week—breakfast is done before I even think about it.
- Budget Breakfast: Steel-cut oats are cheap, and this recipe stretches them into something that feels fancy. Honestly, it’s my wallet’s favorite meal.
Step-by-Step Instructions for Creamy Instant Pot Oats
Here’s the method that guarantees rich, velvety texture with minimal effort on your part.
Step 1: Combine Liquids and Grains in the Pot
Add the 3 cups Water, 1 cup Whole Milk, and 1 cup Steel-Cut Oats to your Instant Pot. I use a wooden spoon to stir them together, making sure the oats are fully submerged in the liquid. This prevents any dry spots that could lead to burning.
Stir in the 0.25 tsp Sea Salt at this stage—it’ll dissolve completely as the mixture heats. The ratio of liquid to oats is crucial here; steel-cut oats need more liquid than rolled oats to soften properly in the pressure cooker.
Step 2: Add Flavorings and Seal the Pot
Stir in the 1 tbsp Unsalted Butter, 1 tsp Pure Vanilla Extract, 0.5 tsp Ground Cinnamon, and 2 tbsp Brown Sugar. The butter melts into the mixture, creating a rich base, while the cinnamon and vanilla infuse the oats with warm, aromatic flavor.
Secure the lid on your Instant Pot and set the valve to sealing. I always do a quick visual check to make sure the silicone ring is properly seated—this prevents any steam from escaping during cooking. The pressure cooking process transforms the steel-cut oats into a creamy porridge without constant stirring.
Step 3: Pressure Cook to Perfection
Select the high pressure setting and set the timer for 3 minutes. Yes, just three minutes—that’s all the time needed under pressure to cook steel-cut oats completely. The pot will take about 10-15 minutes to come to pressure before the timer starts counting down.
Once the cooking cycle completes, let the pressure release naturally for 10 minutes. This gradual release prevents the oats from boiling over and helps them absorb all the liquid evenly. After 10 minutes, you can quick-release any remaining pressure if needed.
Step 4: Add Toppings and Finish the Texture
Carefully open the lid and give the oats a good stir. They should be thick and creamy, with the steel-cut oats fully softened. If the texture seems too thick, stir in a splash of warm milk to reach your desired consistency.
Now fold in the 0.5 cup Chopped Walnuts, 0.5 cup Dried Cranberries, 0.5 cup Fresh Blueberries, and 1 tbsp Chia Seeds. These toppings add crunch, chewy texture, and bursts of fruit flavor. The chia seeds also thicken the oats slightly as they sit.
Let the oats rest for 5 minutes before serving. This allows the flavors to meld together and the toppings to warm through. The final result should be a bowl of creamy, perfectly cooked oats with a variety of textures in every bite.
Pro Tips For Making Instant Pot Oats
- Use High Pressure: Always cook steel-cut oats on high pressure for 3 minutes—I learned this the hard way after ending up with undercooked, chewy oats more than once.
- Toast the Oats: Sauté the oats in butter for 2-3 minutes before adding liquid; it adds a nutty depth that plain oats just can’t match.
- Skip the Quick Release: Let the pressure release naturally for 10 minutes, then quick release. Opening the lid too soon leaves you with a watery, uneven texture.
- Add Vanilla Last: Stir in the vanilla extract after cooking—adding it earlier dulls the flavor, and I was skeptical until I tried it side by side.
Essential Equipment for This Recipe
Instant Pot Basics
You’ll need a 6-quart Instant Pot or larger for this recipe—I use my Instant Pot Duo 7-in-1 and it works perfectly every time. The larger capacity gives the oats room to expand without risking overflow. 💡
Wooden Spoon Essential
A wooden spoon is my go-to for stirring the oats before cooking. It won’t scratch your pot’s nonstick coating and helps prevent sticking. I keep one dedicated to my Instant Pot for just this purpose.
Measuring Tools
Accurate measurements matter for perfect texture. I use a 1-cup dry measuring cup for the oats and a liquid measuring cup for the water and milk. The 3:1 liquid-to-oats ratio is key for steel-cut oats.
Pressure Release Valve
Always check your pressure release valve before starting. I once forgot to reset mine after making yogurt, and the pot wouldn’t seal properly. A quick visual check takes 5 seconds and prevents cooking delays.
Silicone Ring Upkeep
Your silicone sealing ring should be clean and properly seated. I wash mine after every use with warm, soapy water. If it starts to smell like previous meals, soak it in a 50/50 vinegar-water solution for 30 minutes. 🔥
Serving Bowls
Have your serving bowls ready before cooking. I love wide, shallow bowls for oats—they let the toppings shine. Pre-warming them with hot water makes the oats stay hotter longer at the table.
Nutrition Facts
Frequently Asked Questions
Can I use rolled oats instead of steel-cut?
Yes! Use 1 cup rolled oats but reduce liquid by ½ cup. They cook faster and become softer than steel-cut.
How do I make this vegan?
Swap whole milk for any plant-based milk and use coconut oil instead of butter. All other ingredients are naturally vegan.
Why did my oats turn out mushy?
Overcooking or too much liquid causes mushiness. Stick to 3 minutes high pressure and the 3:1 liquid ratio for steel-cut.
Can I prep this the night before?
Combine all ingredients except toppings in the pot, cover, and refrigerate. In the morning, cook as directed—no need to stir!

- 4C Bread Crumbs Meatballs Recipe: Crispy Crust and Juicy Centers - September 25, 2026
- 6 Oz Chocolate Chip Cookie Recipe: Perfectly Balanced Crispy Edges and Chewy Hearts - September 25, 2026
- 6-Inch Coffee Cake Recipe: Vanilla Bean Swirls and Buttery Streusel Topping - September 25, 2026