
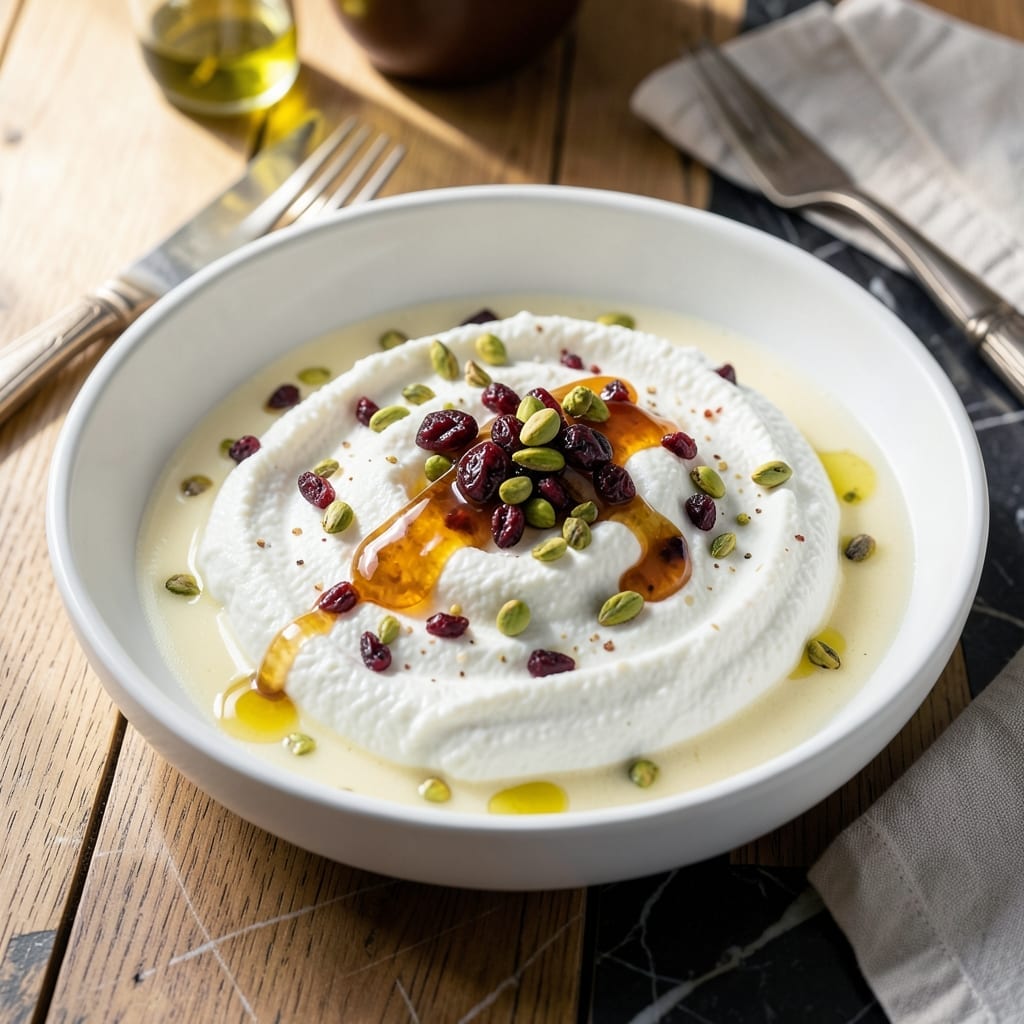
Making ricotta at home transforms how you think about this fresh cheese. This method delivers silky, homemade results without the fuss of traditional stovetop techniques.
The Instant Pot provides precise temperature control, ensuring the milk separates perfectly every time. With just a few ingredients and 20 minutes, you’ll have fresh ricotta ready to use in both sweet and savory dishes.
What emerges is a delicate, slightly sweet cheese with a texture that’s light yet rich. It’s versatile enough for lasagna, pancakes, or simply spread on toast with a drizzle of honey.
No special equipment needed—just your Instant Pot and a fine-mesh strainer. The process is straightforward, with minimal hands-on time.
Ingredients for Instant Pot Ricotta
Five simple ingredients. Your Instant Pot does the rest. Silky ricotta in minutes.
| Ingredient | Amount | Notes |
|---|---|---|
| Whole Milk 🥛 | 1 cup | Full-fat for creaminess |
| Heavy Cream 🥛 | 1 cup | Do not substitute half-and-half |
| White Vinegar 🍋 | 2 tbsp | Or lemon juice |
| Salt 🧂 | ½ tsp | Kosher or sea salt |
| Water 💧 | 1 cup | For Instant Pot |
The milk and cream are non-negotiable here. Whole milk (not 2%) and heavy cream (36-40% fat) give you that luxurious texture. I grab mine from Whole Foods or Trader Joe’s—their organic stuff works great. Avoid ultra-pasteurized if you can find it; raw or regular pasteurized separates better. The vinegar is just for acidity, so any neutral white vinegar works (even that old bottle in your pantry).
No heavy cream? Half-and-half plus a tablespoon of butter gets you close. Out of white vinegar? Lemon juice at the same amount works perfectly—might even give a nicer flavor. The salt can be adjusted to taste after it’s done, so don’t stress about the exact amount. If you want to get fancy, a pinch of citric acid (from brewing supply stores) can replace the vinegar entirely.
Fresh ricotta keeps 4-5 days in the fridge. Store it in an airtight container with a paper towel on top to absorb moisture. Don’t freeze it—the texture turns grainy. Best used within 3 days for that ultra-silky consistency.
Why You’ll Love This Recipe
- Set It and Forget: I dump in milk, cream, and vinegar, then walk away—my Instant Pot does all the work while I prep the rest of dinner.
- Creamy & Fresh: The combo of whole milk and heavy cream gives it that rich, velvety texture that store-bought just can’t match.
- Endless Uses: I stir it into pasta, dollop on toast, or layer in lasagna—honestly, it disappears faster than I can make it.
- Penny-Wise Luxury: A gallon of milk and a splash of cream cost less than a tiny tub of the fancy stuff at the grocery store.
Step-by-Step Instructions for Instant Pot Ricotta
This method delivers silky, spreadable ricotta with minimal effort and maximum flavor.
Step 1: Combine Dairy and Acid in the Instant Pot
Pour the 1 cup Whole Milk and 1 cup Heavy Cream into your Instant Pot insert. The full-fat dairy is essential here—lower-fat versions won’t yield the same creamy texture or rich mouthfeel. Stir in the 2 tbsp White Vinegar and 0.5 tsp Salt until fully combined.
I use white vinegar for its clean, sharp acidity, but lemon juice works equally well if that’s what you have on hand. The acid is what triggers the curdling process, separating the milk proteins from the whey. You’ll notice the mixture start to thicken slightly as the acid gets to work.
Step 2: Add Water and Pressure Cook
Pour in the 1 cup Water and give everything a gentle stir. This water creates the steam needed for pressure cooking and prevents the dairy from scorching on the bottom of the pot. Secure the lid and set the valve to sealing position.
Cook on high pressure for 8 minutes. The Instant Pot will take about 10-12 minutes to come to pressure before the cooking time begins. During this time, the heat and pressure work together to fully develop the curds while keeping the texture delicate and smooth.
Step 3: Release Pressure and Check Curds
Once the cooking cycle completes, allow the pressure to release naturally for 5 minutes, then quick-release any remaining pressure. This gradual release prevents the curds from breaking up too much, preserving their delicate structure.
Carefully remove the lid and look for distinct curds floating in a pool of yellowish whey. If the curds seem too small or the mixture looks too liquidy, don’t worry—it’s normal at this stage. The texture will firm up as it cools and drains.
Step 4: Strain and Drain the Ricotta
Line a fine-mesh strainer with cheesecloth or a clean kitchen towel and place it over a large bowl. Gently pour the mixture into the strainer. The whey will drain away, leaving the ricotta curds behind. I like to let it drain for 10-15 minutes for a spreadable consistency.
For thicker ricotta, let it drain longer—up to 30 minutes. The longer it drains, the firmer the final product will be. Avoid pressing or squeezing the curds, as this can make the ricotta dense and dry rather than light and fluffy.
Transfer the ricotta to an airtight container. It will keep in the refrigerator for up to 5 days, though I doubt it’ll last that long. The texture is best when fresh, with a delicate, slightly grainy consistency that melts in your mouth.
Pro Tips For Making Instant Pot Ricotta
- Use Full-Fat Dairy: Whole milk and heavy cream yield the creamiest ricotta—I learned this the hard way after trying to cut corners with 2%.
- Heat Slowly: Set the Instant Pot to “Sauté” on low and bring the milk mixture up gradually; rushing this step can scorch the bottom.
- Drain Properly: After adding vinegar, let the curds sit for 10 minutes before straining through cheesecloth—this guarantees a thicker texture.
- Skip the Boil: Resist the urge to boil the milk; 180°F is the sweet spot for perfect curd formation without separating the proteins.
Dietary Considerations for These Flavors
Vegetarian Friendly
This creation fits perfectly into vegetarian diets, using only milk, cream, and vinegar. No animal products beyond dairy are involved. It’s a great protein source for meat-free meals.
Lactose Intolerance Notes
While ricotta is lower in lactose than many cheeses, it still contains some. Those with mild intolerance often handle it well in small amounts. For severe cases, a lactase enzyme tablet can help.
Gluten Free
Naturally gluten-free with no wheat, barley, or rye involved. Just ensure your vinegar is certified gluten-free, as some brands use wheat in fermentation. I trust Heinz white vinegar for this. 💪
Keto Adaptations
For keto, use full-fat dairy as written. The recipe contains about 2g net carbs per serving. Skip any added sugars if using in desserts.
Dairy Free Alternatives
Try cashew or almond milk ricotta using the same method. Use 1 cup raw cashews soaked and blended with ½ cup water and 1 tbsp lemon juice instead of dairy.
Low Sodium Option
Omit the salt entirely or reduce to ¼ tsp. The flavor will be milder, but you can always season dishes later. This is especially useful for those watching sodium intake.
Nutrition Facts
Frequently Asked Questions
Can I use low-fat milk for this?
No, whole milk and heavy cream are essential for the right texture. Lower-fat versions won’t curdle properly or yield that creamy richness. Stick with full-fat for the best results.
Why did my ricotta turn out grainy?
Graininess usually means the curds were overworked or pressed too hard. Let it drain naturally without squeezing. Also, ensure you’re using full-fat dairy for a smoother finish.
How long does homemade ricotta last?
Store it in an airtight container in the fridge for up to 5 days. Place a paper towel on top to absorb excess moisture and keep it fresh longer.
Can I skip the cheesecloth when straining?
A fine-mesh strainer alone works for a looser texture, but cheesecloth or a towel catches smaller curds for a creamier result. Both methods are valid!

- 6 Oz Chocolate Chip Cookie Recipe: Perfectly Balanced Crispy Edges and Chewy Hearts - September 25, 2026
- 6-Inch Coffee Cake Recipe: Vanilla Bean Swirls and Buttery Streusel Topping - September 25, 2026
- 1 Hour Soup Recipe: Velvety Richness Without the Wait - September 25, 2026