
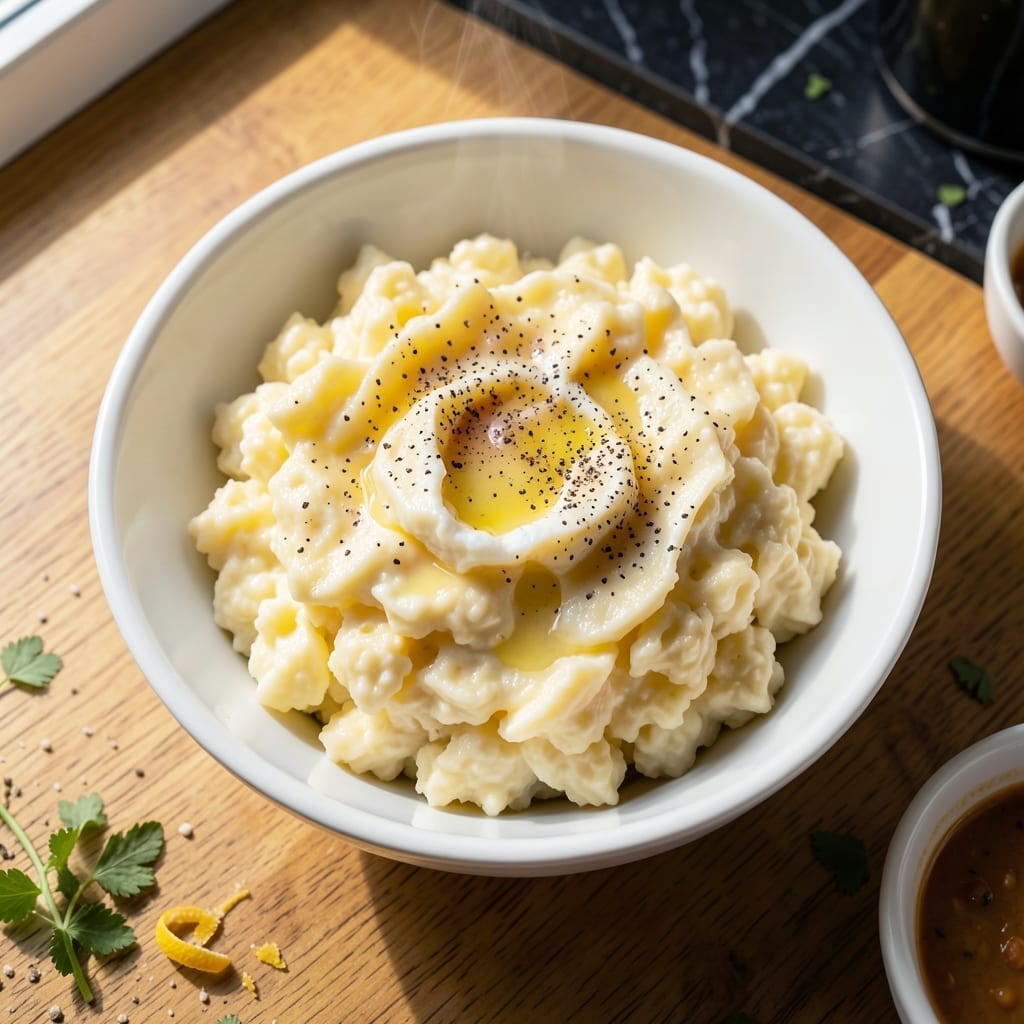
I discovered the secret to perfectly fluffy scrambled eggs without standing at the stove. This method uses your Instant Pot to create creamy, cloud-like eggs with minimal effort.
With just a few ingredients and 5 minutes of pressure cooking, you can achieve scrambled eggs that are light, tender, and never dry. The steam helps cook them evenly without the risk of overcooking.
The result is a foolproof breakfast that’s ready in minutes, with no constant stirring required. These eggs stay soft and delicate, making them ideal for a quick, satisfying meal.
Customize with cheese, herbs, or your favorite add-ins for extra flavor. Let’s get started.
Ingredients for Instant Pot Scrambled Eggs
A handful of pantry staples and fresh eggs transform into fluffy clouds.
| Ingredient | Amount | Notes |
|---|---|---|
| Large Eggs 🥚 | 8 whole | Room temperature preferred |
| Unsalted Butter 🧈 | 2 tbsp | Melted, or substitute oil |
| Whole Milk 🥛 | ¼ cup | Or any milk you prefer |
| Kosher Salt 🧂 | ½ tsp | Adjust to taste |
| Freshly Ground Black Pepper 🌶️ | ¼ tsp | Or to preference |
| Water 💧 | 1 cup | For pressure cooking |
| Shredded Cheddar Cheese 🧀 | ½ cup | Optional, for creamy texture |
| Fresh Chives 🌿 | 2 tbsp | Chopped, for garnish |
| Fresh Parsley 🍃 | 2 tbsp | Chopped, for garnish |
| Heavy Cream 🥛 | 2 tbsp | Optional, for extra richness |
The eggs are the star here—fresh, large eggs give you the best texture. I grab mine from local farmers markets when I can, but standard grocery store eggs work just fine. Room temperature eggs blend better, so pull them out about 30 minutes before cooking (or microwave for 10 seconds in a pinch). The milk adds creaminess, but you can skip it if you prefer a firmer scramble.
No whole milk? Any milk alternative (oat, almond, soy) works at the same amount. Want extra richness? Swap the milk for heavy cream. The cheese is totally optional, but sharp cheddar or Monterey Jack melt beautifully. Fresh herbs like chives or parsley add a bright pop—dried herbs work too, but use one-third the amount.
Leftovers keep in the fridge for 3-4 days—reheat gently in the microwave with a splash of milk. These eggs are best fresh, but they freeze surprisingly well for up to 1 month. Just thaw overnight before reheating.
Why You’ll Love This Recipe
- One-Pot Wonder: I toss in eggs, butter, and a splash of milk, then let the Instant Pot do the work—no stirring, no scorched pans.
- Buttery Perfection: The butter and whole milk make these eggs so rich and creamy, I swear they taste like a diner’s weekend special.
- Breakfast for All: Honestly, I make a big batch for weekday mornings and reheat portions—still fluffy, never rubbery.
- Budget Breakfast: A dozen eggs and basics from the fridge feed my family for days without breaking the bank.
Step-by-Step Instructions for Instant Pot Scrambled Eggs
Here’s my tested method for achieving those impossibly light, cloud-like scrambled eggs right in your pressure cooker.
Step 1: Prepare the Egg Mixture
In a large mixing bowl, whisk together the 8 whole Large Eggs with the 0.25 cup Whole Milk, 0.5 tsp Kosher Salt, and 0.25 tsp Freshly Ground Black Pepper until fully combined and slightly frothy. This aeration is key to achieving that ultra-fluffy texture.
For extra richness, I always add the 2 tbsp Heavy Cream at this stage. The fat content creates a velvety mouthfeel that takes these scrambled eggs to the next level. Don’t over-whisk—the mixture should be uniform with no streaks of white or yolk remaining.
Step 2: Set Up the Instant Pot
Pour the 1 cup Water into the Instant Pot insert and place the trivet inside. The water creates the steam needed for pressure cooking, while the trivet keeps your egg container elevated above the liquid.
I use a heatproof glass or silicone bowl that fits inside my Instant Pot for the eggs. Lightly grease it with some of the 2 tbsp Unsalted Butter—this prevents sticking and adds a subtle richness. The bowl should hold all your egg mixture with about an inch of space at the top.
Step 3: Pressure Cook the Eggs
Pour your egg mixture into the prepared bowl. Cover the bowl loosely with aluminum foil—this prevents water droplets from falling into your eggs while allowing steam to escape. Place the bowl on the trivet in the Instant Pot.
Secure the lid, set the valve to Sealing, and cook on High Pressure for 4 minutes. The cooking time is short because we want to avoid overcooking. You’ll know it’s working when the float valve pops up. Let the pressure release naturally for 5 minutes, then quick-release any remaining pressure.
Step 4: Finish and Serve
Carefully remove the bowl from the Instant Pot. The eggs will look slightly underdone—that’s perfect. Stir in the remaining unsalted butter and the 0.5 cup Shredded Cheddar Cheese if using. The residual heat will finish cooking the eggs while melting the cheese into a creamy, dreamy consistency.
Gently fold the eggs as they finish cooking to create soft curds. The texture should be moist and tender, not dry or rubbery. Garnish with the 2 tbsp Fresh Chives and 2 tbsp Fresh Parsley for a pop of color and fresh flavor. Serve immediately while still warm and at their fluffiest.
Pro Tips For Making Instant Pot Scrambled Eggs
- Pre-whisk the eggs: Beat the eggs with milk and a pinch of salt until no streaks remain—I learned this the hard way after ending up with unevenly cooked patches.
- Use the trivet: Place 1 cup of water in the Instant Pot and use the trivet to keep the bowl above water; otherwise, you’ll end up with a soggy mess.
- Skip the overfilling: Never exceed half the capacity of your inner pot or bowl, or the eggs will cook unevenly and stick.
- Stir midway: After 5 minutes of pressure cooking, do a quick release, stir the eggs gently, then reseal for another 2-3 minutes for perfectly fluffy texture.
Serving Suggestions for Leftovers
Breakfast Plates
Serve these fluffy eggs on warm plates with buttered whole wheat toast. The contrast between soft eggs and crispy toast is irresistible. I add a sprinkle of flaky sea salt on top for extra texture. 💛
Fresh Garnishes
Brighten up your plate with fresh toppings. I love adding sliced avocado for creaminess and diced tomatoes for acidity. A drizzle of hot sauce adds the perfect kick for those who like heat.
Cheese Lovers
For extra indulgence, top with additional shredded cheddar or crumbled feta cheese. The melty texture pairs beautifully with the soft eggs. I sometimes add grated Parmesan for a nutty depth.
Herb Infusion
Fresh herbs elevate the dish. Beyond chives and parsley, try chopped dill for a bright note or cilantro for a fresh twist. A pinch of smoked paprika adds subtle warmth.
Protein Boost
Add crispy bacon bits or sliced sausage for heartier portions. I often serve with turkey sausage for a leaner option. The savory flavors complement the eggs perfectly.
Vegetable Sides
Pair with sautéed spinach or roasted mushrooms for a balanced meal. I toss spinach with garlic and a splash of lemon juice for brightness. 🌟
Nutrition Facts
Frequently Asked Questions
Can I use a different milk substitute?
Yes! Any milk alternative like oat, almond, or soy works at the same 0.25 cup amount. For extra richness, swap it for heavy cream.
Why do my eggs come out rubbery?
Overcooking is the main culprit. Stick to 4 minutes high pressure and release naturally for 5 minutes. The residual heat finishes the cooking perfectly.
Can I double this recipe?
Use a larger bowl that fits in your Instant Pot, but keep the cooking time the same. Don’t exceed 2 cups of egg mixture to ensure even cooking.
Is it safe to cook eggs in the Instant Pot?
The sealed environment cooks them gently and evenly. Just ensure the bowl is heatproof and the lid is properly secured.

- 6 Oz Chocolate Chip Cookie Recipe: Perfectly Balanced Crispy Edges and Chewy Hearts - September 25, 2026
- 6-Inch Coffee Cake Recipe: Vanilla Bean Swirls and Buttery Streusel Topping - September 25, 2026
- 1 Hour Soup Recipe: Velvety Richness Without the Wait - September 25, 2026