
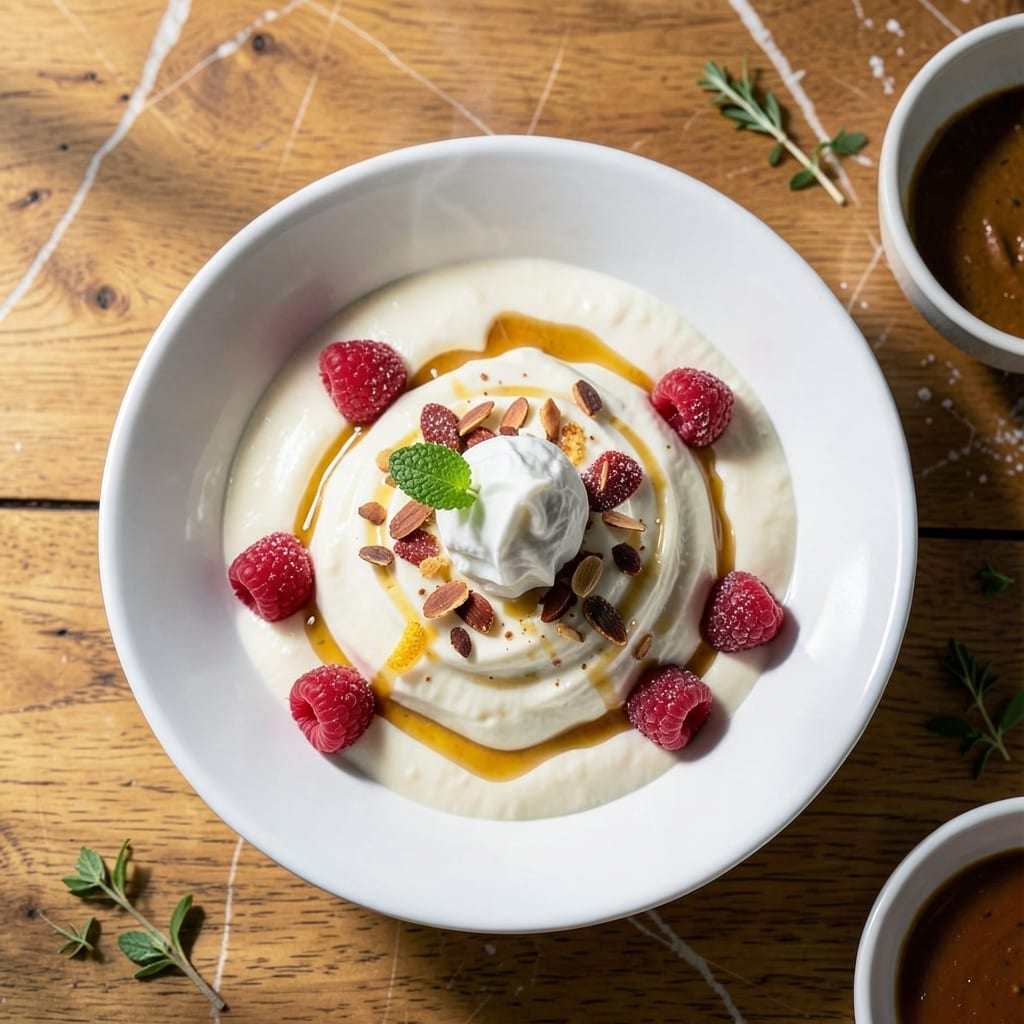
I discovered this method for making creamy Icelandic yogurt at home using just an Instant Pot and two ingredients. The process is remarkably simple yet yields results that rival any store-bought version.
Skyr has been a staple in Icelandic cuisine for centuries, known for its thick texture and high protein content. This recipe captures that traditional quality with modern convenience, requiring no special equipment beyond your pressure cooker.
The Instant Pot maintains the perfect warm environment for cultures to thrive, transforming milk into rich, tangy yogurt. The straining step ensures that signature thickness that makes skyr so distinctive.
You’ll end up with a smooth, velvety yogurt that’s perfect for breakfast or snacks. It keeps well for over a week, making it a practical addition to your kitchen routine.
Ingredients for Instant Pot Skyr
Two ingredients transform into thick, creamy Icelandic yogurt right at home.
| Ingredient | Amount | Notes |
|---|---|---|
| Whole Milk 🥛 | 1 cup | Ultra-pasteurized or fresh, full-fat |
| Plain Yogurt 🥛 | 2 tbsp | With live active cultures, starter |
| Nonfat Dry Milk Powder 🥛 | ½ cup | Optional for extra thickness |
| Heavy Cream 🥛 | ¼ cup | Optional for richer texture |
| Vanilla Extract 🌿 | 1 tsp | Pure extract, not imitation |
| Granulated Sugar 🍚 | 1 tbsp | Adjust to taste preference |
| Honey 🍯 | 1 tbsp | Optional natural sweetener |
| Cheesecloth 🧻 | 1 sheet | For straining yogurt |
| Fine Mesh Strainer 🪣 | 1 whole | For straining process |
| Instant Pot 🍲 | 1 whole | Or any pressure cooker |
The milk quality matters most here. Whole milk from a trusted dairy (I like Organic Valley or Darigold) gives the richest results—avoid ultra-filtered as it can be too thin. If you’re adding cream, heavy cream with no additives works best. The starter yogurt needs to have live cultures (check the label)—Fage or Siggi’s are reliable.
No plain yogurt for starter? Skyr itself works perfectly if you’ve made it before. Want it thicker? Nonfat dry milk powder is the secret weapon (adds protein, not fat). For sweetness, honey or maple syrup can replace sugar. The vanilla is optional but worth the splash—use pure extract, not imitation.
Strained skyr keeps for 10-14 days in the fridge. The whey can be used in smoothies or baking. I make a double batch weekly—first batch as starter for the next. Store in glass jars (don’t use metal, it reacts with the acid).
Why You’ll Love This Recipe
- Set and Forget: The Instant Pot does all the work—just pour in the milk and yogurt, press a button, and walk away.
- Rich and Creamy: The heavy cream and whole milk give it that luxurious texture, with just a hint of vanilla to make it irresistible.
- Meal Prep Magic: I make a big batch on Sunday and it keeps for over a week, perfect for smoothies, breakfast bowls, or just spooning straight from the jar.
- Budget-Friendly Luxury: Nonfat dry milk powder stretches the ingredients without sacrificing flavor, so I get that gourmet skyr taste for a fraction of the store-bought price.
Step-by-Step Instructions for Instant Pot Skyr
Here’s the method I use to get that signature thick, creamy texture every time.
Step 1: Prepare the Milk Mixture
Pour the 1 cup Whole Milk into the Instant Pot and secure the lid. Set the valve to sealing and cook on the Yogurt function for 10 minutes to pasteurize the milk. This step ensures a clean, safe environment for the cultures to thrive.
Once the cycle completes, let the milk cool to 110°F—it should feel warm but not hot to the touch. I speed this up by placing the inner pot in a cold water bath, stirring occasionally. This temperature is critical for the yogurt starter to activate properly.
Step 2: Mix in Starter and Flavorings
In a small bowl, whisk together the 2 tbsp Plain Yogurt with 1 tbsp Granulated Sugar, 1 tsp Vanilla Extract, and 1 tbsp Honey until smooth. This creates a consistent base for the cultures to distribute evenly.
Pour the cooled milk into a clean bowl, then stir in the yogurt mixture. Add the 0.5 cup Nonfat Dry Milk Powder and 0.25 cup Heavy Cream (if using) and whisk until fully dissolved. The dry milk powder adds thickness, while the cream enriches the final texture.
Step 3: Incubate in the Instant Pot
Pour the mixture back into the Instant Pot inner liner. Secure the lid, set the valve to sealing, and select the Yogurt function for 8 hours. I know it seems long, but this extended incubation is what gives skyr its characteristic tang and thickness.
Resist the urge to peek—the consistent, undisturbed heat is key. You’ll know it’s working when the mixture starts to set and pull away from the sides slightly. The longer the incubation, the thicker and tangier your skyr will be.
Step 4: Strain for Extra Thickness
Line the Fine Mesh Strainer with the Cheesecloth and place it over a large bowl. Carefully pour the incubated mixture into the strainer. Let it drain for 2-4 hours in the refrigerator—this step removes excess whey, creating that ultra-thick consistency skyr is known for.
I check it after 2 hours and let it go longer if I want it even thicker. The whey can be saved for smoothies or discarded. The skyr is ready when it holds its shape and has a smooth, creamy appearance.
Pro Tips For Making Instant Pot Skyr
- Use Ultra-Filtered Milk: I learned this the hard way—regular whole milk can make skyr too thin. Ultra-filtered or organic whole milk gives a thicker, creamier texture without extra straining.
- Warm Your Yogurt: Sounds weird, but it works: take your plain yogurt starter out of the fridge 30 minutes before mixing. Cold yogurt can shock the cultures and slow fermentation.
- Skip the Boiling Milk: After burning a batch, I finally figured out that heating milk past 180°F in the Instant Pot can scorch it. Just warm to 110°F—hot enough to pasteurize but safe for your pot.
- Add Cream Last: Stir in the heavy cream only after the milk cools to 110°F. Adding it too early can prevent proper culturing, and you’ll end up with a runny mess instead of thick skyr.
Storing and Reheating This instant pot skyr
Fridge Storage
Transfer your finished skyr to clean glass jars once strained—I use 8-ounce mason jars. It keeps beautifully for 10-14 days in the fridge. The longer it sits, the tangier it becomes, which I personally love. ❄️
Freezing Option
Skyr freezes well for up to 2 months though the texture may separate slightly. Portion into ice cube trays first, then transfer to a freezer bag. Thaw overnight in the fridge before using in smoothies or baking.
Reheating for Serving
This isn’t something you typically reheat, but if you want it warm, gently heat in a saucepan over low heat with 1 tbsp milk per cup, stirring constantly. Avoid microwaving as it can make the texture grainy.
Using the Whey
Don’t discard the strained whey! I use it in smoothies, soups, or even water plants with it. Store in the fridge for up to 1 week or freeze for 3 months. It’s packed with protein and probiotics.
Best Containers
For storage, I prefer wide-mouth glass jars as they make scooping easier. Avoid metal containers as they can react with the acidity. Always use a clean spoon to prevent contamination.
Freshness Check
Your skyr is still good if it has a slight tang and smooth texture. If you see mold or notice an off smell, it’s time to discard. The liquid that separates on top is natural whey—just stir it back in. 💡
Nutrition Facts
Frequently Asked Questions
Can I use a different type of milk?
Whole milk works best for creaminess, but you can use 2% or skim. The texture will be less rich. Avoid ultra-filtered milk as it may not set properly.
Why did my skyr turn out runny?
This usually happens if the incubation time was too short or straining was insufficient. Ensure 8 hours of undisturbed incubation and strain for at least 2 hours.
How do I know when it’s done incubating?
It should look set and pull away slightly from the sides. A gentle jiggle will show it’s firm but still jiggly, like gelatin.
Can I skip the straining step?
Skipping straining will give you regular yogurt, not thick skyr. For authentic texture, straining for 2-4 hours is essential.

- 6 Oz Chocolate Chip Cookie Recipe: Perfectly Balanced Crispy Edges and Chewy Hearts - September 25, 2026
- 6-Inch Coffee Cake Recipe: Vanilla Bean Swirls and Buttery Streusel Topping - September 25, 2026
- 1 Hour Soup Recipe: Velvety Richness Without the Wait - September 25, 2026