
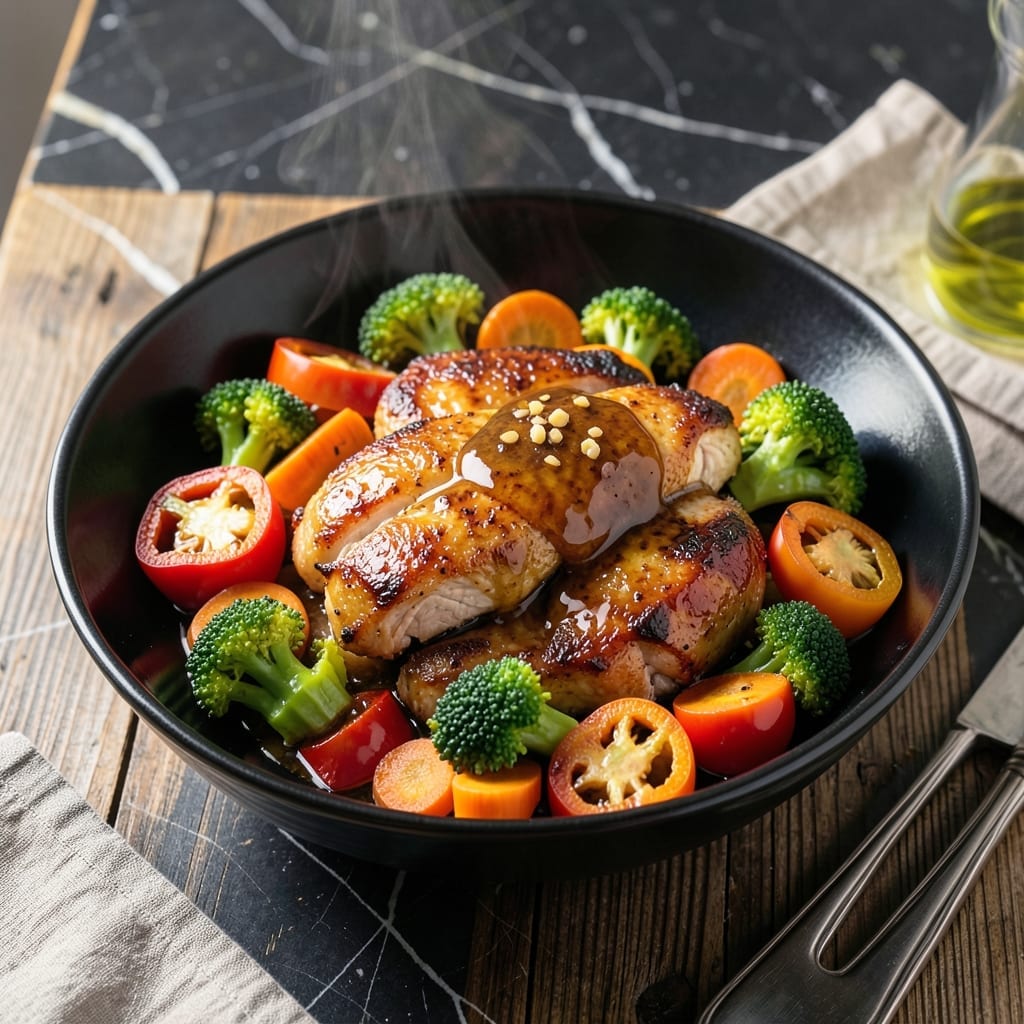
Weeknight dinners don’t have to mean sacrificing flavor for speed. This method delivers perfectly cooked protein and crisp-tender vegetables in a fraction of the time, all in one pot.
The Instant Pot locks in moisture while building deep, savory flavors that rival traditional stir-fry methods. A quick sear for the protein followed by pressure cooking ensures everything finishes at once.
What you get is a dish with the same caramelized edges and rich sauce as takeout, without the fuss. The weeknight solution that actually tastes homemade, not rushed.
Customize with your favorite proteins and vegetables. Here’s how to make it right every time.
Ingredients for Instant Pot Stir Fry
Pantry staples and fresh veggies come together for this quick, flavorful dish.
| Ingredient | Amount | Notes |
|---|---|---|
| Boneless Skinless Chicken Thighs 🍗 | 1 ½ lb | Cut into bite-sized pieces |
| Soy Sauce 🫒 | ⅓ cup | Low-sodium preferred |
| Bell Peppers 🌶️ | 2 whole | Mixed colors, sliced thin |
| Broccoli Florets 🥦 | 3 cups | Fresh or frozen |
| Carrots 🥕 | 2 whole | Julienned or matchstick cut |
| Garlic Cloves 🧄 | 4 cloves | Minced for maximum flavor |
| Fresh Ginger 🌿 | 1 tbsp | Grated or minced |
| Sesame Oil 🫒 | 1 tbsp | Toasted for depth |
| Rice Vinegar 🍚 | 2 tbsp | For tangy brightness |
| Cornstarch 🌾 | 1 tbsp | For thickening sauce |
| Chicken Broth 💧 | ½ cup | Low-sodium if available |
| Brown Sugar 🍚 | 2 tbsp | Light or dark variety |
| Sesame Seeds 🌾 | 1 tsp | Toasted for garnish |
| Green Onions 🧅 | 3 whole | Thinly sliced |
The protein makes this. Chicken thighs stay juicy under pressure—breasts can dry out. Grab them at Costco for bulk savings or your regular grocery store. Fresh ginger and garlic are non-negotiable for that authentic stir-fry depth (the jarred stuff just doesn’t compare). Look for vibrant bell peppers—they should feel firm, not soft.
No chicken? Shrimp or tofu work great—adjust cooking time accordingly. Swap soy sauce for tamari if gluten-free. Out of rice vinegar? Apple cider vinegar at half the amount gets you close. Frozen broccoli is fine (no thawing needed), but fresh gives better texture. The brown sugar can be honey or maple syrup if that’s what you’ve got.
This keeps well—actually tastes better the next day once flavors meld. Store leftovers in the fridge for 3-4 days or freeze for 2 months. Reheat gently to keep the veggies crisp-tender (worth the extra minute).
Why You’ll Love This Recipe
- Set It and Forget: I toss in the chicken, veggies, and soy sauce, then walk away—my Instant Pot does all the work.
- Umami Bomb: The soy sauce soaks into the chicken thighs and carrots, making every bite ridiculously good.
- Meal Prep MVP: I make a double batch on Sunday and it reheats beautifully for lunches all week.
- Budget Stretcher: Boneless thighs are cheap, and this feeds my family of four with leftovers for my lunch the next day.
Step-by-Step Instructions for Instant Pot Stir Fry
This method delivers restaurant-quality results with minimal effort and maximum flavor.
Step 1: Sear the Chicken for Deep Flavor
Set your Instant Pot to Sauté mode and add the 1 tbsp Sesame Oil. When it shimmers, add the 1.5 lb Boneless Skinless Chicken Thighs in a single layer. I press them down gently with a spatula to ensure even browning.
Cook for 4-5 minutes without stirring—you want a deep golden crust. The chicken will release easily when it’s ready to flip. Once browned, remove it to a plate and set aside. This searing step builds the foundation of flavor for your stir fry.
Step 2: Sauté the Aromatics and Vegetables
In the same pot, add the 2 whole Bell Peppers, 3 cups Broccoli Florets, and 2 whole Carrots. Sauté for 3-4 minutes until the vegetables begin to soften slightly. The bell peppers should start to glisten and the broccoli will turn a brighter green.
Push the vegetables to the sides and add the 4 cloves Garlic Cloves and 1 tbsp Fresh Ginger to the center. Stir constantly for 30 seconds until fragrant—be careful not to let the garlic burn, as it can turn bitter quickly.
Step 3: Deglaze and Pressure Cook
Pour in the 0.5 cup Chicken Broth and use a wooden spoon to scrape up any browned bits from the bottom of the pot. This step is crucial to prevent burning and to incorporate all those delicious flavors into the sauce.
Add the 0.33 cup Soy Sauce, 2 tbsp Rice Vinegar, and 2 tbsp Brown Sugar. Stir to combine, then return the chicken to the pot. Secure the lid, set the valve to Sealing, and cook on High Pressure for 4 minutes.
Step 4: Thicken the Sauce and Finish
Once the cooking cycle is complete, carefully switch the valve to Venting for a quick release. Remove the lid and set the Instant Pot back to Sauté mode. In a small bowl, mix the 1 tbsp Cornstarch with 2 tbsp of water to create a slurry.
Stir the slurry into the pot and cook for 1-2 minutes until the sauce thickens and becomes glossy. It should coat the back of a spoon with a rich, velvety texture. Taste and adjust seasoning if needed.
Step 5: Garnish and Serve
Turn off the Instant Pot and stir in half of the 3 whole Green Onions. Sprinkle the remaining green onions and the 1 tsp Sesame Seeds on top just before serving. The green onions add a fresh, crisp contrast to the tender chicken and vegetables.
Let the stir fry sit for 2-3 minutes off the heat to allow the flavors to meld together. Serve immediately over steamed rice or noodles for a complete meal that’s ready in under 30 minutes.
Pro Tips For Making Instant Pot Stir Fry
- Sear Chicken First: I learned this the hard way—tossing raw chicken straight in makes it steam instead of brown. Sear the thighs in batches for 2-3 minutes per side first, then pressure cook.
- Cut Veggies Evenly: Sounds obvious, but uneven pieces mean some broccoli turns to mush while carrots stay crunchy. Aim for 1-inch chunks across all veggies.
- Skip Overfilling: After burning three batches, I finally figured out the Instant Pot needs room. Never exceed the 2/3 max fill line, especially with frothy sauces like soy.
- Use Cornstarch Slurry: My grandmother swore by this, and she was right: Mix 1 tbsp cornstarch with 2 tbsp cold water, stir into the finished dish, and saute 2 more minutes for glossy, thick sauce.
Flavor Customization for These Flavors
Spice It Up
Add ½ tsp red pepper flakes with the garlic for a subtle kick, or go bold with 1 tbsp sriracha stirred into the sauce. I love the depth Sichuan peppercorns add—just ¼ tsp gives that signature numbing heat. 🌶️
Sweet and Tangy
Swap brown sugar for honey or pineapple juice to sweeten naturally. For tang, increase rice vinegar to 3 tbsp or add 1 tbsp lime juice. The acidity brightens the rich soy sauce.
Umami Bomb
Boost savory depth with 1 tbsp oyster sauce or 1 tsp fish sauce. A splash of hoisin adds complexity. I always keep Lee Kum Kee brand on hand for authentic flavor.
Vegetable Swaps
Try snap peas, mushrooms, or baby corn for crunch. For heartiness, add water chestnuts or bamboo shoots. Frozen veggies work too—just don’t thaw them first.
Protein Variety
Swap chicken for shrimp (reduce cook time to 2 minutes) or tofu (press first). For beef, use flank steak sliced thin—sear 3 minutes before pressure cooking.
Ground pork with 5-spice powder makes a delicious twist. 💡
Nutrition Facts
Frequently Asked Questions
Can I use frozen vegetables?
Yes, just add them directly without thawing. They’ll cook perfectly in the 4 minutes of pressure time.
Why sear the chicken first?
Searing develops deep flavor through caramelization. It creates that golden crust you expect from stir-fry, even in a pressure cooker.
Can I make this gluten-free?
Use tamari instead of soy sauce and check that your chicken broth is gluten-free.
How do I prevent the sauce from burning?
Always deglaze the pot after searing by scraping up browned bits with broth. This prevents burning during pressure cooking.

- 6 Oz Chocolate Chip Cookie Recipe: Perfectly Balanced Crispy Edges and Chewy Hearts - September 25, 2026
- 6-Inch Coffee Cake Recipe: Vanilla Bean Swirls and Buttery Streusel Topping - September 25, 2026
- 1 Hour Soup Recipe: Velvety Richness Without the Wait - September 25, 2026