
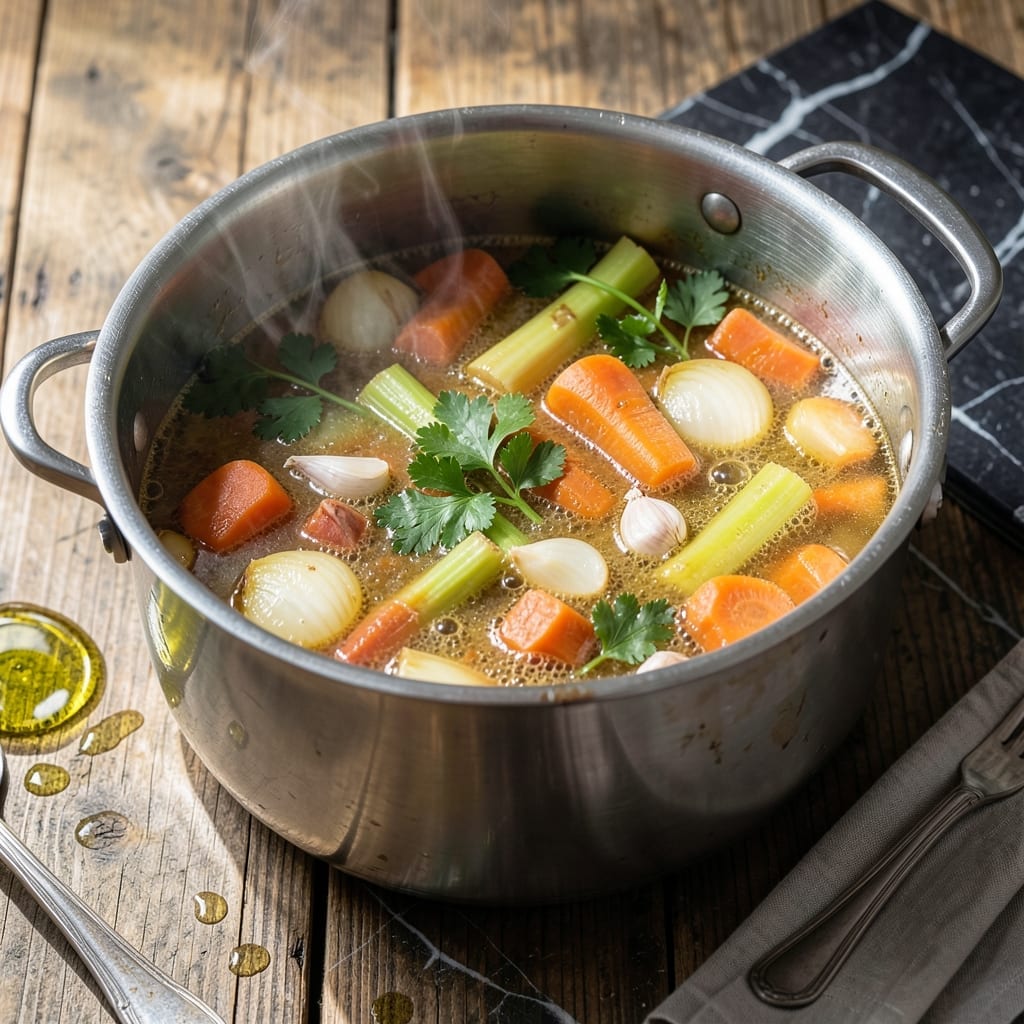
Making homemade stock in your Instant Pot cuts traditional cooking time in half without sacrificing depth of flavor. This proven method delivers a rich broth that rivals stove-top versions, with a fraction of the effort and oversight.
The pressure cooker extracts maximum flavor from bones and aromatics in under 2 hours, compared to 6-8 hours on the stove. You’ll get a clear, flavorful stock that forms the perfect base for soups, sauces, and braises.
What sets this apart is the controlled environment—no evaporation, no temperature fluctuations, just consistent, hands-off cooking. The result is a golden broth that’s ready when you need it.
Use it immediately or store for future meals. Here’s how to get started.
Ingredients for Instant Pot Stock
Simple ingredients transform into rich, golden broth with your Instant Pot’s help.
| Ingredient | Amount | Notes |
|---|---|---|
| Chicken Bones 🍗 | 2 lb | Necks, backs, or carcasses |
| Yellow Onions 🧅 | 2 whole | Quartered, unpeeled |
| Carrots 🥕 | 3 whole | Cut into large chunks |
| Celery Stalks 🥬 | 3 whole | Including leafy tops |
| Garlic Cloves 🧄 | 6 cloves | Smashed, unpeeled |
| Fresh Parsley Stems 🌿 | ½ cup | Or whole stems |
| Bay Leaves 🍃 | 2 whole | Dried or fresh |
| Black Peppercorns 🌶️ | 1 tbsp | Whole, lightly crushed |
| Cold Water 💧 | 12 cups | Enough to cover all ingredients |
| Apple Cider Vinegar 🍏 | 1 tbsp | For acidity balance |
| Kosher Salt 🧂 | 1 tsp | Adjust to taste later |
The bones are the foundation here. Chicken necks and backs give the richest flavor, but any carcasses work. Ask your butcher for stock bones—Whole Foods or local farms often have great options. Don’t skip the onion skins (yes, really) and celery tops—they add depth and color. Fresh is best for the aromatics, but frozen works in a pinch.
No chicken bones? Beef or turkey bones make excellent stock too. Short on time? Store-bought rotisserie chicken carcasses (from Costco or your grocery store) are a great hack. The apple cider vinegar helps extract minerals from the bones—lemon juice works too. Skip the salt until the end so you can reduce the stock if needed.
Stock keeps 5 days in the fridge or 6 months frozen. Cool it quickly by transferring to shallow containers. Skim off fat after chilling for a cleaner broth. I freeze mine in ice cube trays for easy portions.
Why You’ll Love This Recipe
- Set It and Forget: I toss in chicken bones, onions, carrots, celery, and garlic, press a button, and walk away—no babysitting required.
- Rich and Deep: The pressure cooker coaxes every bit of flavor from the bones and veggies, so the stock tastes like it simmered all day.
- Meal Prep MVP: Between us, I always keep a batch in the freezer for soups, risottos, or deglaing pans on busy nights.
- Pennywise Perfection: Honestly, I save money by using scraps and bones I’d normally toss, and it’s better than any store-bought version.
Step-by-Step Instructions for Instant Pot Stock
This method delivers deeply flavored broth in a fraction of the traditional cooking time.
Step 1: Prepare and Roast the Vegetables
Begin by roughly chopping the 2 whole Yellow Onions, 3 whole Carrots, and 3 whole Celery Stalks into large chunks. There’s no need to peel the onions or garlic—just quarter the onions and smash the 6 cloves Garlic Cloves with the side of your knife. The skins will add color and depth to your stock.
Add the vegetables to the Instant Pot along with the 2 lb Chicken Bones. Set the pot to sauté mode and let the vegetables and bones roast for 5-7 minutes, stirring occasionally, until they develop a deep golden brown color. This step enhances the flavor through caramelization.
Step 2: Add Aromatics and Liquids
Once the vegetables and bones are nicely browned, add the 0.5 cup Fresh Parsley Stems, 2 whole Bay Leaves, and 1 tbsp Black Peppercorns to the pot. Pour in the 12 cups Cold Water, ensuring all ingredients are submerged. The water should cover everything by at least an inch.
Add the 1 tbsp Apple Cider Vinegar and 1 tsp Kosher Salt. The vinegar helps extract minerals from the bones, resulting in a richer, more nutritious stock. Stir gently to combine all the ingredients.
Step 3: Pressure Cook for Maximum Flavor Extraction
Secure the lid on the Instant Pot and set the valve to sealing. Cook on high pressure for 2 hours. This extended cooking time under pressure breaks down the bones and vegetables completely, extracting every bit of flavor and gelatin.
You’ll notice the rich aroma filling your kitchen as the stock cooks. The bones should be falling apart, and the vegetables will have softened into a mushy consistency. This is exactly what you want for a full-bodied stock.
Step 4: Strain and Finish the Stock
Once the cooking time is complete, allow the pressure to release naturally for 15 minutes, then quick-release any remaining pressure. Carefully open the lid and let the stock cool slightly.
Place a fine-mesh strainer over a large bowl or another pot and pour the stock through to remove all solids. Press gently on the solids with a spoon to extract any remaining liquid, but don’t force it, as this can make the stock cloudy. Discard the solids and let the stock cool completely before refrigerating or freezing.
The finished stock should have a rich amber color and a deep, savory aroma. Once cooled, you can skim off any fat that has solidified on the surface if you prefer a leaner stock. Store in airtight containers for up to 5 days in the refrigerator or 6 months in the freezer.
Pro Tips For Making Instant Pot Stock
- Roast Bones First: I learned this the hard way—raw chicken bones make a flat, dull stock. Toss them under the broiler for 10-12 minutes until golden before pressure cooking for a deeper, richer flavor.
- Skip the Peeling: Sounds weird, but it works: leave the skins on your onions and garlic cloves. They add color and complexity, and you’ll strain them out anyway.
- Fill to Max Line: Resist the urge to overfill—your Instant Pot should never exceed the 2/3 max fill line, or you risk a messy, dangerous pressure release. Two pounds of bones plus veggies is plenty.
- Use Cold Water: After burning a batch, I finally figured out that starting with cold water prevents the proteins from seizing up and clinging to the bottom, which can trigger the burn notice.
Troubleshooting Perfect Results
Cloudy Stock Fix
If your stock looks murky, you likely pressed too hard when straining or skipped the skimming step. I pour mine through a cheesecloth-lined strainer for crystal-clear results. Avoid boiling vigorously during cooking, which can emulsify fat into the broth. 💡
Weak Flavor Solution
Under-seasoned or bland stock usually means not enough bones or aromatics. I always use 2 lbs chicken bones per 12 cups water as a baseline. Roasting the bones and vegetables first, as we covered earlier, adds crucial depth.
Pressure Release Issues
If your Instant Pot struggles to come to pressure, check the sealing ring and ensure the valve is set correctly. I’ve found that overfilling (above the ⅔ max line) prevents proper pressurization. Cold ingredients also take longer to build pressure.
Fat Skimming Tips
After chilling, fat solidifies on top for easy removal. I use a slotted spoon to lift it off. For a fat-free finish, refrigerate your stock in a glass measuring cup—the fat rises to the spout for easy pouring off.
Storage Problems
Prevent freezer burn by leaving 1-inch headspace in containers. I freeze in 1-cup portions using silicone molds, then transfer to bags. Thaw overnight in the fridge or use the microwave’s defrost setting for quick use. ❄️
Salt Imbalance
Since stock reduces when cooked down in recipes, I wait to season until using it. If you’ve already added salt, dilute with water or balance with acid like 1 tsp lemon juice per cup. Taste as you go—it’s easier to add than remove.
Nutrition Facts
Frequently Asked Questions
Can I use frozen bones?
Yes, but thaw them first to avoid overfilling your pot. Frozen bones can cause pressure issues and may not extract flavor as efficiently. Thaw overnight in the fridge for best results.
Why add vinegar to the stock?
The 1 tbsp apple cider vinegar helps break down bones, releasing more minerals and gelatin. It doesn’t affect flavor but boosts nutritional value. Lemon juice works too.
How do I make it more flavorful?
Roast bones and veggies first for deeper color and taste. Use 2 lbs bones per 12 cups water and don’t skip aromatics like parsley stems and bay leaves.
What’s the best way to store leftover stock?
Freeze in 1-cup portions for easy use later. Leave 1-inch headspace in containers to prevent freezer burn. It keeps 6 months frozen or 5 days refrigerated.

- 6 Oz Chocolate Chip Cookie Recipe: Perfectly Balanced Crispy Edges and Chewy Hearts - September 25, 2026
- 6-Inch Coffee Cake Recipe: Vanilla Bean Swirls and Buttery Streusel Topping - September 25, 2026
- 1 Hour Soup Recipe: Velvety Richness Without the Wait - September 25, 2026