
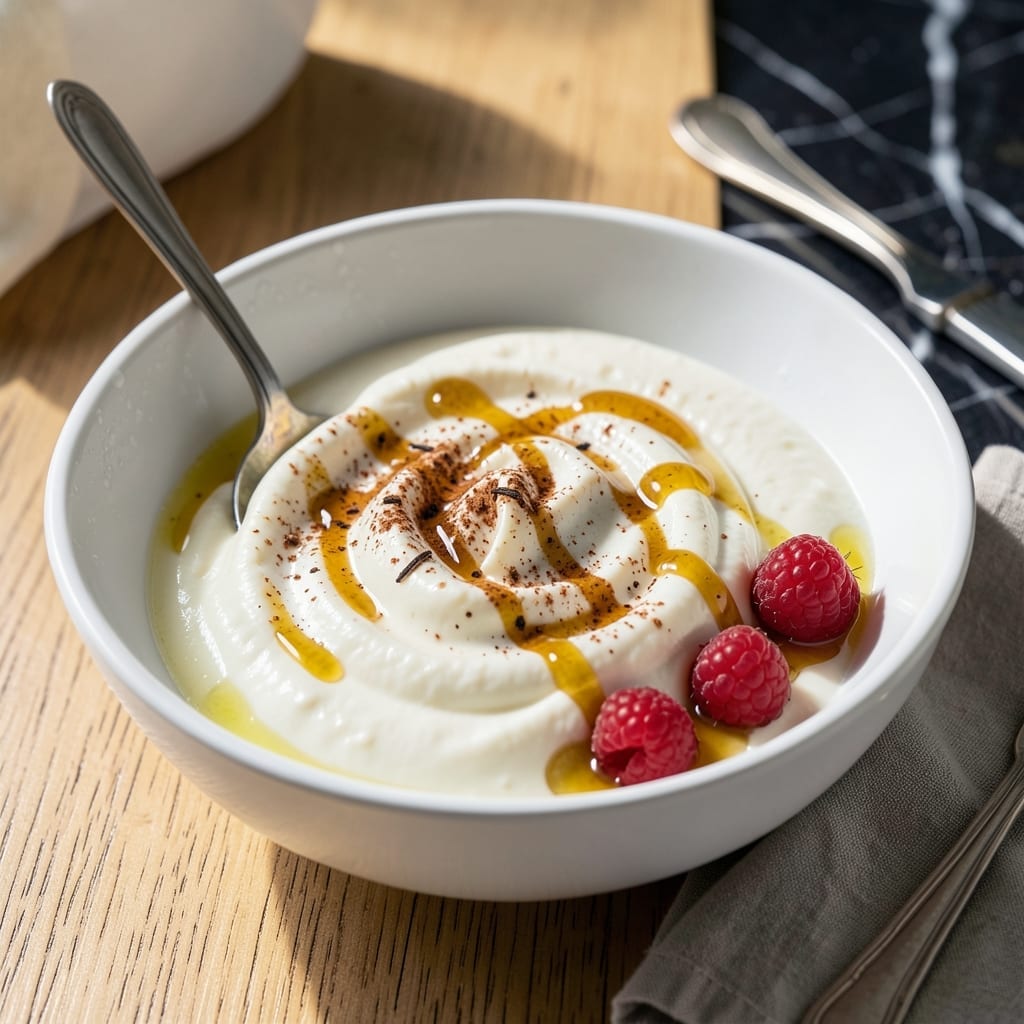
Making yogurt at home delivers a thickness and tang you can’t find in store-bought versions. This method uses the Instant Pot’s precise temperature control to create the perfect environment for fermentation.
The process begins with pasteurizing the milk to kill unwanted bacteria, then cooling it to the ideal temperature for adding starter culture. After a 8-hour fermentation period, you’ll have creamy, tangy yogurt ready to enjoy.
What sets this apart is the complete control over texture and flavor. You can adjust the fermentation time to achieve your preferred level of tartness and thickness.
No special equipment beyond your Instant Pot is required. The results are consistently better than commercial brands, with a freshness that’s immediately noticeable.
Ingredients for Instant Pot Yogourt
Simple ingredients transform into creamy, tangy yogurt with your Instant Pot’s help.
| Ingredient | Amount | Notes |
|---|---|---|
| Whole Milk 🥛 | 8 cups | Full-fat for creaminess |
| Plain Yogurt 🥣 | 2 tbsp | With live cultures, as starter |
| Honey 🍯 | 2 tbsp | Optional sweetener (or maple syrup) |
| Vanilla Extract 🌿 | 1 tsp | Pure for best flavor |
| Gelatin 🍶 | 1 tsp | Optional for thicker texture |
| Water 💧 | ¼ cup | For boiling gelatin |
| Salt 🧂 | 0.125 tsp | Pinch to taste |
The milk is the foundation here. Whole milk from a trusted dairy gives the richest results—avoid ultra-pasteurized if possible (it doesn’t set as well). I grab mine from Whole Foods or a local farm stand. The starter yogurt must have live, active cultures—check the label. Fage or Stonyfield are reliable brands. If you’ve made yogurt before, save some from your last batch to use as starter.
No plain yogurt for starter? Kefir grains work too (use 1 tbsp). Want it sweeter? Swap honey for maple syrup or agave. Skipping gelatin? The yogurt will be thinner but still delicious. The vanilla is optional—great for sweet yogurt, skip it for savory. Almond or coconut milk can replace dairy milk, but texture varies.
Stays fresh in the fridge for 2 weeks. The longer it ferments, the tangier it gets—taste test after 8 hours and adjust. Strain through cheesecloth for Greek-style thickness (takes about 2 hours).
Why You’ll Love This Recipe
- Set and Forget: The instant pot does all the work while I go about my day—no stirring, no fuss.
- Creamy Vanilla Bliss: The whole milk and vanilla extract create a rich, smooth yogurt that’s just sweet enough with a drizzle of honey.
- Meal Prep Magic: I make a big batch on Sunday and use it for breakfast, smoothies, or even as a tangy topping for tacos.
- Budget-Friendly Stretch: A gallon of whole milk turns into a week’s worth of yogurt for the cost of one store-bought tub.
Step-by-Step Instructions for Instant Pot Yogourt
Here’s the method I use to make perfectly thick and tangy yogourt every single time.
Step 1: Heat the Whole Milk
Pour all 8 cups Whole Milk into your Instant Pot and secure the lid with the vent set to sealing. Select the “Yogurt” function and press “Adjust” until it displays “Boil.” This will heat the milk to 180°F, which is the ideal temperature for pasteurization.
The milk is ready when it reaches 180°F—you’ll see the display switch to “Yogt” and the Instant Pot will beep. This step kills any unwanted bacteria and creates the perfect environment for the yogurt cultures to thrive. The process typically takes 20-25 minutes, depending on your model.
Step 2: Cool the Milk to the Right Temperature
Once the milk reaches 180°F, remove the inner pot and let it cool to 110°F. I place the pot in a sink filled with 1-2 inches of cold water to speed up the cooling process, stirring occasionally to distribute the heat evenly.
This cooling step is critical. If the milk is too hot, it will kill the live cultures in the 2 tbsp Plain Yogurt; if it’s too cool, the cultures won’t activate properly. Use a food thermometer to monitor the temperature accurately, aiming for the 110°F sweet spot.
Step 3: Add Starter and Optional Ingredients
Once the milk cools to 110°F, whisk in the 2 tbsp Plain Yogurt until fully dissolved. This introduces the live cultures that will ferment the milk into yogourt. Ensure the starter is fully incorporated to avoid any lumps in the final product.
If you prefer a thicker texture, sprinkle 1 tsp Gelatin over 0.25 cup Water in a small bowl and let it bloom for 5 minutes. Heat the gelatin mixture in the microwave for 20-30 seconds until fully dissolved, then stir it into the milk. For flavor, add the 2 tbsp Honey, 1 tsp Vanilla Extract, and 0.125 tsp Salt, whisking well to combine.
Step 4: Incubate in the Instant Pot
Return the inner pot to the Instant Pot, secure the lid, and set the vent to sealing. Select the “Yogurt” function again and set the time to 8 hours. The longer incubation time develops a tangier flavor, but you can adjust it to 6-10 hours based on your preference.
During incubation, the Instant Pot maintains a consistent warm environment, allowing the cultures to ferment the milk. Avoid moving or disturbing the pot during this time. The yogourt will thicken as it incubates, and you’ll notice it pulling away slightly from the sides of the pot.
Step 5: Chill and Enjoy
After incubation, remove the inner pot and place it in the refrigerator to chill for at least 4 hours. This cooling process stops the fermentation and allows the yogourt to set fully. The texture will continue to thicken as it chills, especially if you added gelatin.
Once chilled, give the yogourt a gentle stir. It should have a smooth, creamy consistency with a pleasant tang. Transfer it to airtight containers and store in the refrigerator for up to 2 weeks. Enjoy it plain, with fresh fruit, or as a base for smoothies.
Pro Tips For Making Instant Pot Yogourt
- Heat Milk Gently: Use the “Yogurt” setting to heat the milk to 180°F—rushing with high pressure can scald it and ruin the texture. I learned this the hard way after two batches turned grainy.
- Use Fresh Starter: Always use plain yogurt with live cultures that’s less than a week old, or the bacteria may be too weak to thicken properly. Sounds obvious, but I used expired once and it stayed liquid.
- Skip the Boil: Avoid boiling the milk; it kills beneficial bacteria and can make the yogurt thin. Just heat to 180°F, then cool to 110°F before adding the starter.
- Add Gelatin Last: Stir in the gelatin only after the milk has cooled to 110°F—adding it too early can cause clumping. A small step, but it guarantees smooth, creamy yogurt every time.
Flavor Customization for This instant pot yogourt
Sweet Flavor Boosters
For a sweeter yogourt, I love adding 2 tbsp Honey or maple syrup before incubation. The natural sweetness balances the tang beautifully. You can also stir in 1 tsp Vanilla Extract for a classic vanilla flavor that pairs perfectly with fruit. 💛
Fruit Infusions
Mix in 1 cup fresh berries or ½ cup mashed banana after chilling for a fruity twist. The acidity in fruit complements the yogourt’s natural tang. I often blend in 1 tbsp strawberry jam for a quick fruit flavor.
Savory Options
Skip the sweetness entirely and add ¼ tsp garlic powder and 1 tbsp fresh dill to create a savory yogourt perfect for dips or dressings. A pinch of salt enhances all flavors, whether sweet or savory.
Texture Variations
For Greek-style thickness, strain the finished yogourt through cheesecloth for 2 hours. This removes excess whey, creating a rich, spreadable texture. Adding 1 tsp Gelatin gives a firmer set, ideal for custard-like desserts.
Spiced Variations
Stir in ½ tsp cinnamon or ¼ tsp cardamom during incubation for warm spice notes. These pair especially well with the vanilla version. A tiny pinch of saffron adds an exotic, floral aroma.
Dairy Alternatives
While whole milk gives the creamiest results, coconut milk or almond milk can be used. Note that plant-based milks may require 1 tsp additional gelatin to achieve similar thickness. The flavor will be slightly different but still delicious. ✨
Nutrition Facts
Frequently Asked Questions
Can I use skim milk instead of whole?
Yes, but the yogurt will be thinner. Whole milk’s fat content creates a creamier texture. For best results with skim, add 1 tsp gelatin to improve thickness
How do I know when it’s done fermenting?
Check after 8 hours. It should pull away from the pot’s sides and have a tangy smell. For thicker yogurt, let it go up to 10 hours
Can I reuse my homemade yogurt as starter?
Yes! Use 2 tbsp from your last batch, but only for 3-5 generations. After that, use store-bought to refresh the cultures
Why is my yogurt runny?
Common causes: milk too hot when adding starter, not enough fermentation time, or using low-fat milk. Straining through cheesecloth for 2 hours helps thicken it

- 6 Oz Chocolate Chip Cookie Recipe: Perfectly Balanced Crispy Edges and Chewy Hearts - September 25, 2026
- 6-Inch Coffee Cake Recipe: Vanilla Bean Swirls and Buttery Streusel Topping - September 25, 2026
- 1 Hour Soup Recipe: Velvety Richness Without the Wait - September 25, 2026