
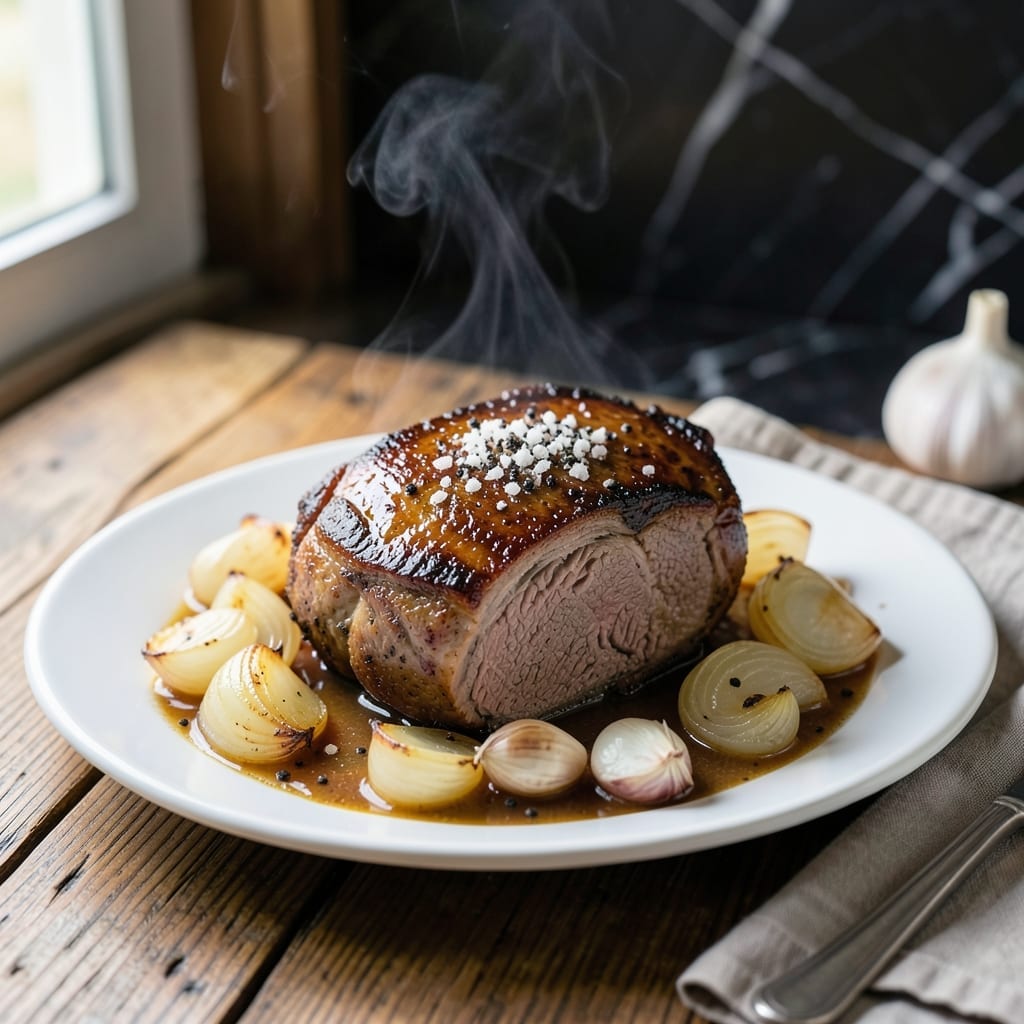
This pot roast delivers the deep, rich flavors you’d expect from a fine dining establishment, right in your own kitchen. The slow-braising technique transforms tough cuts of beef into fork-tender perfection, while garden vegetables soak up every savory bite.
The secret lies in the low-and-slow cooking method, which allows the beef to break down gradually in a flavorful liquid. Carrots, potatoes, and onions become meltingly soft, absorbing the robust sauce created during the braising process.
What emerges after hours of gentle cooking is a dish with layers of complex flavor. The beef falls apart at the touch of a fork, and the vegetables develop a richness that complements the meat perfectly.
Serve this hearty meal with crusty bread to soak up every drop of the savory juices. The results speak for themselves.
Ingredients for Jar Restaurant Pot Roast
A few good ingredients and time make this restaurant-worthy dish happen at home.
| Ingredient | Amount | Notes |
|---|---|---|
| Chuck Roast 🥩 | 3 lb | Well-marbled, boneless preferred |
| Kosher Salt 🧂 | 2 tsp | Diamond Crystal brand recommended |
| Black Pepper 🌶️ | 1 tsp | Freshly ground for best flavor |
| Olive Oil 🫒 | 2 tbsp | For searing beef |
| Yellow Onions 🧅 | 2 whole | Large, roughly chopped |
| Garlic Cloves 🧄 | 6 cloves | Smashed but left whole |
| Carrots 🥕 | 4 whole | Peeled, cut into chunks |
| Yukon Gold Potatoes 🥔 | 1 ½ lb | Cut into large pieces |
| Red Wine 🍷 | 2 cups | Dry variety like Cabernet |
| Beef Stock 🥩 | 2 cups | Low-sodium preferred |
| Tomato Paste 🍅 | 2 tbsp | For depth of flavor |
| Fresh Thyme Sprigs 🌿 | 4 pieces | Stems okay for braising |
| Fresh Rosemary Sprigs 🌿 | 2 pieces | Stems okay for braising |
| Bay Leaves 🍃 | 2 pieces | Dried or fresh |
The beef is the foundation. Chuck roast with good marbling breaks down perfectly—avoid lean cuts like sirloin. Most butchers can cube it for you, or buy a whole roast and trim it yourself. I source mine from Whole Foods or a trusted local butcher. The wine should be something you’d actually drink—a bold Cabernet Sauvignon or Merlot works beautifully here.
No red wine? Substitute with extra beef stock plus a splash of balsamic vinegar for acidity. Fresh herbs are ideal, but dried thyme and rosemary at half the amount work in a pinch. For the potatoes, russets can replace Yukon Golds if that’s what you have. The tomato paste adds depth—don’t skip it, but that squeeze tube at Trader Joe’s is perfect for just the right amount.
This tastes even better the next day—store in the fridge for up to 4 days. For longer storage, freeze for 3 months. Reheat gently on the stove, adding a splash of water or stock to loosen the sauce.
Why You’ll Love This Recipe
- One Pot Magic: I love that this recipe lets me sear the chuck roast in olive oil, then just layer in onions and spices—no complicated steps.
- Meal Prep Hero: I make this on Sunday and we eat it for days—tastes even better reheated, and the onions soak up all the flavor.
- Budget Winner: Honestly, chuck roast is affordable, and this recipe stretches it into multiple meals without skimping on taste.
Step-by-Step Instructions for Slow-Braised Beef With Garden Vegetables
This method delivers fork-tender beef and vegetables in a rich, deeply flavored sauce.
Step 1: Season and Sear the Chuck Roast
Pat the 3 lb chuck roast dry with paper towels, then season all sides generously with the 2 tsp kosher salt and 1 tsp black pepper. This dry surface ensures a proper sear, while the seasoning penetrates deeply during the long cook.
Heat the 2 tbsp olive oil in a large Dutch oven over medium-high heat until shimmering. Sear the roast on all sides for 6-8 minutes total, turning occasionally, until deeply browned. You’ll know it’s ready to turn when it releases easily from the pot—don’t force it.
Transfer the seared roast to a plate and set aside. This step builds the foundation of flavor for the entire dish, so take your time to develop a dark, even crust.
Step 2: Sauté the Aromatics and Build the Base
In the same pot, add the 2 whole yellow onions (roughly chopped), 6 cloves garlic cloves (smashed), 4 whole carrots (peeled and cut into chunks), and 2 tbsp tomato paste. Cook over medium heat for 5-6 minutes, stirring frequently, until the vegetables soften and the tomato paste darkens slightly.
The tomato paste should turn a deep brick red—this caramelization adds complexity to the sauce. If the mixture sticks, deglaze with a splash of the 2 cups red wine to lift the browned bits from the bottom.
Stir in the 4 pieces fresh thyme sprigs, 2 pieces fresh rosemary sprigs, and 2 pieces bay leaves. These herbs infuse the dish with aromatic depth as they simmer.
Step 3: Deglaze and Add Liquids
Pour in the remaining 2 cups red wine and bring to a simmer, scraping up any browned bits from the bottom of the pot. Let it reduce by about half—this takes 8-10 minutes and concentrates the flavor.
Add the 2 cups beef stock and return the seared chuck roast to the pot along with any accumulated juices. The liquid should come about halfway up the roast. This balance ensures the meat braises rather than boils.
Bring the mixture to a gentle simmer, then cover the pot and transfer it to a preheated 325°F oven. This low and slow method guarantees tender, fall-apart meat.
Step 4: Braise with Vegetables Until Tender
After 1 hour, add the 1.5 lb Yukon Gold potatoes (cut into large pieces) to the pot. The potatoes go in later to prevent them from turning mushy. Cover and continue braising for another 1.5-2 hours.
The dish is done when the chuck roast shreds easily with a fork and the vegetables are tender. Check the roast at the 2.5-hour mark—it should yield to gentle pressure and register 195-200°F internally.
If the sauce is too thin, remove the lid and simmer on the stovetop for 5-10 minutes to thicken slightly. The sauce should coat the back of a spoon but still be loose enough to soak into the meat and vegetables.
Step 5: Rest and Serve
Carefully transfer the chuck roast to a cutting board and tent loosely with foil. Let it rest for 15 minutes while you skim any excess fat from the sauce. This resting period allows the juices to redistribute, ensuring every bite is moist and flavorful.
Slice or pull the beef into large chunks and return it to the pot with the vegetables. The sauce should be rich and deeply colored, with the vegetables softened but still holding their shape. Serve hot, with plenty of the braising liquid spooned over each portion.
Pro Tips For Making Jar Restaurant Pot Roast
- Sear the Chuck Hard: Use high heat and don’t move the meat for at least 2-3 minutes per side—I learned this the hard way after getting pale, steamed beef instead of that deep brown crust.
- Slice Onions Thick: Cut your yellow onions into ½-inch slices so they hold up during the long braise instead of turning to mush.
- Skip the Cold Roast: Let the chuck sit at room temp for 30-45 minutes before searing, or the center stays tough while the outside overcooks.
- Use a Heavy Pot: A Dutch oven or heavy-bottomed pot distributes heat evenly, preventing hot spots that can burn the onions or dry out the meat.
Dietary Considerations for This jar restaurant pot roast
Gluten-Free Friendly
This recipe is naturally gluten-free as written, since it relies on whole ingredients like beef, vegetables, and wine. Just double-check your beef stock—some brands add wheat as a thickener. I trust Pacific Foods for certified gluten-free options.
Low-Carb Adaptation
Skip the 1.5 lb Yukon Gold potatoes and swap in 2 lb turnips or radishes for a lower-carb alternative. They hold up well to braising and absorb the sauce beautifully. I’ve tested this with rutabagas too—same cooking time, great texture.
Dairy-Free Note
This dish contains no dairy by default, making it safe for lactose-intolerant diners. The richness comes from the beef and wine, not butter or cream. If you’re serving it with bread, opt for dairy-free rolls to keep the whole meal safe.
Wine Substitution
For alcohol-free versions, replace the 2 cups red wine with 2 cups beef stock plus 2 tbsp balsamic vinegar. The vinegar adds the acidity needed to balance the dish. I’ve also used grape juice in a pinch—just reduce it first.
Allium-Free Option
Omit the 2 yellow onions and 6 garlic cloves for those avoiding alliums. Boost flavor with extra herbs—add 2 additional thyme sprigs and 1 extra rosemary sprig. A pinch of asafoetida (hing) can mimic the depth if you tolerate it. 💡
Sodium Control
To reduce sodium, use low-sodium beef stock and cut the 2 tsp kosher salt in half. Taste before adding more—you can always adjust at the end. Fresh herbs and wine provide plenty of flavor without extra salt.
Nutrition Facts
Frequently Asked Questions
What cut of beef works best for braising?
Use a well-marbled chuck roast for the best results. Its connective tissue breaks down beautifully during the long, slow cooking process. Avoid lean cuts like sirloin as they can become dry.
Can I make this in a slow cooker instead?
Yes! Sear the beef first, then transfer everything to the slow cooker. Cook on low for 8 hours or high for 5-6 hours. The texture will be slightly different but still delicious.
How do I prevent the sauce from being too thin?
Remove the lid and simmer on the stovetop for 5-10 minutes after braising. Alternatively, mix 1 tbsp cornstarch with water and stir in during the last 30 minutes.
Is it safe to leave this cooking unattended?
Oven braising is safe for unattended cooking as long as your oven maintains a steady 325°F. For stovetop, use a heavy pot and check occasionally to prevent burning.

- 4C Bread Crumbs Meatballs Recipe: Crispy Crust and Juicy Centers - September 25, 2026
- 6 Oz Chocolate Chip Cookie Recipe: Perfectly Balanced Crispy Edges and Chewy Hearts - September 25, 2026
- 6-Inch Coffee Cake Recipe: Vanilla Bean Swirls and Buttery Streusel Topping - September 25, 2026