
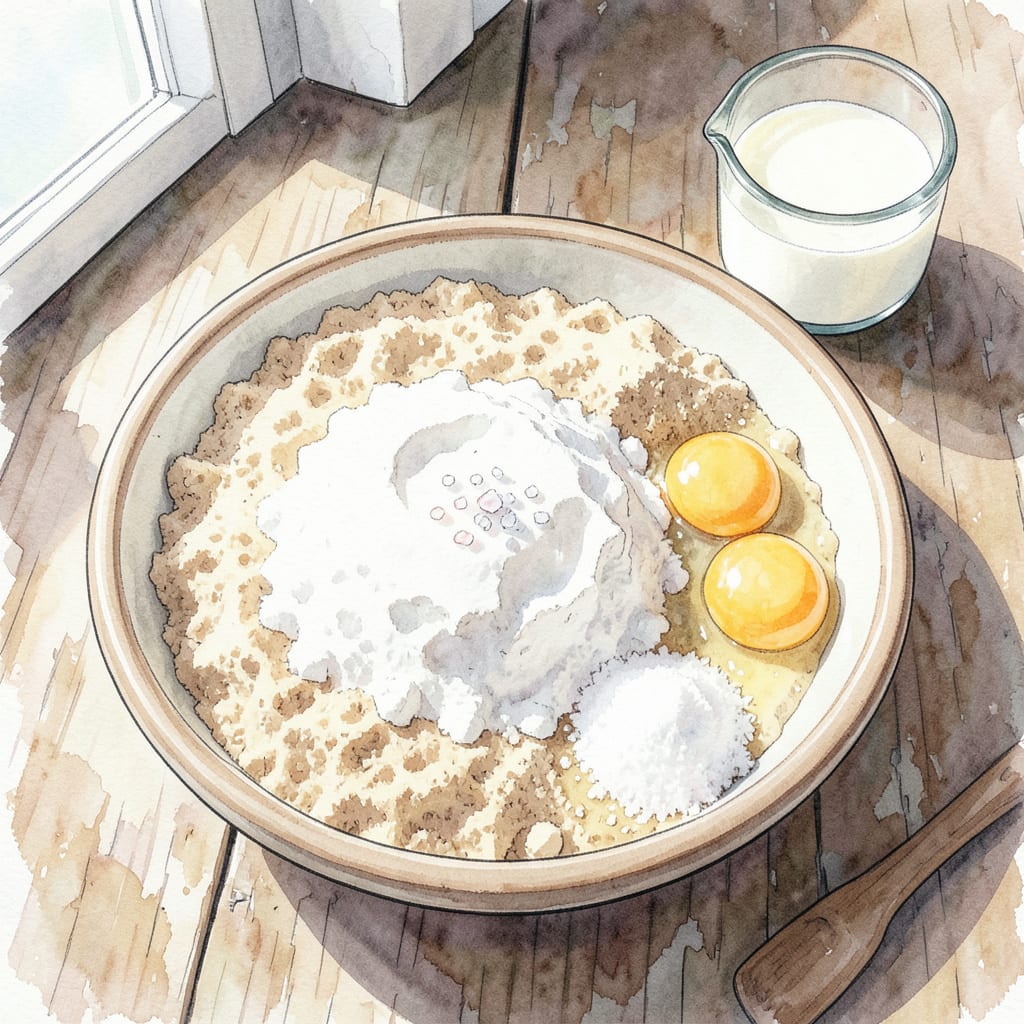
I’ve perfected the classic Joy of Cooking waffles recipe to achieve that ideal balance of crispy exterior and fluffy interior. This recipe delivers restaurant-quality waffles with minimal effort, using simple pantry ingredients and basic kitchen equipment.
By following this recipe, you’ll create delicious waffles with a golden brown crust and tender interior, perfect for topping with your favorite fruits, syrups, or whipped cream. The result is a breakfast treat that’s both satisfying and impressive.
Ingredients for Joy of Cooking Waffle
Simple pantry staples come together to create these crispy, golden waffles every time.
| Ingredient | Amount | Notes |
|---|---|---|
| All-Purpose Flour 🌾 | 2 cups | Sifted for lightness |
| Granulated Sugar 🍮 | 2 tbsp | Adds subtle sweetness |
| Baking Powder 🧂 | 1 tbsp | Fresh for best rise |
| Salt 🧂 | ½ tsp | Kosher or sea salt |
| Large Eggs 🥚 | 2 whole | Room temperature |
| Whole Milk 🥛 | 1 ½ cups | Or buttermilk for tang |
| Unsalted Butter 🧈 | 4 tbsp | Melted, cooled slightly |
| Pure Vanilla Extract 🍰 | 1 tsp | High quality for best flavor |
For the fluffiest waffles, don’t overmix the batter—stop when ingredients are just combined. The batter should still be slightly lumpy. Let it rest for 5-10 minutes to allow the flour to fully hydrate. Use room temperature eggs for better emulsion.
No buttermilk? Make a substitute by mixing 1 cup milk with 1 tbsp white vinegar or lemon juice. Let it sit for 5 minutes before using. For an extra crispy exterior, add 2 tbsp cornstarch to the dry ingredients. If you don’t have pure vanilla extract, you can omit it or substitute with 1/2 tsp vanilla bean paste.
Leftover waffles keep in an airtight container at room temperature for 2 days or freeze for up to 3 months. To reheat, pop them in the toaster or toaster oven at 350°F until crispy again. The batter can be made ahead and stored in the fridge for up to 24 hours—just give it a quick stir before using.
Step-by-Step Instructions for Crisp Outside, Fluffy Inside Waffles
Follow these precise steps to achieve perfect waffles with a crunchy exterior and tender interior.
Step 1: Prepare Dry Ingredients
In a large bowl, whisk together the 2 cups All-Purpose Flour, 2 tbsp Granulated Sugar, 1 tbsp Baking Powder, and 0.5 tsp Salt. I like to sift the flour first to ensure it’s well-aerated and incorporates smoothly with the other dry ingredients. This step is crucial for even distribution of the leavening agents.
The mixture should be well combined and free of lumps. You’ll notice the baking powder is evenly distributed when you don’t see any clumps. This dry mixture provides the foundation for your waffle batter.
Step 2: Combine Wet Ingredients
In a separate bowl, whisk together the 2 whole Large Eggs, 1.5 cups Whole Milk, 4 tbsp Unsalted Butter (melted and cooled slightly), and 1 tsp Pure Vanilla Extract. I always use room temperature eggs for better emulsification with the other wet ingredients. The melted butter should be warm but not hot to the touch.
Whisk until the eggs are fully incorporated and the mixture is smooth. You’ll see a homogeneous mixture when it’s ready. This wet ingredient mixture adds moisture and richness to your waffles.
Step 3: Combine Wet and Dry Ingredients
Pour the wet ingredients into the dry ingredients and gently fold until just combined. I prefer using a silicone spatula for this step as it minimizes batter loss. The batter should still be slightly lumpy – overmixing will result in tough waffles.
Don’t overwork the batter; a few streaks of flour are perfectly fine. The batter should still look somewhat rough. This gentle mixing preserves the delicate structure of the waffles.
Step 4: Rest the Batter
Let the batter rest for 10-15 minutes at room temperature. This resting period allows the flour to fully hydrate and the baking powder to activate, resulting in a lighter texture. You’ll notice the batter has relaxed and become slightly thicker.
During this time, preheat your waffle iron according to the manufacturer’s instructions. Most irons take about 5 minutes to reach the optimal temperature. A properly preheated iron is essential for achieving that perfect crisp exterior.
Step 5: Cook the Waffles
Once the waffle iron is hot and ready, pour about ¼ cup of batter onto the center of the iron (amount may vary depending on your iron’s size). Close the lid and cook for 3-5 minutes until the waffles are golden brown and crispy. The exact timing will depend on your iron and desired level of crispiness.
You’ll know they’re done when the steam reduces significantly and the waffles release easily from the iron. Serve immediately while still warm and crispy. For the best results, keep cooked waffles in a 200°F oven to maintain crispiness while cooking subsequent batches.
Essential Equipment for Perfect Results
Essential Waffle Iron
The most critical piece of equipment for making these Joy of Cooking waffles is a quality waffle iron. I recommend a Belgium-style waffle maker as it creates deep pockets perfect for holding toppings. Look for one with adjustable temperature control and non-stick surfaces for best results. 🔥
Recommended Brands
For consistent results, I prefer waffle irons from reputable brands like All-Clad or Breville. These brands offer models with precise temperature control and even heating. If you’re on a budget, Black+Decker makes a reliable entry-level option that still produces great waffles.
Bowl and Whisk
You’ll need a large mixing bowl for combining dry ingredients and another for wet ingredients. A stainless steel bowl is ideal as it won’t retain odors or flavors. For mixing, a balloon whisk works best for incorporating air into the eggs and milk.
Measuring Tools
Accurate measurements are crucial in waffle making. I always use a digital scale for precise ingredient measurement, especially for flour and sugar. If you don’t have a scale, dry measuring cups for dry ingredients and liquid measuring cups for wet ingredients will work.
Additional Tools
A silicone spatula is helpful for gently folding the wet and dry ingredients together without overmixing. For serving, a wire rack is useful for keeping cooked waffles crispy while cooking subsequent batches. If you plan on making waffles frequently, consider investing in a waffle iron cleaning brush to maintain your equipment.
Tips for Choosing Equipment
When selecting a waffle iron, consider the size and depth of the waffles you prefer. If you entertain often, a double waffle maker can be a great investment. For family breakfasts, a standard single waffle iron works perfectly. Always check the manufacturer’s instructions for specific care and use recommendations.
Nutrition Facts
320kcal
📖 See Also
Middle Eastern Falafel Recipe: Crispy Outside, Fluffy Inside
I ve perfected my Middle Eastern falafel recipe to achieve that ideal contrast of crispy exterior and fluffy interior.
📖 See Also
Mochi Taiyaki Recipe: Crispy Outside, Soft Inside Delight
Mochi taiyaki is a delightful Japanese dessert that combines the crispy outside of traditional taiyaki with the soft, chewy texture of mochi.

- 8 Bean Soup Recipe Crock Pot: Hearty Vegetable Medley in One Pot - September 25, 2026
- 4C Bread Crumbs Meatballs Recipe: Crispy Crust and Juicy Centers - September 25, 2026
- 6 Oz Chocolate Chip Cookie Recipe: Perfectly Balanced Crispy Edges and Chewy Hearts - September 25, 2026