
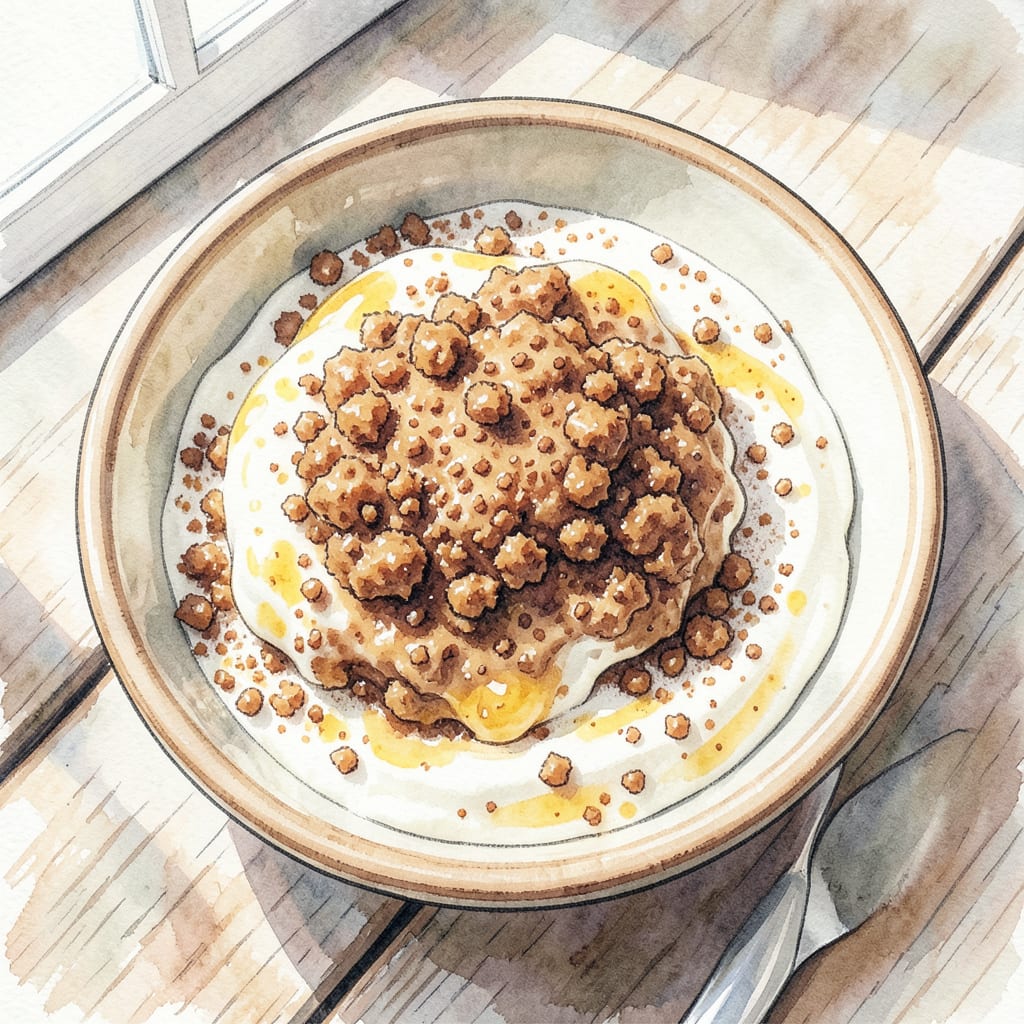
I’ve fallen for kinako, Japan’s soybean flour, and its nutty flavor. These crunchy kinako treats are a traditional Japanese dessert that’s surprisingly easy to make.
By mixing kinako with sugar and other simple ingredients, you’ll create a deliciously crunchy exterior and soft interior. Perfect as a snack or dessert, these treats showcase kinako’s unique flavor and texture.
Ingredients for Kinako
Simple ingredients come together to create these crunchy kinako treats with soft centers.
| Ingredient | Amount | Notes |
|---|---|---|
| Kinako Flour 🌾 | 1 ½ cups | Japanese soybean flour, sifted |
| Granulated Sugar 🍮 | ¾ cup | White sugar, superfine |
| Unsalted Butter 🧈 | ½ cup | Melted, cooled slightly |
| Large Eggs 🥚 | 2 whole | Room temperature |
| Vanilla Extract 🍰 | 1 tsp | Pure vanilla extract |
| Salt 🧂 | ¼ tsp | Pinch of kosher salt |
| All-Purpose Flour 🌾 | ¼ cup | For dusting, optional |
| Powdered Sugar 🍰 | 1 cup | For dusting, optional |
Kinako matters here. Look for Japanese soybean flour at Asian markets or online. I find mine at Mitsuwa Marketplace or order it from Amazon. The quality makes a difference—fresh kinako has a nutty aroma that’s hard to resist. If you’re feeling fancy, toast it lightly in a dry pan before using.
No superfine sugar? Regular granulated works, but pulse it in a food processor to get it finer. The butter can be browned for extra nuttiness—just watch it doesn’t burn. If you’re out of vanilla, skip it or substitute with a pinch of cinnamon for a different vibe. The eggs should be at room temp for better mixing.
These keep for 3-4 days in an airtight container. If they last that long. Dust with powdered sugar just before serving—the coating gets soggy otherwise. You can freeze them on a baking sheet, then transfer to a freezer bag for up to 2 months.
Step-by-Step Instructions for Kinako Treats
Here’s the straightforward method to create these addictive crunchy Japanese treats at home.
Step 1: Prepare the Kinako Flour Mixture
Start by combining the 1.5 cups Kinako Flour and 0.75 cup Granulated Sugar in a large mixing bowl. I like to use a whisk for this step to ensure the ingredients are evenly distributed. The mixture should be well combined and free of lumps.
Make sure to sift the Kinako Flour before measuring it, as this affects the texture of your final product. You’ll notice the mixture has a nice, even consistency when it’s properly combined.
Step 2: Mix Wet Ingredients and Combine with Dry Ingredients
In a separate bowl, whisk together the 2 whole Large Eggs, 1 tsp Vanilla Extract, and 0.25 tsp Salt until well blended. The eggs should be at room temperature for the best results. I always take them out of the fridge about 30 minutes before starting.
Add the 0.5 cup Unsalted Butter (make sure it’s melted and cooled slightly) to the egg mixture and whisk until smooth. Then, pour this wet mixture into the dry ingredients and mix until you get a dough that holds together. Be gentle during this process to avoid developing the mixture too much.
Step 3: Shape and Chill the Dough
Turn the dough out onto a lightly floured surface (using the 0.25 cup All-Purpose Flour for dusting) and gently knead it a few times until it becomes manageable. Shape the dough into a log about 2 inches in diameter. Wrap it tightly in plastic wrap and refrigerate for at least 1 hour or until firm.
Chilling is crucial as it helps the dough hold its shape during baking. You’ll notice the dough becomes firmer and easier to slice after chilling.
Step 4: Bake to Perfection
Preheat your oven to 350°F. Line a baking sheet with parchment paper. Slice the chilled dough into ¼-inch thick rounds and place them on the prepared baking sheet, leaving about 1 inch of space between each treat.
Bake for 15-20 minutes or until the edges are lightly golden. Keep an eye on them as oven temperatures can vary. Once done, let them cool on the baking sheet for 5 minutes before transferring to a wire rack to cool completely.
Step 5: Dust with Powdered Sugar
Once the treats are completely cool, dust them generously with 1 cup Powdered Sugar. I like to use a fine-mesh sieve for an even coating. The powdered sugar adds a sweet finish and helps bring out the nutty flavor of the Kinako Flour.
Serve immediately, or store in an airtight container for up to 3 days. These crunchy treats are perfect with tea or as a snack on their own.
Common Mistakes When Making This Dish
Overworking the Dough
One of the most common mistakes when making kinako treats is overworking the dough. When you mix the wet and dry ingredients together too much, it develops the gluten in the all-purpose flour, making the final product tough rather than tender. I learned this the hard way by making a batch that turned out chewy instead of crunchy.
Incorrect Kinako Quality
Using low-quality or stale kinako can significantly affect the flavor and texture of your treats. Fresh kinako has a distinct nutty aroma that makes all the difference. I always check the packaging date and store it properly to maintain its freshness. Look for kinako at reputable Asian markets or online stores like Amazon for the best quality.
Improper Chilling Time
Not chilling the dough long enough can cause the treats to spread too much during baking. I recommend chilling for at least 1 hour, but if you have the patience, 2 hours is even better. This step is crucial for maintaining the shape and achieving that perfect crunch.
Inconsistent Slicing
Uneven slices can lead to inconsistent baking results. To avoid this, I use a sharp knife and try to slice the dough log into uniform ¼-inch thick rounds. If some slices are thicker than others, they’ll bake at different rates, affecting the final texture.
Overbaking the Treats
Baking the kinako treats for too long can make them dry and lose their delicate crunch. Keep an eye on them during the 15-20 minute baking time, and remove them when the edges are just lightly golden. Letting them cool on the baking sheet for 5 minutes before transferring to a wire rack helps them set properly.
Skipping Powdered Sugar Dusting
Dusting the treats with powdered sugar just before serving isn’t just for looks—it enhances the flavor too. The sugar coating adds a sweet contrast to the nutty kinako flavor. I like to use a fine-mesh sieve for an even coating, and it makes them look professionally made. ✨
Nutrition Facts

- 8 Bean Soup Recipe Crock Pot: Hearty Vegetable Medley in One Pot - September 25, 2026
- 4C Bread Crumbs Meatballs Recipe: Crispy Crust and Juicy Centers - September 25, 2026
- 6 Oz Chocolate Chip Cookie Recipe: Perfectly Balanced Crispy Edges and Chewy Hearts - September 25, 2026