
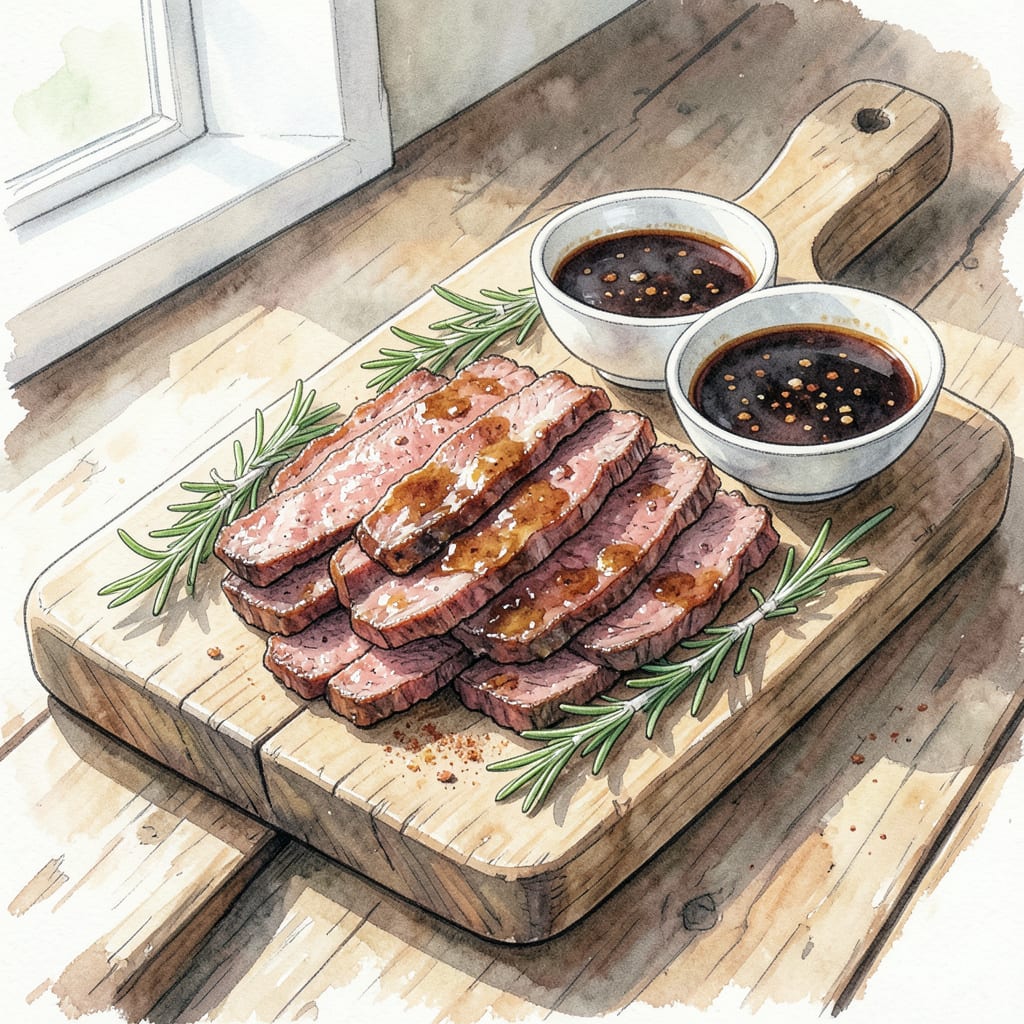
Making kosher beef jerky at home is easier than you think. I use a simple curing process that ensures tender strips every time, while maintaining kosher dietary standards through careful ingredient selection.
This recipe delivers perfectly dried beef jerky with just the right amount of chew. With basic ingredients and straightforward instructions, you’ll be snacking on homemade kosher beef jerky in no time – no special equipment required.
Ingredients for Kosher Beef Jerky
Simple ingredients make tender kosher beef jerky at home with basic pantry staples.
| Ingredient | Amount | Notes |
|---|---|---|
| Top Round Beef 🥩 | 1 lb | Kosher certified, lean cut |
| Soy Sauce 💧 | ¼ cup | Low sodium, kosher certified |
| Brown Sugar 🍮 | 2 tbsp | Dark or light brown |
| Worcestershire Sauce 💧 | 2 tbsp | Kosher certified brand |
| Smoked Paprika 🌶️ | 1 tsp | For smoky flavor |
| Garlic Powder 🧄 | 1 tsp | Not garlic salt |
| Onion Powder 🧅 | 1 tsp | Fresh ground preferred |
| Black Pepper 🌶️ | ½ tsp | Freshly ground preferred |
| Cayenne Pepper 🔥 | ¼ tsp | Adjust for heat preference |
| Kosher Salt 🧂 | 1 tbsp | Coarse or fine grain |
| Liquid Smoke 🔥 | 1 tbsp | Optional, for extra smokiness |
The beef matters here. Top round is ideal for jerky—lean and tender. Look for kosher certification on the packaging. Most grocery stores carry it, but you might need to check the kosher section. I usually grab mine from specialty butcher shops when I’m making a big batch.
No Worcestershire sauce? Make a mix of soy sauce and vinegar with a pinch of garlic powder as a substitute. For extra smokiness, add a dash of liquid smoke. The cayenne can be adjusted or omitted based on your heat preference. If you prefer a sweeter jerky, increase the brown sugar to 3 tablespoons.
This recipe keeps well in airtight containers for up to 2 weeks. Store it in a cool, dry place or the fridge if it’s particularly humid. I portion mine into resealable bags for easy snacking on the go.
Step-by-Step Instructions for Kosher Beef Jerky
Making tender kosher beef jerky is easier than you think with these simple steps.
Step 1: Prepare the Beef
Start by trimming any visible fat from the 1 lb Top Round Beef using a sharp knife. I like to remove as much fat as possible to prevent spoilage and ensure the jerky stays tender. Once trimmed, slice the beef into thin strips, about ¼ inch thick. Cutting against the grain is crucial here – it makes the jerky easier to chew.
To get uniform strips, I recommend freezing the beef for about 30 minutes before slicing. This firms it up, making it easier to cut consistent strips. If you find that your strips are still a bit too thick, you can pound them gently between two sheets of plastic wrap to achieve the desired thickness.
Step 2: Create the Marinade
In a large bowl, whisk together the 0.25 cup Soy Sauce, 2 tbsp Brown Sugar, 2 tbsp Worcestershire Sauce, 1 tsp Smoked Paprika, 1 tsp Garlic Powder, 1 tsp Onion Powder, 0.5 tsp Black Pepper, 0.25 tsp Cayenne Pepper, 1 tbsp Kosher Salt, and 1 tbsp Liquid Smoke until well combined. The mixture should be smooth and have a deep, rich aroma.
This marinade is where the magic happens – the combination of savory, sweet, and spicy flavors infuses the beef with incredible taste. Make sure to taste the marinade and adjust the seasoning if needed. If you prefer a milder jerky, you can reduce the amount of Cayenne Pepper.
Step 3: Marinate the Beef
Add the sliced beef to the marinade, ensuring that all the strips are fully submerged. If necessary, you can weigh down the beef with a plate to keep it under the liquid. Cover the bowl with plastic wrap and refrigerate for at least 4 hours, or overnight for the best results.
The longer the beef marinates, the more flavorful it will be. I like to marinate mine for 8-12 hours to get that perfect balance of taste and tenderness. During this time, the Soy Sauce and other ingredients work their magic, tenderizing the beef and infusing it with flavor.
Step 4: Dry the Jerky
Preheat your oven to its lowest temperature setting, usually around 150-200°F. Line a baking sheet with parchment paper or a silicone mat. Remove the beef from the marinade, letting any excess liquid drip off. Arrange the strips on the prepared baking sheet in a single layer, making sure they don’t overlap.
Place the baking sheet in the oven and dehydrate for 3-4 hours, or until the jerky reaches your desired level of dryness. You want it to be dry but still slightly pliable – overcooking will make it too tough. Check on the jerky periodically to ensure it doesn’t overcook. You’re looking for a dry surface with a slightly chewy interior.
Step 5: Store Your Jerky
Once the jerky is done, remove it from the oven and let it cool completely on a wire rack. This helps it dry out a bit more and become crisper. Once cooled, store the jerky in an airtight container. I like to use glass jars or resealable bags to keep it fresh.
Properly stored, your homemade kosher beef jerky should last for up to 2 weeks. If you plan to keep it longer, consider vacuum-sealing it and storing it in the freezer, where it can last for 3 months. Enjoy your delicious homemade snack!
Make-Ahead Tips for This Recipe
Marinating Ahead
You can prepare the marinade and marinate the beef up to 24 hours in advance. This allows the flavors to penetrate deeper into the meat, resulting in more tender and flavorful jerky. Simply store the marinating beef in the refrigerator at 40°F or below. 🔥
Dehydrating in Advance
If you’re planning for a busy week, you can make the jerky up to 2 weeks before you need it. After dehydrating, let the jerky cool completely before storing it in airtight containers. I like to use glass jars or resealable bags to keep it fresh.
Freezing for Later
For longer storage, consider freezing your kosher beef jerky. Once cooled, portion it into vacuum-sealable bags or airtight containers and store in the freezer for up to 3 months. When you’re ready to enjoy it, simply thaw at room temperature or in the refrigerator.
Portioning for Convenience
To make your homemade jerky more convenient, portion it into smaller bags or containers before storing. This way, you can grab a snack on the go without having to open a large container. I like to portion mine into individual serving sizes for easy snacking.
Maintaining Freshness
To keep your jerky fresh for as long as possible, store it in a cool, dry place away from direct sunlight. If you live in a humid climate, consider storing it in the refrigerator to prevent moisture from affecting the texture. Proper storage will help maintain the jerky’s flavor and texture.
Nutrition Facts
120kcal

- 8 Bean Soup Recipe Crock Pot: Hearty Vegetable Medley in One Pot - September 25, 2026
- 4C Bread Crumbs Meatballs Recipe: Crispy Crust and Juicy Centers - September 25, 2026
- 6 Oz Chocolate Chip Cookie Recipe: Perfectly Balanced Crispy Edges and Chewy Hearts - September 25, 2026