
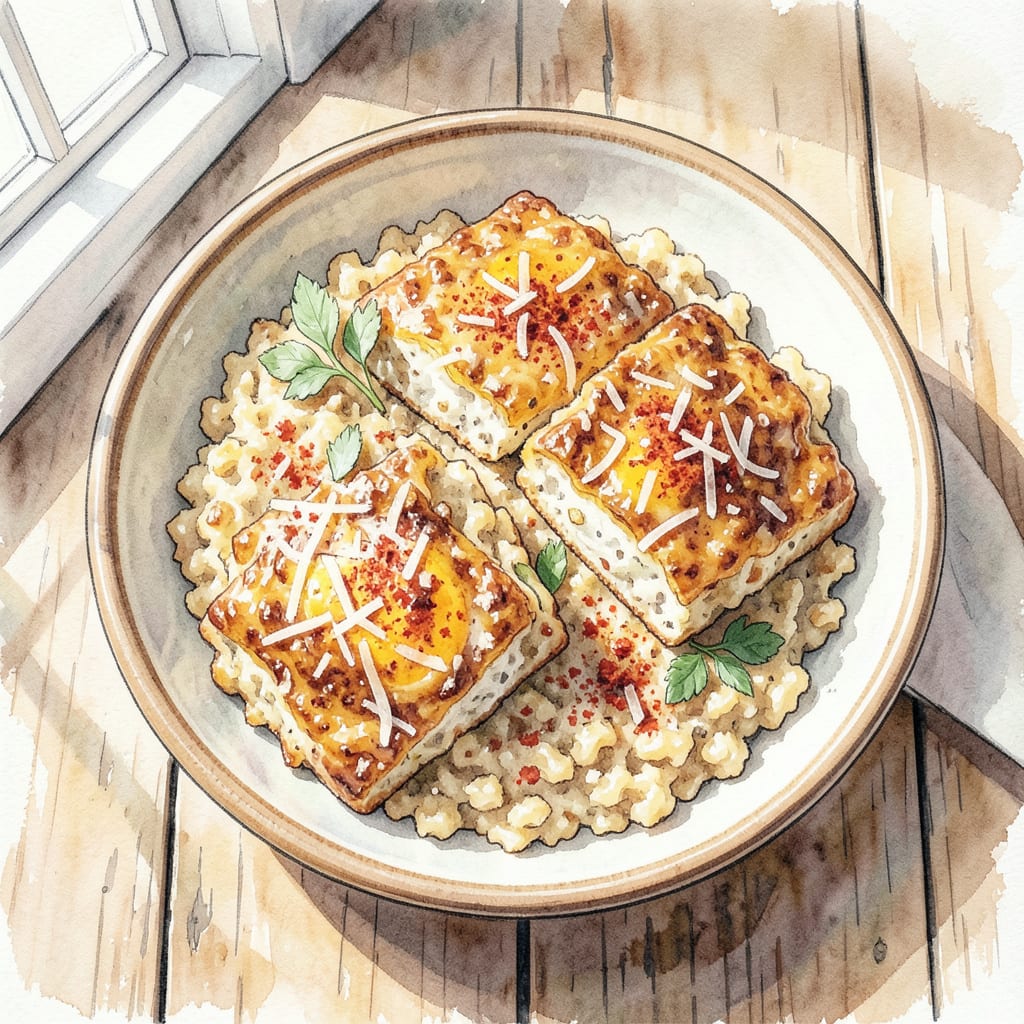
Transforming leftover grits into a crispy breakfast treat is a game-changer. I shape chilled grits into patties, coat with seasoned breadcrumbs, and pan-fry until golden brown.
Ready in 20 minutes, these crispy fried grits cakes make a perfect breakfast or brunch side dish. Serve with eggs, bacon, or your favorite breakfast meats for a delicious meal.
Ingredients for Leftover Grits
Simple ingredients transform leftover grits into a crispy breakfast treat in just 20 minutes.
| Ingredient | Amount | Notes |
|---|---|---|
| Leftover Cooked Grits 🌾 | 2 cups | Chilled, from previous meal |
| All-Purpose Flour 🌾 | 1 cup | For coating patties |
| Breadcrumbs 🍞 | 1 cup | Panko preferred for crispiness |
| Grated Parmesan Cheese 🧀 | ½ cup | Freshly grated for best flavor |
| Large Eggs 🥚 | 2 whole | Beaten for egg wash |
| Garlic Powder 🧄 | 1 tsp | For added flavor |
| Onion Powder 🧅 | 1 tsp | For savory taste |
| Paprika 🌶️ | ½ tsp | Smoked or sweet variety |
| Salt 🧂 | ½ tsp | Kosher or sea salt |
| Black Pepper 🌶️ | ¼ tsp | Freshly ground preferred |
| Vegetable Oil 🫒 | ½ cup | For frying patties |
The grits are the star here. Chill them completely before shaping into patties—this helps them hold together. I usually make these after dinner the night before so they’re ready for breakfast. For the breadcrumbs, Panko is ideal for that extra crunch, but regular will do in a pinch.
No Parmesan? Grated cheddar works as a substitute, though it changes the flavor profile slightly. Want more kick? Add some cayenne pepper to the breadcrumb mix. The eggs are essential for binding, but if you’re out, try using flax eggs as an alternative.
These keep well in the fridge for up to 3 days. Reheat in a skillet to crisp them back up—medium heat works best. You can also freeze them on a baking sheet, then transfer to a freezer bag for up to 3 months.
Step-by-Step Instructions for Crispy Fried Grit Cakes
Transform your leftover grits into a crispy breakfast treat with these simple steps.
Step 1: Prepare the Grit Mixture
In a large mixing bowl, combine the 2 cups Leftover Cooked Grits, 1 tsp Garlic Powder, 1 tsp Onion Powder, 0.5 tsp Paprika, 0.5 tsp Salt, and 0.25 tsp Black Pepper. Mix well until all the spices are evenly distributed throughout the grits. The mixture should be well combined and have a uniform color.
I like to use a silicone spatula for this step as it helps to mix the ingredients thoroughly without scratching the bowl. Make sure the grits are chilled, as this will help them hold their shape better when forming the patties.
Step 2: Form the Grit Patties
Using your hands, shape the grit mixture into 8-10 patties, about ½ inch thick. You should be able to make patties that are roughly the same size so that they cook evenly. Place the formed patties on a plate or tray.
If you find the mixture is too sticky, you can wet your hands with a little water to help shape the patties more easily. Make sure the edges are smooth and not cracked to prevent them from breaking apart during frying.
Step 3: Coat the Patties
Prepare a coating station with 1 cup All-Purpose Flour on one plate, 2 whole Large Eggs beaten in a shallow bowl, and 1 cup Breadcrumbs mixed with 0.5 cup Grated Parmesan Cheese on another plate. Dip each grit patty first in the flour, coating both sides lightly, then in the beaten eggs, making sure they’re fully coated, and finally in the breadcrumb-Parmesan mixture, pressing gently to adhere.
The breadcrumb-Parmesan coating will give your grit cakes a deliciously crispy exterior. I prefer using Panko breadcrumbs for their light and airy texture, which results in a crunchier coating.
Step 4: Fry the Grit Cakes
Heat 0.5 cup Vegetable Oil in a large skillet over medium-high heat until it reaches 375°F. Carefully place the coated grit patties in the hot oil, being mindful not to overcrowd the skillet. Fry for 3-4 minutes on each side until they are golden brown and crispy.
Use a slotted spoon to remove the fried grit cakes from the oil and drain them on paper towels. This step is crucial for removing excess oil and keeping the grit cakes crispy.
Step 5: Serve Immediately
Serve the crispy fried grit cakes hot. They’re perfect as a side dish or even as a main breakfast item with your favorite toppings or condiments. The grit cakes should be crunchy on the outside and creamy on the inside, making for a delightful texture contrast.
I like to serve them with a dollop of sour cream or a sprinkle of additional Parmesan cheese for extra flavor. Enjoy your crispy fried grit cakes while they’re still warm for the best experience.
Troubleshooting leftover grits
Common Grit Cakes Issues
One of the most common problems with making grit cakes is that they fall apart during frying. This usually happens when the grits aren’t chilled long enough or when the patties are not formed tightly enough. To prevent this,
Coating Challenges
Another issue is getting the coating to stick properly to the grit patties. If you’re having trouble, try making sure your grit mixture is not too wet. You can add a bit more flour to the mixture if needed. Also, pressing the breadcrumb mixture gently onto the patties helps them adhere better during frying.
Oil Temperature Tips
Maintaining the right oil temperature is crucial for achieving that perfect crispiness. If the oil is too hot (above 375°F), the outside will burn before the inside is fully cooked. Too cold (below 350°F), and they’ll absorb too much oil. Use a thermometer to keep the oil at the ideal temperature.
Saving Failed Grit Cakes
If your grit cakes do break apart during frying, don’t worry! You can still salvage them by turning them into a grits casserole. Simply layer the broken pieces in a baking dish with some cheese and bake until golden and bubbly.
Storage Solutions
For leftover grit cakes, let them cool completely before storing them in an airtight container in the refrigerator for up to 3 days. To reheat, pan-fry them again until crispy. You can also freeze them on a baking sheet and then transfer to a freezer bag for up to 3 months.
Nutrition Facts

- 8 Bean Soup Recipe Crock Pot: Hearty Vegetable Medley in One Pot - September 25, 2026
- 4C Bread Crumbs Meatballs Recipe: Crispy Crust and Juicy Centers - September 25, 2026
- 6 Oz Chocolate Chip Cookie Recipe: Perfectly Balanced Crispy Edges and Chewy Hearts - September 25, 2026