
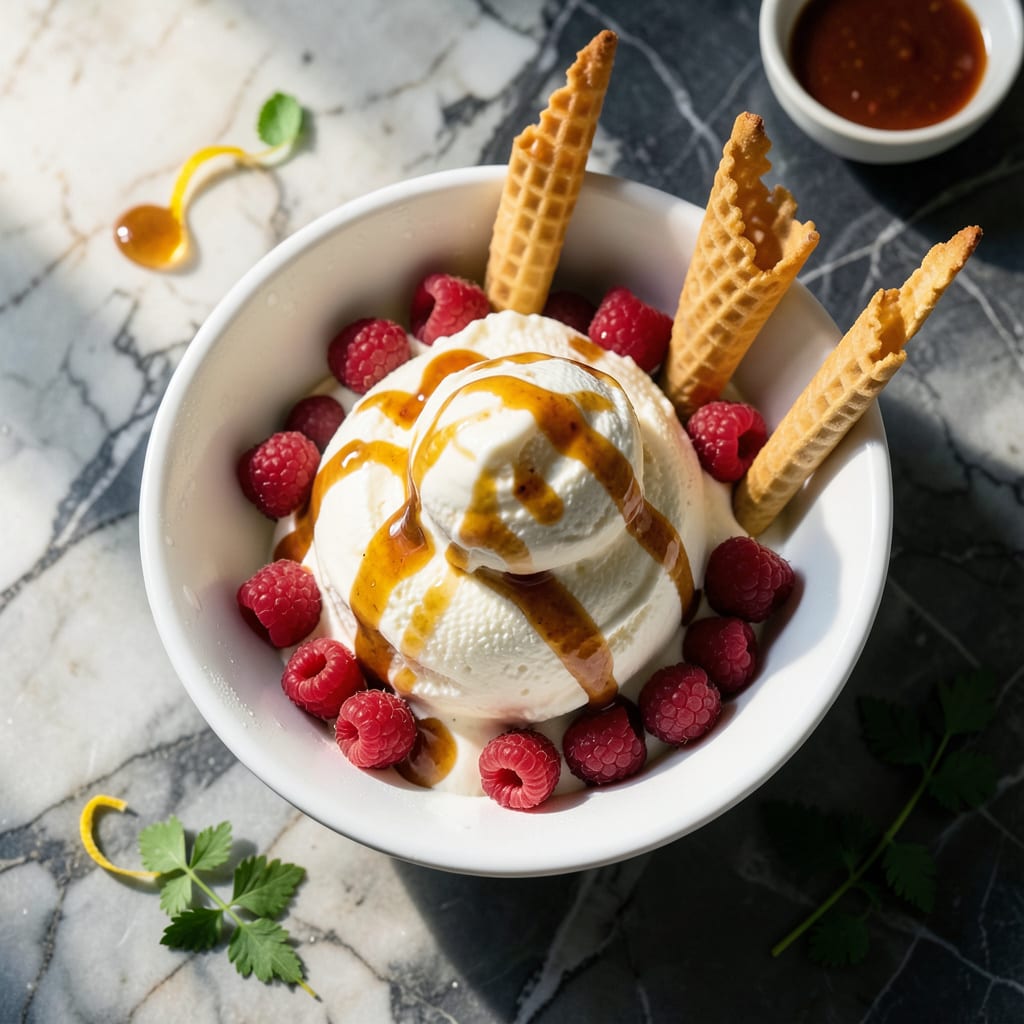
This recipe proves you can indulge without the guilt. The secret is using skim milk and Greek yogurt to create a creamy texture that rivals full-fat versions.
Your ice cream machine will transform these simple ingredients into a light, smooth treat that’s perfect for warm days. The result is satisfyingly rich without the extra calories.
Ingredients for Low Fat Ice Cream Recipe for Ice Cream Machine
Light ingredients create a rich frozen treat perfect for summer days.
| Ingredient | Amount | Notes |
|---|---|---|
| Skim Milk 🥛 | 2 cups | Cold, for smooth texture |
| Plain Greek Yogurt 🥣 | 1 cup | Full-fat or 2% works too |
| Granulated Sugar 🍚 | ¾ cup | Adjust to taste preference |
| Vanilla Extract 🌿 | 2 tsp | Pure for best flavor |
| Egg Whites 🥚 | 2 whole | Lightly beaten for structure |
| Salt 🧂 | ¼ tsp | Enhances sweetness balance |
| Fresh Lemon Juice 🍋 | 1 tbsp | Brightens flavor profile |
| Heavy Cream 🥛 | ½ cup | Optional for extra creaminess |
| Vanilla Bean 🌱 | 1 whole | Scraped seeds for premium flavor |
| Honey 🍯 | 2 tbsp | Optional sweetener alternative |
The Greek yogurt is non-negotiable here—Fage or Chobani have the right consistency. Skim milk is fine, but 2% or whole milk will give you an even creamier result without breaking the calorie bank. Fresh vanilla bean is a splurge (look for plump, moist pods at Whole Foods), but the extract version works just as well for everyday batches. Always use cold ingredients—warm milk won’t churn properly in the machine.
No Greek yogurt? Strained regular yogurt in a cheesecloth for an hour gets you close. Swap honey for sugar at one-third the amount—it’s sweeter. Egg whites can be omitted, but they help with structure. For chocolate ice cream, add 2 tbsp cocoa powder to the mix. The heavy cream is optional but worth it if you’re serving guests who expect that classic mouthfeel.
Churn immediately after mixing for best texture. Stores in the freezer for up to 2 weeks—though it’s best fresh. Let sit at room temperature 5-10 minutes before scooping for easier serving. Freeze leftovers in an airtight container with parchment paper pressed directly on the surface.
Why You’ll Love This Recipe
- Set and Forget: I just mix the skim milk, yogurt, and sugar, pour it in the machine, and walk away.
- Creamy Without Guilt: The Greek yogurt and egg whites give it that rich texture I crave, but with way less fat.
- Weekly Treat: I make a big batch Sunday and portion it out for my midweek sweet tooth.
- Budget Friendly: Skim milk and basic pantry staples keep this way cheaper than store-bought premium pints.
Step-by-Step Instructions for Low Fat Ice Cream
This method ensures a smooth, creamy texture without excess fat. Follow these precise steps.
Step 1: Prepare the Vanilla Base
Split the vanilla bean lengthwise and scrape out the seeds. In a medium saucepan, combine the 2 cups Skim Milk, scraped vanilla bean seeds, and the pod itself. Heat over medium-low heat until the mixture reaches 170°F—you’ll see tiny bubbles forming at the edges.
Remove from heat, cover, and let steep for 15 minutes to infuse the milk with vanilla flavor. This step enhances the depth of flavor without adding calories. Discard the vanilla pod after steeping.
Step 2: Whisk Egg Whites and Sweeteners
In a large bowl, whisk the 2 whole Egg Whites until lightly frothy. Gradually add the 0.75 cup Granulated Sugar and 2 tbsp Honey, whisking constantly until the mixture is smooth and slightly thickened. This incorporates air, which contributes to a lighter texture.
Slowly pour in the warm milk mixture while whisking continuously to temper the egg whites. This prevents curdling and ensures a silky base. Stir in the 0.25 tsp Salt and 1 tbsp Fresh Lemon Juice to balance the sweetness and brighten the flavor.
Step 3: Incorporate Dairy and Cool
Add the 1 cup Plain Greek Yogurt and 0.5 cup Heavy Cream to the bowl, whisking until fully combined. The yogurt adds creaminess and protein, while the heavy cream ensures richness without excessive fat. Stir in the 2 tsp Vanilla Extract for additional vanilla depth.
Cover the bowl and refrigerate the mixture for at least 4 hours, or preferably overnight. Chilling is critical—it ensures the base is completely cold before churning, which helps achieve that coveted creamy consistency.
Step 4: Churn in the Ice Cream Machine
Pour the chilled mixture into your ice cream machine and churn according to the manufacturer’s instructions, typically for 20-25 minutes. You’ll know it’s ready when the mixture thickens to the texture of soft-serve ice cream.
If your machine requires pre-freezing the bowl, make sure it’s been in the freezer for at least 12 hours beforehand. This step is non-negotiable for proper texture. The mixture should look smooth and hold its shape when scooped.
Step 5: Freeze to Set
Transfer the churned ice cream to a freezer-safe container and smooth the top with a spatula. Cover with parchment paper pressed directly onto the surface to prevent ice crystals from forming.
Freeze for at least 4 hours or until firm. For the best texture, let it sit at room temperature for 5-10 minutes before scooping. The result will be a creamy, light treat that’s rich in flavor but low in fat.
Pro Tips For Making Low Fat Ice Cream Recipe For Ice Cream Machine
- Chill the Base: Always refrigerate your skim milk and yogurt mixture for at least 4 hours before churning—I learned this the hard way after ending up with soupy ice cream that never set properly.
- Whip Egg Whites: Fold in stiffly beaten egg whites just before churning to add air and creaminess without extra fat.
- Skip the Overfill: Resist the urge to fill your ice cream machine past the max line, or it’ll overflow and make a mess (yes, even if you’re impatient like me).
- Sweeten to Taste: Adjust the sugar to your preference, but remember that freezing dulls sweetness—so add a touch more than you think you need.
Pro Cooking Tips for Great low fat ice cream recipe for ice cream machine
Chilling the Base
I always chill my mixture for at least 4 hours—overnight is even better. This ensures the base is perfectly cold before hitting the machine, which is crucial for that smooth, creamy texture you’re after. 💡
Pre-Freeze Your Bowl
If your machine requires it, freeze the bowl for a full 12 hours beforehand. Skipping this step risks a soupy, unchurned mess. I learned this the hard way with my first batch.
Churning Time
Most machines take 20-25 minutes to reach soft-serve consistency. Watch for a thick, smooth texture that holds its shape when scooped. Don’t overfill the bowl—leave room for expansion.
Add Mix-Ins Last
Fold in add-ins like fruit or chocolate chips during the final 5 minutes of churning. This prevents them from sinking to the bottom. I love adding ½ cup fresh strawberries for a fruity twist.
Freeze for Firmness
After churning, transfer to a container and freeze for 4 hours to set. Press parchment paper directly on the surface to avoid ice crystals. This step locks in that perfect scoopable consistency. ❄️
Serve with Patience
Let the ice cream sit at room temperature for 5-10 minutes before scooping. This makes serving easier and enhances the creamy mouthfeel. Trust me, it’s worth the wait.
Nutrition Facts
Frequently Asked Questions
Can I use almond milk instead of skim milk?
Yes, but use unsweetened almond milk to avoid altering the flavor. The texture may be slightly less creamy, so add an extra 2 tablespoons Greek yogurt to compensate.
Why does the mixture need to chill overnight?
Chilling ensures the base is completely cold before churning, which is critical for achieving a smooth, creamy texture. It also allows flavors to meld together.
Can I skip the egg whites?
Yes, but they help create a lighter texture. Without them, the ice cream may be denser. Consider adding 1 teaspoon xanthan gum for structure.
How long will this keep in the freezer?
Store in an airtight container with parchment paper pressed on the surface. It will keep for up to 2 weeks, though it’s best enjoyed fresh.

- 8 Bean Soup Recipe Crock Pot: Hearty Vegetable Medley in One Pot - September 25, 2026
- 4C Bread Crumbs Meatballs Recipe: Crispy Crust and Juicy Centers - September 25, 2026
- 6 Oz Chocolate Chip Cookie Recipe: Perfectly Balanced Crispy Edges and Chewy Hearts - September 25, 2026