
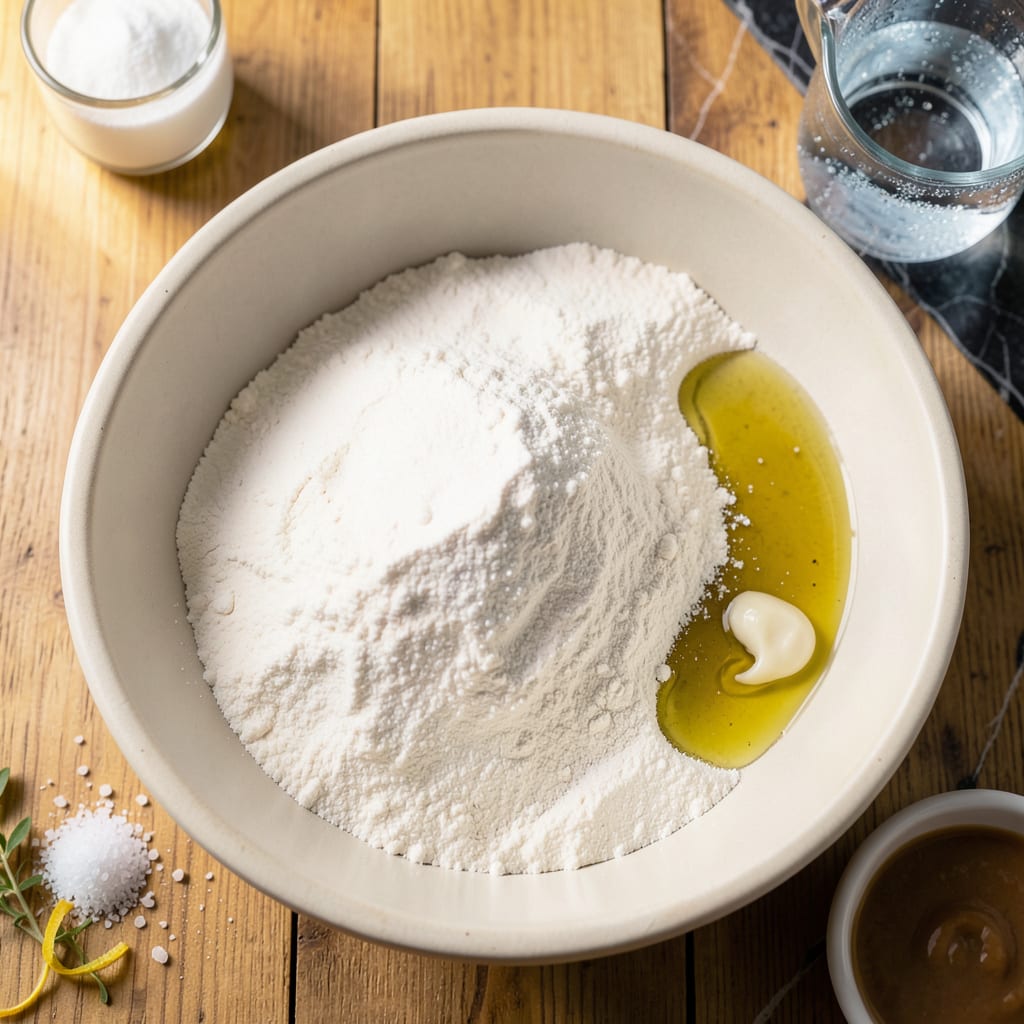
Achieving flaky pie crust without traditional butter is absolutely possible with this proven method. The secret lies in using a combination of vegetable shortening and a small amount of oil to create those desired layers.
This technique produces a light, tender crust that holds its shape while baking. The dough comes together quickly and handles beautifully, making it perfect for both sweet and savory pies. No special equipment required.
Ingredients for Low Fat Pie Dough
A minimalist list of pantry staples delivers a light, flaky crust without butter.
| Ingredient | Amount | Notes |
|---|---|---|
| All-Purpose Flour 🌾 | 2 ½ cups | Sifted for lighter texture |
| Vegetable Shortening 🫒 | ½ cup | Cold, solid form required |
| Neutral-Flavored Oil 💧 | 2 tbsp | Canola or vegetable oil |
| Granulated Sugar 🍚 | 1 tsp | Optional for sweet crusts |
| Salt 🧂 | 1 tsp | Fine sea salt preferred |
| Ice Water ❄️ | ½ cup | Plus 1 tbsp as needed |
| Baking Powder 🧂 | ½ tsp | For added flakiness |
| Apple Cider Vinegar 🍏 | 1 tsp | Helps tenderize dough |
The shortening is critical here—Crisco is the gold standard for pie dough. It has the right melting point and fat content to create those flaky layers. Look for the all-vegetable version (no lard) in the baking aisle at any major grocery store. The oil should be neutral in flavor—canola or vegetable oil works perfectly. Avoid olive oil; its strong taste will come through in the finished crust.
No shortening on hand? Coconut oil in solid form can work, but it may impart a slight coconut flavor. For a lighter texture, don’t skip the vinegar—it tenderizes the gluten. If you’re out of apple cider vinegar, white vinegar or lemon juice will do in a pinch. The sugar is optional; omit it for savory pies or increase to 1 tbsp for sweeter applications.
The dough can be refrigerated for up to 3 days or frozen for 1 month. Wrap it tightly in plastic wrap, then place in a sealed bag to prevent freezer burn. Let thaw in the fridge overnight before rolling out. For best results, keep all ingredients as cold as possible during preparation.
Why You’ll Love This Recipe
- No-Fuss Mixing: I just dump the flour, shortening, oil, sugar, and salt in a bowl—no chilling, no resting, no fuss.
- Light & Flaky: The combo of shortening and oil gives me that tender, crisp layers without the guilt of extra fat.
- Endless Uses: I’ve rolled this out for sweet fruit pies, savory quiches, even hand pies for the kids’ lunches.
- Pantry Staples: Honestly, I always have these ingredients on hand, so I can make a pie crust anytime the craving hits.
Step-by-Step Instructions for Low Fat Pie Dough
This method ensures a tender, flaky crust using minimal fat without compromising texture or structure.
Step 1: Combine Dry Ingredients for Uniform Distribution
In a large mixing bowl, whisk together the 2.5 cups All-Purpose Flour, 1 tsp Granulated Sugar, 1 tsp Salt, and 0.5 tsp Baking Powder until thoroughly combined. Sifting the flour first, as noted in the ingredients, creates a lighter base for your dough.
The baking powder adds lift, while the sugar contributes subtle sweetness and aids in browning. Ensure no lumps remain—this guarantees even distribution of leavening and seasoning throughout the finished crust.
Step 2: Cut in Cold Shortening for Flaky Layers
Add the 0.5 cup Vegetable Shortening (must be cold and solid) to the dry ingredients. Using a pastry cutter or two forks, work the shortening into the flour mixture until it resembles coarse crumbs with some pea-sized pieces remaining visible.
These visible fat particles are essential—they create the flaky layers as they melt during baking. Avoid overworking; the mixture should look uneven. The cold temperature of the shortening prevents it from melting prematurely, which would toughen the dough.
Step 3: Incorporate Liquid Ingredients to Form Dough
Create a well in the center of the flour-shortening mixture. Add the 2 tbsp Neutral-Flavored Oil, 1 tsp Apple Cider Vinegar, and 0.5 cup Ice Water. Using a fork, gradually incorporate the wet ingredients into the dry until the dough just begins to come together.
The vinegar tenderizes the gluten, while the ice water keeps the fat solid. The dough will appear shaggy and slightly sticky—that’s exactly what you want. If it seems too dry, add the additional 1 tbsp of ice water as noted in the ingredients list.
Step 4: Knead Briefly and Rest for Optimal Texture
Turn the dough onto a lightly floured surface and knead gently 4-5 times just until it forms a cohesive ball. Over-kneading develops gluten, which makes pie crust tough rather than flaky.
Shape the dough into a disk, wrap it tightly in plastic wrap, and refrigerate for at least 1 hour. This resting period allows the gluten to relax and the fat to rechill, making the dough easier to roll out and preventing shrinkage during baking.
Step 5: Roll and Shape for Your Pie
On a lightly floured surface, roll the chilled dough to a 12-inch circle, about 1/8-inch thick. For a perfect transfer, roll the dough around your rolling pin, then unroll it into your pie dish.
Press the dough gently into the bottom and up the sides of the dish. Trim any excess, leaving a 1/2-inch overhang for crimping. The cold dough should hold its shape well—if it starts to soften, return it to the refrigerator for 10-15 minutes before proceeding.
Pro Tips For Making Low Fat Pie Dough
- Chill the Shortening: Pop the vegetable shortening in the freezer for 15 minutes before mixing—cold fat means flakier layers, even with less of it.
- Use Ice Water: Replace any liquid in the recipe with ice water (about 3-4 tablespoons) to keep the dough from getting tough or sticky.
- Skip Overmixing: I learned this the hard way—mix just until the dough comes together, or the gluten will overdevelop and turn your crust chewy.
- Roll Between Parchment: Sandwich the dough between two sheets of parchment to roll it out—no extra flour needed, and it won’t stick or tear.
Make-Ahead Tips for This Recipe
Refrigerator Prep
After mixing, wrap the dough disk tightly in plastic wrap and refrigerate. It keeps beautifully for up to 3 days—perfect for spontaneous baking. I always label mine with the date to stay organized. ❄️
Freezer Storage
For longer storage, freeze the wrapped dough in a ziplock bag for up to 1 month. Squeeze out all air to prevent freezer burn. The dough thaws overnight in the fridge without losing texture.
Thawing Method
Transfer frozen dough to the fridge 12-24 hours before use. Never thaw at room temperature—this can make the dough sticky and hard to handle. I set mine on a shelf, not the door, for even thawing.
Pre-Rolled Option
Save time by rolling the dough into a 12-inch circle before freezing. Layer between parchment paper in a gallon freezer bag. This lets me go straight from freezer to pie dish.
Blind Baking Prep
If pre-baking, dock the dough with a fork and line with parchment before adding pie weights. Chill the prepared crust for 30 minutes before blind baking to prevent shrinking. This step ensures a crisp, flat base.
Double Batch Tip
This recipe doubles easily—make 2 disks and freeze one. Having backup dough means I’m always ready for impromptu pie nights. Just adjust the resting time to 1.5 hours for larger batches.
Nutrition Facts
Frequently Asked Questions
Can I use coconut oil instead of shortening?
Yes, but use it in solid form and expect a slight coconut flavor. It works similarly to shortening but may alter the taste. Chill your coconut oil first for best results.
Why is the vinegar included?
The apple cider vinegar tenderizes the gluten, creating a more delicate crust. You can substitute white vinegar or lemon juice if needed. It’s a small amount but makes a big difference.
How do I prevent the crust from shrinking?
Chill the dough for at least 1 hour before rolling and again after fitting it into the pan. This keeps the fat cold and prevents shrinkage during baking.
Can I make this dough ahead?
Wrap tightly and refrigerate for up to 3 days or freeze for 1 month. Thaw in the fridge overnight before using.

- 8 Bean Soup Recipe Crock Pot: Hearty Vegetable Medley in One Pot - September 25, 2026
- 4C Bread Crumbs Meatballs Recipe: Crispy Crust and Juicy Centers - September 25, 2026
- 6 Oz Chocolate Chip Cookie Recipe: Perfectly Balanced Crispy Edges and Chewy Hearts - September 25, 2026