
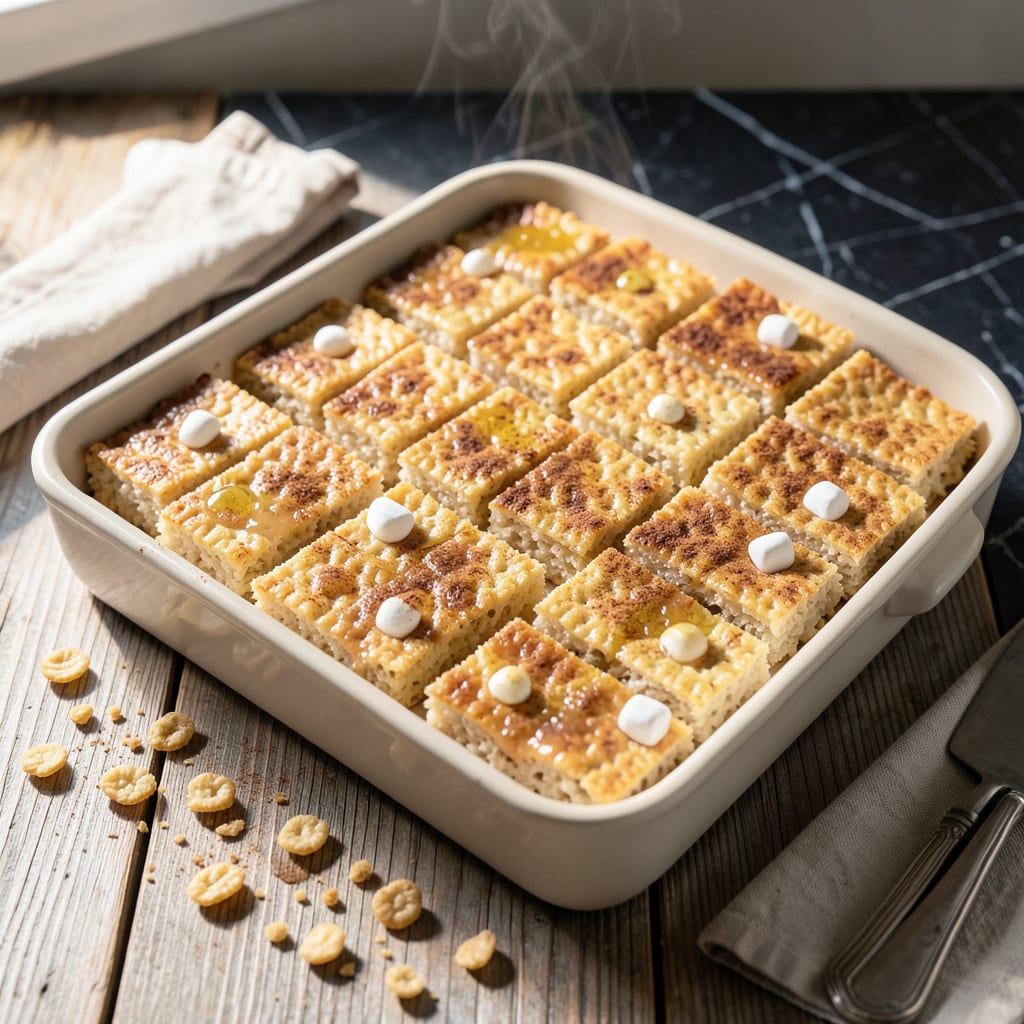
This lighter version of a classic favorite delivers the same satisfying crunch without the guilt. By using smart ingredient swaps, we create a treat that stays true to the original texture and flavor.
With no butter and less sugar, these still achieve that perfect crispy-chewy balance. The process remains just as simple—just melt, mix, and set.
Ingredients for Low Fat Rice Krispie Treat
Lighter take on a nostalgic favorite with smart swaps for the same great taste.
| Ingredient | Amount | Notes |
|---|---|---|
| Rice Krispies Cereal 🥣 | 6 cups | Original variety for best texture |
| Mini Marshmallows 🍬 | 10 oz | Use vegan if needed |
| Applesauce 🍏 | ½ cup | Unsweetened for binding |
| Vanilla Extract 🌿 | 1 tsp | Pure for best flavor |
| Sea Salt 🧂 | ¼ tsp | Fine grain preferred |
| Cinnamon 🌶️ | ½ tsp | Ground, optional for warmth |
| Almond Milk 🥛 | 2 tbsp | Unsweetened to replace butter |
| Honey 🍯 | 2 tbsp | Substitute maple syrup if vegan |
| Coconut Oil 🥥 | 1 tbsp | Melted for light coating |
| Chia Seeds 🌱 | 1 tbsp | Optional for extra fiber |
| Vanilla Protein Powder 💪 | 2 tbsp | Optional for protein boost |
The cereal is the foundation here. Kellogg’s Rice Krispies are the gold standard—generic brands can work but may lack that signature snap. I grab mine from Target or Walmart when they’re on sale. For the marshmallows, look for Jet-Puffed or Kraft in the baking aisle (vegan options at Whole Foods if needed). Applesauce replaces butter beautifully—unsweetened is key to avoid cloying sweetness.
No mini marshmallows? Regular marshmallows chopped into small pieces work just fine. Out of applesauce? Mashed banana or pumpkin puree can substitute in a pinch (adds subtle flavor). Skip the honey? Maple syrup or agave at the same amount. Want extra crunch? Toss in puffed rice cereal or chopped nuts. The coconut oil can be swapped for vegetable oil if that’s what you’ve got.
These keep 3-4 days in an airtight container at room temperature. They soften over time, so for maximum crunch, eat within 24 hours. Freezing extends life to 2 months—thaw at room temp before serving. Perfect for lunchboxes or a last-minute sweet fix.
Why You’ll Love This Recipe
- One Bowl Wonder: I just dump everything in one bowl—the applesauce replaces butter, and it still comes together in minutes.
- Sweet Vanilla Bite: The vanilla extract makes the marshmallow flavor pop, and that pinch of sea salt? Pure magic.
- School Lunch Hero: I pack these for my kids’ lunches all week—they stay soft, and no one guesses they’re low fat.
- Pantry MVP: Rice Krispies and marshmallows are always in my cupboard, so this is my last-minute dessert lifesaver.
Step-by-Step Instructions for Low Fat Rice Krispie Treats
Here’s the method. Simple, healthy, and just as delicious as the original.
Step 1: Melt and Combine the Binding Mixture
In a large saucepan over low heat, melt the 1 tbsp Coconut Oil. Add the 10 oz Mini Marshmallows and stir constantly with a silicone spatula until completely melted—this should take about 5-7 minutes.
Immediately stir in the 0.5 cup Applesauce, 2 tbsp Honey, 2 tbsp Almond Milk, 1 tsp Vanilla Extract, 0.25 tsp Sea Salt, and 0.5 tsp Cinnamon. The mixture will look thinner than traditional versions, but that’s normal. Keep the heat low to prevent scorching.
Step 2: Incorporate the Protein and Seeds
Remove the saucepan from heat and let the mixture cool for 1-2 minutes. Stir in the 2 tbsp Vanilla Protein Powder until fully dissolved—this thickens the mixture slightly and adds a protein boost without altering the texture.
Next, add the 1 tbsp Chia Seeds. These will absorb some of the moisture, helping to bind the treats while adding fiber. The mixture should be smooth, glossy, and slightly sticky. If it seems too thick, add a splash more almond milk.
Step 3: Fold in the Rice Krispies Cereal
Add all 6 cups Rice Krispies Cereal to the saucepan at once. Using the spatula, gently fold the cereal into the marshmallow mixture until every piece is evenly coated. This takes a bit of patience—you want to avoid crushing the cereal while ensuring full coverage.
Watch for the cereal to start making that signature crackling sound as it absorbs the mixture. Once fully combined, the mixture will look slightly less glossy but should hold together when pressed.
Step 4: Press and Set the Treats
Line an 8×8-inch baking pan with parchment paper, leaving an overhang on the sides for easy removal. Transfer the Rice Krispies mixture into the pan and press it down firmly and evenly with lightly greased hands or the back of a spatula.
Press just enough to compact the mixture without crushing the cereal—you want the treats to hold their shape when cut but still have that airy crunch. Let them set at room temperature for 15-20 minutes until firm to the touch.
Step 5: Cut and Serve
Once set, lift the treats out of the pan using the parchment paper overhang and transfer to a cutting board. Use a sharp knife to cut into 16 equal squares for 4 servings (4 treats per serving).
The treats should hold their shape but still have a slight give when pressed. Store in an airtight container at room temperature for up to 3 days, though they’re best enjoyed fresh when the cereal is at its crispiest.
Pro Tips For Making Low Fat Rice Krispie Treat
- Melt Slowly: Use low heat when melting the marshmallows with applesauce—I learned this the hard way after scorching two batches. Stir constantly until just smooth, about 3-4 minutes.
- Press While Warm: Work fast to press the mixture into the pan while it’s still warm, or it’ll harden and crumble. A lightly greased spatula makes this easier.
- Use Fresh Cereal: Skip the stale Rice Krispies from the back of the pantry—fresh cereal gives the best snap and texture in the final treats.
- Add Salt Last: Sprinkle the sea salt over the top after pressing, not during melting. It keeps the flavor bright and prevents clumping.
Essential Equipment for Perfect Results
Essential Saucepan
I use a 3-quart stainless steel saucepan for even heat distribution—All-Clad is my go-to brand. Nonstick works too, but avoid high heat which can damage the coating. The wide base helps prevent scorching when melting marshmallows.
Silicone Spatula
A heat-resistant silicone spatula is crucial for stirring the marshmallow mixture without scratching your pan. I prefer OXO Good Grips with a flexible head to scrape every last bit of sticky goodness.
Baking Pan
An 8×8-inch baking pan gives the perfect thickness for these treats. I line mine with parchment paper for easy removal. Glass or metal both work, but metal conducts heat more evenly during setting.
Parchment Paper
Parchment paper is non-negotiable for clean removal and easy cutting. I use Reynolds Kitchens pre-cut sheets for convenience. The overhang creates handles to lift the entire batch out for slicing.
Sharp Knife
A 8-inch chef’s knife cuts clean squares without crushing the cereal. I run it under hot water between cuts to prevent sticking. Wüsthof makes a great budget-friendly option that stays sharp. 💡
Measuring Cups
Accurate measurements matter, especially for the cereal and liquids. I use Pyrek glass measuring cups for the wet ingredients and nested dry cups for the cereal. The applesauce needs precise measuring to maintain the right texture.
Nutrition Facts
Frequently Asked Questions
Can I use regular marshmallows instead of mini?
Yes, just chop them into small pieces before melting. This helps them dissolve evenly and prevents clumping. The texture will be the same as with mini marshmallows.
Why does the mixture seem thinner than traditional versions?
The applesauce and almond milk replace butter, creating a lighter consistency. It still binds perfectly when set—just press firmly in the pan.
How do I prevent the treats from getting soggy?
Store in an airtight container at room temperature for up to 3 days. For best results, eat within 24 hours when the cereal is crispiest.
Can I add mix-ins like chocolate chips?
Fold in 1/4 cup of mini chocolate chips or dried fruit after mixing the cereal. Press gently to avoid crushing.

- 8 Bean Soup Recipe Crock Pot: Hearty Vegetable Medley in One Pot - September 25, 2026
- 4C Bread Crumbs Meatballs Recipe: Crispy Crust and Juicy Centers - September 25, 2026
- 6 Oz Chocolate Chip Cookie Recipe: Perfectly Balanced Crispy Edges and Chewy Hearts - September 25, 2026