
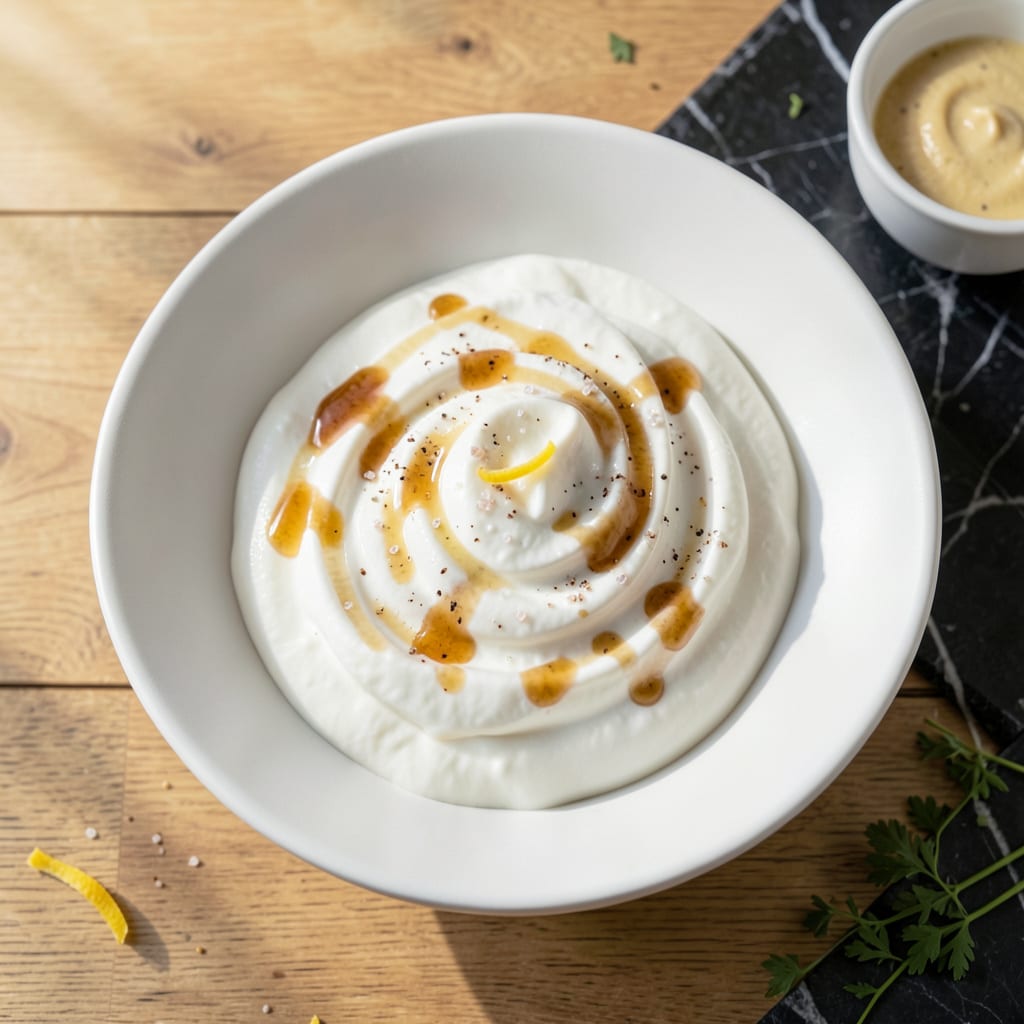
This recipe delivers creamy frozen yogurt without the guilt, using simple swaps that maintain rich texture and flavor. The key is balancing fat-free yogurt with natural sweeteners.
With just a few ingredients and an ice cream maker, you can create a dessert that satisfies sweet cravings while staying light. The result is smooth, scoopable frozen yogurt that tastes indulgent.
Ingredients for Low Fat Sugar Free Frozen Yogurt
Just a handful of simple ingredients create that creamy frozen dessert texture you love.
| Ingredient | Amount | Notes |
|---|---|---|
| Fat-Free Greek Yogurt 🥛 | 4 cups | Plain, unsweetened for best texture |
| Erythritol 🍚 | ¾ cup | Granulated, or substitute monk fruit blend |
| Vanilla Extract 🌿 | 2 tsp | Pure extract for best flavor |
| Fresh Lemon Juice 🍋 | 2 tbsp | Brightens the sweetness |
| Heavy Cream 🥛 | ¼ cup | Optional for creamier texture |
| Salt 🧂 | ¼ tsp | Enhances all flavors |
| Fresh Strawberries 🍓 | 1 cup | Diced, optional for flavor variation |
| Xanthan Gum 🧪 | ½ tsp | Prevents ice crystals |
| Almond Milk 🥛 | ¼ cup | Unsweetened, if needed for blending |
| Cocoa Powder 🍫 | 2 tbsp | Unsweetened, for chocolate variation |
The yogurt base is critical here. Greek yogurt with 0% fat gives the thickest, most scoopable texture—avoid regular yogurt as it freezes icy. Fage Total 0% or Chobani Non-Fat are reliable brands. For the sweetener, erythritol (like Swerve) blends well without aftertaste. Look for it in the baking aisle at most supermarkets or online.
Need a different sweetener? Monk fruit blends work at a 1:1 ratio, but avoid stevia alone—it can be bitter. Skip the heavy cream and the texture stays decent, just slightly less rich. For chocolate version, unsweetened cocoa (like Hershey’s Special Dark) keeps it sugar-free. The xanthan gum is optional but worth it (find it at Whole Foods or baking supply stores).
Mix and churn immediately—don’t let the base sit or it thickens too much. Frozen yogurt keeps 1-2 weeks in an airtight container, though it’s best the first few days. Freeze with parchment pressed on top to prevent ice crystals. Thaw 5-10 minutes before scooping for easier serving.
Why You’ll Love This Recipe
- 5-Minute Mix: I dump everything in the bowl, stir, and freeze—no fancy equipment, just my ice cream maker doing the work.
- Bright & Tangy: The vanilla and lemon juice cut through the creaminess with this sharp little zing that keeps me coming back.
- Diet-Friendly Treat: I serve it to my sugar-conscious friends and they rave, never guessing it’s fat-free and sweetener-only.
- Freezer Stash: I make a double batch on Sunday and scoop straight from the tub all week—no thawing, no fuss.
Step-by-Step Instructions for Low Fat Sugar Free Frozen Yogurt
Here’s the method for achieving that perfect creamy texture without the guilt.
Step 1: Sweeten and Flavor the Yogurt Base
In a large bowl, whisk together the 4 cups Fat-Free Greek Yogurt, 0.75 cup Erythritol, 2 tsp Vanilla Extract, 2 tbsp Fresh Lemon Juice, and 0.25 tsp Salt until the Erythritol is fully dissolved.
The lemon juice brightens the sweetness while the salt enhances all the flavors. I use a wire whisk for this—it breaks up any clumps in the yogurt and ensures everything blends smoothly. You’ll notice the mixture becomes slightly thinner as the Erythritol dissolves.
Taste and adjust sweetness if needed, remembering that flavors intensify slightly when frozen. The base should taste pleasantly sweet with a hint of tang from the yogurt.
Step 2: Add Creaminess and Stabilizer
Slowly pour in the 0.25 cup Heavy Cream while continuing to whisk. This adds richness without excess fat. Then sprinkle the 0.5 tsp Xanthan Gum evenly over the surface while whisking vigorously to prevent clumping.
The xanthan gum acts as a stabilizer, preventing ice crystals from forming and ensuring that smooth, scoopable texture. You’ll see the mixture thicken slightly as the gum hydrates—this is normal and desired.
If the mixture seems too thick, add the 0.25 cup Almond Milk a tablespoon at a time until it reaches a pourable but not runny consistency. This makes it easier to process and results in a creamier final product.
Step 3: Incorporate Flavor Variations
For strawberry frozen yogurt, gently fold in the 1 cup Fresh Strawberries (diced) until evenly distributed. For chocolate variation, whisk in the 2 tbsp Cocoa Powder until completely dissolved with no streaks remaining.
I recommend making separate batches if you want both flavors. The strawberries should be fresh and ripe for best flavor, and the cocoa powder should be unsweetened to maintain control over the sweetness level.
Let the base mixture sit for 10 minutes to allow the flavors to meld and the xanthan gum to fully activate. You’ll notice the mixture becomes slightly thicker during this time.
Step 4: Churn to Perfection
Pour the mixture into your ice cream maker and churn according to manufacturer’s instructions, typically 20-25 minutes. The frozen yogurt is ready when it reaches a soft-serve consistency and holds its shape briefly when scooped.
If you don’t have an ice cream maker, pour the mixture into a shallow freezer-safe container and freeze for 1 hour, then vigorously whisk to break up ice crystals. Repeat this process every 30 minutes for 3-4 hours until firmly set.
The finished product should be smooth and creamy with no icy texture. For best results, let it temper in the refrigerator for 10-15 minutes before serving if you prefer a softer texture.
Pro Tips For Making Low Fat Sugar Free Frozen Yogurt
- Chill the Base: Let your yogurt mixture sit in the fridge for at least 2 hours before churning—I learned this the hard way after ending up with a soupy mess my first three tries.
- Whisk the Erythritol: Mix the Erythritol thoroughly with the Greek yogurt first to avoid grainy texture; sounds obvious but I skipped this once and regretted it.
- Skip the Over-Churn: Resist the urge to churn longer than 20-25 minutes—after burning out my machine’s motor, I now set a timer.
- Add Cream Last: Fold in the heavy cream at the very end for a lighter texture; it’s a small step but actually changes the outcome.
Troubleshooting Perfect Results
Too Icy Texture
If your frozen yogurt turns out icy, the base likely wasn’t sweet or fatty enough. Add 1-2 tbsp more Erythritol or a splash of Heavy Cream next time. I also recommend ensuring your Xanthan Gum is fresh and properly measured. 💡
Grainy Consistency
Grittiness usually means the sweetener didn’t dissolve completely. Whisk your base for at least 2-3 minutes until smooth. With Erythritol, sometimes warming the mixture slightly helps it incorporate better.
Too Soft to Scoop
If it won’t hold its shape, your mixture may have been too warm when churning. Chill the base for 1-2 hours before processing. Also, check that your freezer bowl was fully frozen for at least 12 hours beforehand.
Separation in Storage
This happens when air gets in. Press plastic wrap directly on the surface before sealing in an airtight container. I also add a parchment paper layer on top for extra protection. ❄️
Flavors Too Mild
Cold dulls taste buds, so don’t be shy with flavors. Try increasing Vanilla Extract to 1 tbsp or adding ½ tsp more Salt. The lemon juice also helps brighten all the flavors.
Freezer Burn
Prevent this by using quality containers and minimizing air exposure. I recommend glass containers with snap-tight lids. Eat within 1-2 weeks for best quality.
Nutrition Facts
Frequently Asked Questions
Can I use regular yogurt instead of Greek?
Regular yogurt will produce a much icier texture. Greek yogurt is thicker and has less water content, which prevents ice crystals. If you must substitute, strain regular yogurt through cheesecloth for 2-3 hours first.
Why add xanthan gum?
It acts as a stabilizer, preventing ice crystals and keeping the texture smooth. Without it, your frozen yogurt may become grainy. Use exactly 0.5 tsp for this recipe.
How long does it keep?
Store in an airtight container with parchment pressed on top. It stays fresh for 1-2 weeks, though it’s best within the first few days.
Can I make this without an ice cream maker?
Yes! Freeze in a shallow container, then whisk vigorously every 30 minutes for 3-4 hours. It requires more effort but works well.

- 4C Bread Crumbs Meatballs Recipe: Crispy Crust and Juicy Centers - September 25, 2026
- 6 Oz Chocolate Chip Cookie Recipe: Perfectly Balanced Crispy Edges and Chewy Hearts - September 25, 2026
- 6-Inch Coffee Cake Recipe: Vanilla Bean Swirls and Buttery Streusel Topping - September 25, 2026