
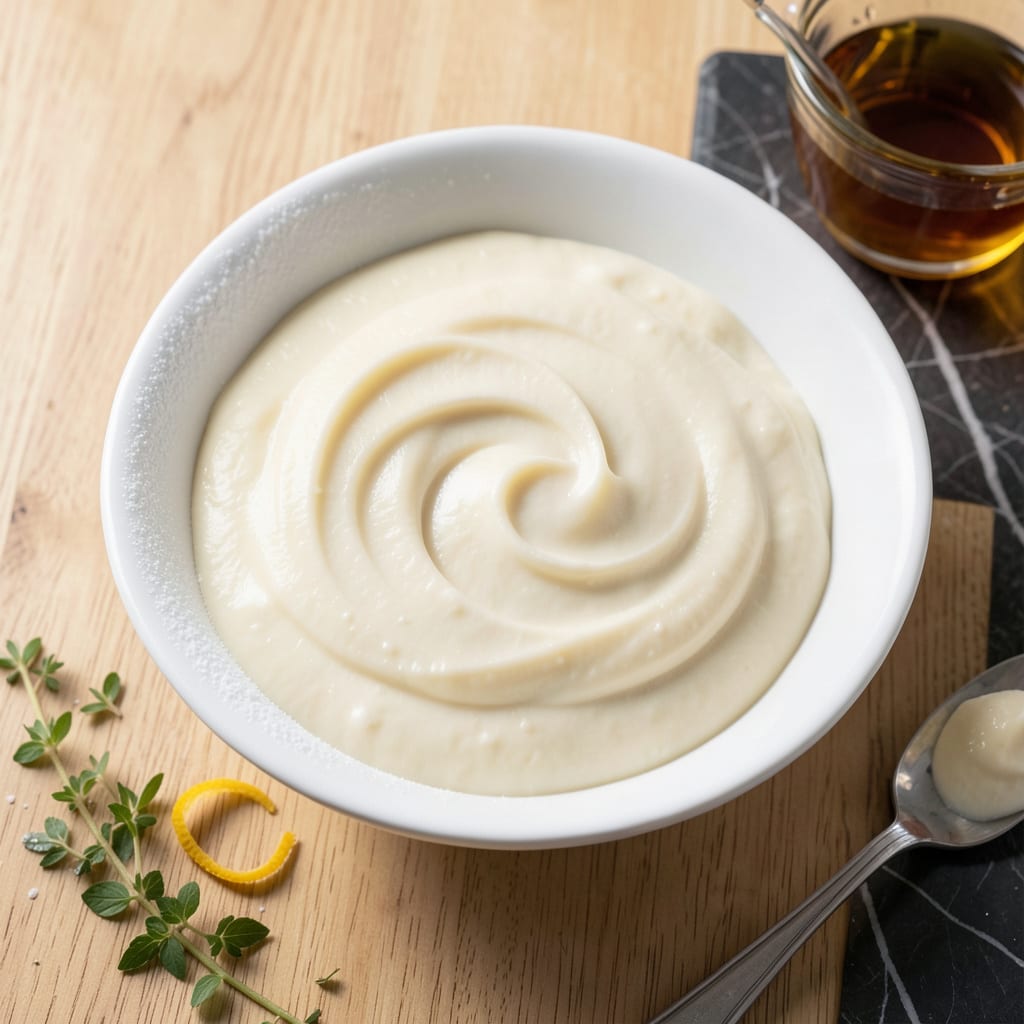
This lightened vanilla icing delivers all the sweetness without the guilt, using simple ingredients to create a smooth, spreadable glaze. The secret lies in substituting traditional butter with a low-fat alternative while maintaining rich vanilla flavor.
Perfect for cakes, cupcakes, or as a drizzle, this icing sets beautifully and keeps its creamy texture. It proves that healthier versions can be just as satisfying as the original.
Ingredients for Low Fat Vanilla Icing
Eight pantry staples transform into a silky, guilt-free vanilla glaze perfect for any dessert.
| Ingredient | Amount | Notes |
|---|---|---|
| Powdered Sugar 🍚 | 2 cups | Sifted for smooth texture |
| Low-Fat Milk 🥛 | 3 tbsp | Or skim milk for less fat |
| Vanilla Extract 🌿 | 2 tsp | Pure extract for best flavor |
| Cornstarch 🌾 | 1 tbsp | Thickens the glaze |
| Light Butter Substitute 🧈 | 2 tbsp | Melted, low-fat margarine |
| Salt 🧂 | 0.125 tsp | Enhances sweetness |
| Almond Extract 🌰 | ¼ tsp | Optional for depth |
| Lemon Juice 🍋 | 1 tsp | Brightens the flavor |
The powdered sugar is non-negotiable for that ultra-smooth finish. Domino or C&H are reliable brands—avoid generic store brands that can be grainy. For the milk, 1% or skim works best; whole milk will make it richer but adds unnecessary fat. The vanilla extract should be pure (like McCormick or Nielsen-Massey), not imitation, for that authentic vanilla depth.
No low-fat butter substitute? Applesauce at half the amount keeps it light but changes the texture slightly. Swap cornstarch for arrowroot powder if you prefer a clearer glaze. Skipping the almond extract? No problem—just boost the vanilla to 2.5 tsp. The lemon juice can be omitted, but it adds a subtle brightness that balances the sweetness.
This icing sets at room temperature in about 30 minutes. Store leftovers in an airtight container in the fridge for up to 5 days. Stir before using, as it may thicken slightly. Freezing isn’t recommended—it can separate.
Why You’ll Love This Recipe
- One-Bowl Wonder: I just dump powdered sugar, low-fat milk, and vanilla extract in a bowl—no mixer, no fuss.
- Sweet Simplicity: The light butter and real vanilla give it that classic frosting taste without the guilt.
- Cake’s Best Friend: Spreads smooth on cupcakes, drizzles over bundt cakes, and even rescues store-bought cookies.
- Keeps Like a Champ: Honestly, it stays fresh in the fridge for up to a week, so I can frost on demand.
Step-by-Step Instructions for Low Fat Vanilla Icing
This professional method ensures a silky-smooth glaze with balanced sweetness and perfect consistency.
Step 1: Sift Dry Ingredients for Lump-Free Texture
Begin by sifting the 2 cups Powdered Sugar into a medium mixing bowl. This step eliminates any lumps and aerates the sugar, which prevents graininess in the final glaze. Add the 1 tbsp Cornstarch and 0.125 tsp Salt to the bowl.
The cornstarch acts as a stabilizer, giving the icing a velvety finish. Whisk these dry ingredients together thoroughly for 30 seconds until fully combined and uniform in appearance. This foundation ensures your glaze will be smooth rather than gritty.
Step 2: Melt and Cool the Fat Component
In a small microwave-safe bowl, melt the 2 tbsp Light Butter Substitute in 10-second intervals until just liquid. Avoid overheating, as this can cause separation. Let it cool for 2 minutes at room temperature—it should be warm but not hot to the touch.
Using a melted light butter substitute instead of regular butter significantly reduces the fat content while maintaining a rich mouthfeel. The slight cooling period prevents the fat from seizing the sugar when combined, which would create an unappetizing clumped texture.
Step 3: Emulsify Wet and Dry Components
Create a well in the center of your dry ingredients. Pour in the melted Light Butter Substitute, 3 tbsp Low-Fat Milk, 2 tsp Vanilla Extract, 0.25 tsp Almond Extract, and 1 tsp Lemon Juice. The almond extract adds depth, while the lemon juice brightens the overall flavor profile.
Using a whisk, gently combine the ingredients in a circular motion, starting from the center and working outward. Continue whisking for 1-2 minutes until the mixture is completely smooth and glossy. The glaze should coat the back of a spoon and drip slowly in a thick ribbon.
Step 4: Adjust Consistency and Rest
If the icing appears too thick, add additional low-fat milk ½ tsp at a time, whisking well after each addition. Conversely, if it’s too thin, whisk in sifted powdered sugar 1 tbsp at a time until it reaches the desired consistency for your application.
Allow the icing to rest for 5 minutes at room temperature. This brief resting period lets the cornstarch fully hydrate and the flavors meld. You’ll notice the glaze thickens slightly during this time, making it easier to control when drizzling over cakes or cupcakes.
Use immediately while still fluid for a glossy finish. For piping, chill for 10-15 minutes to achieve a slightly stiffer consistency that holds its shape better.
Pro Tips For Making Low Fat Vanilla Icing
- Whisk Vigorously First: Beat the light butter substitute and vanilla extract together for a full 2 minutes before adding powdered sugar—I learned this the hard way after ending up with lumpy icing.
- Sift the Sugar: Always sift your powdered sugar and cornstarch together, even if it seems fine. After my first grainy batch, I never skip this step.
- Add Milk Slowly: Pour in the low-fat milk a tablespoon at a time while mixing. I was skeptical until I tried it, but it prevents a runny, unusable mess.
- Chill Before Using: Let the icing sit in the fridge for 15-20 minutes after mixing—sounds weird, but it works to thicken it without extra sugar.
Regional Styles of This low fat vanilla icing
Southern Style
In the South, we often use unsweetened applesauce instead of butter substitute for an even lighter version. The applesauce adds a subtle fruit note that pairs beautifully with vanilla. I use ¼ cup for this variation, reducing the milk to 2 tbsp to maintain the right consistency.
Coastal California
West Coast bakers love incorporating Greek yogurt for a protein boost. Replace the butter substitute with 2 tbsp non-fat Greek yogurt and increase milk to 4 tbsp. This creates a tangier glaze that works wonderfully on angel food cake. 💛
New England Tradition
In Maine, we sometimes add 1 tbsp maple syrup for a regional twist. The maple complements the vanilla beautifully. Reduce powdered sugar by 2 tbsp to balance the sweetness. This version is particularly popular on spice cakes.
Midwest Approach
For a heartier texture, Midwestern bakers often use 1 tbsp cream cheese (low-fat, of course) along with the butter substitute. This adds body while keeping the fat content in check. I find it works especially well for piping decorations.
Texas Bold
Everything’s bigger in Texas, including flavors. Add ½ tsp cinnamon and ¼ tsp nutmeg to the dry ingredients for a warm spice profile. The cornstarch helps maintain the smooth texture despite the extra spices. 🔥
Pacific Northwest
Seattle bakers love their coffee, so we often add 1 tsp instant coffee granules dissolved in the milk. This deepens the vanilla flavor without overpowering it. The result is a sophisticated glaze perfect for mocha cupcakes.
Frequently Asked Questions
Can I use regular milk instead of low-fat?
Yes, but it will add more fat. For best results, stick with 1% or skim milk to keep it light. The texture remains the same regardless of milk type.
Why does my icing turn out grainy?
Graininess usually means the powdered sugar wasn’t sifted. Always sift first, then whisk thoroughly. Cornstarch also helps create a smoother finish.
How long can I store leftover icing?
Store in an airtight container in the fridge for up to 5 days. Stir before using as it may thicken slightly. Avoid freezing as it can separate.
Can I make this without cornstarch?
Yes, but the texture may be less stable. For a substitute, use arrowroot powder in the same amount. This maintains the smooth, glossy finish.

- 8 Bean Soup Recipe Crock Pot: Hearty Vegetable Medley in One Pot - September 25, 2026
- 4C Bread Crumbs Meatballs Recipe: Crispy Crust and Juicy Centers - September 25, 2026
- 6 Oz Chocolate Chip Cookie Recipe: Perfectly Balanced Crispy Edges and Chewy Hearts - September 25, 2026