
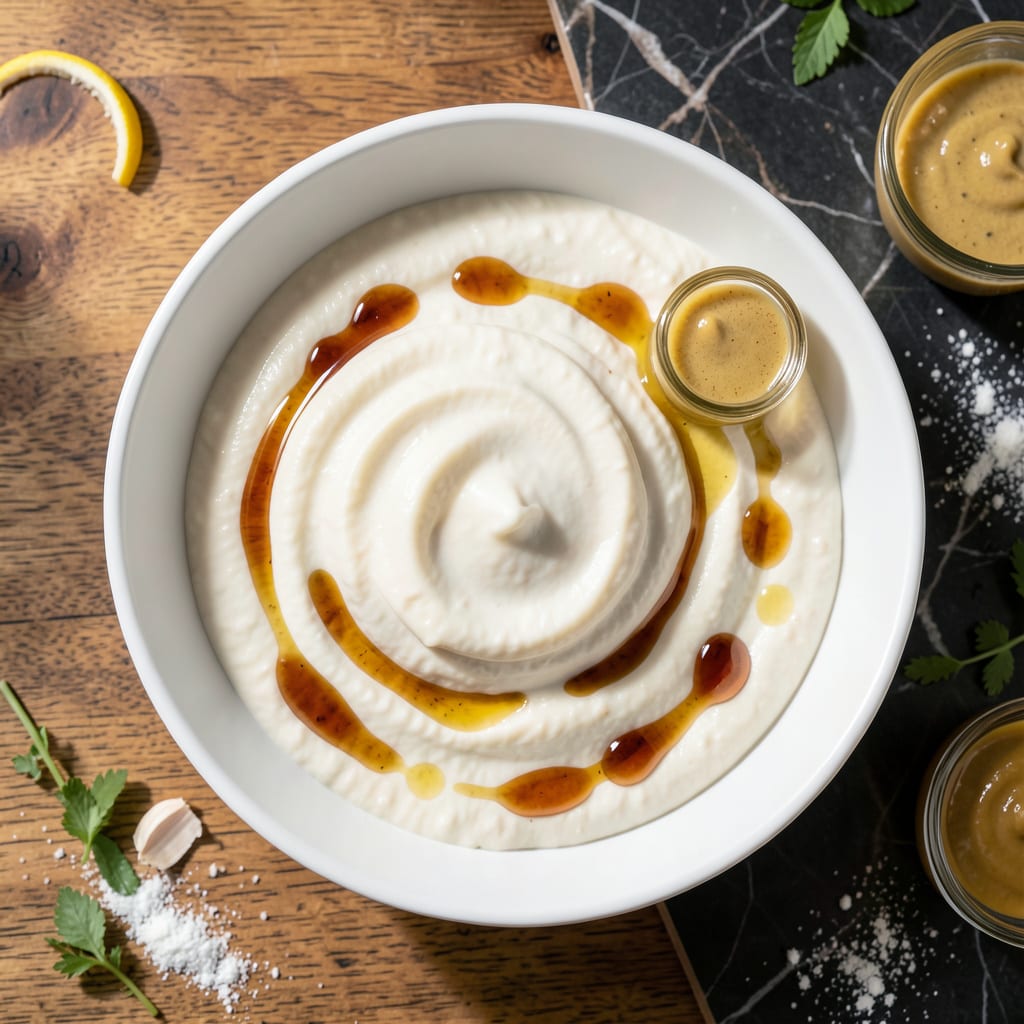
I’ve perfected a vegan mayo that’s light yet rich, using aquafaba as the secret to creamy texture without excess fat. This recipe proves plant-based can be just as satisfying as the original.
With simple ingredients and a quick blend, you’ll have a silky spread ready for sandwiches, dips, or sauces. It stores well for up to a week, making it a pantry staple for everyday use.
Ingredients for Low Fat Vegan Mayo
Eight simple ingredients transform into a silky, plant-based spread you’ll reach for daily.
| Ingredient | Amount | Notes |
|---|---|---|
| Aquafaba 🥫 | ½ cup | Chickpea brine, unsalted |
| Neutral-Flavor Oil 🫒 | ½ cup | Avocado or light olive oil |
| Apple Cider Vinegar 🍏 | 1 tbsp | Or white vinegar |
| Dijon Mustard 🟡 | 1 tsp | Smooth, no seeds |
| Lemon Juice 🍋 | 1 tbsp | Freshly squeezed preferred |
| Garlic Powder 🧄 | ¼ tsp | Optional for depth |
| Salt 🧂 | ½ tsp | Adjust to taste |
| Maple Syrup 🍁 | ½ tsp | Or agave for sweetness |
The aquafaba is key—use the liquid from canned chickpeas (unsalted works best). I prefer Goya or Eden Organic brands for consistent thickness. For the oil, avocado oil gives the cleanest flavor, but any neutral oil works. The vinegar adds tang, so don’t skip it. Bragg’s apple cider vinegar is my go-to for brightness and quality.
No aquafaba? Silken tofu (blended) can substitute in a pinch, but the texture won’t be as light. Swap Dijon mustard for yellow mustard at double the amount if that’s what you’ve got. Out of maple syrup? A pinch of sugar dissolved in a teaspoon of warm water gets you close. The lemon juice can be bottled (trust me, it’s fine).
Stays fresh in an airtight jar in the fridge for 1 week. The flavor actually improves overnight. If it separates, just re-blend or whisk before using. Don’t freeze—it’ll break the emulsion.
Why You’ll Love This Recipe
- 5-Minute Whisk: I just dump aquafaba, oil, and vinegar into my blender and it’s done—no cooking, no fuss.
- Tangy Perfection: The Dijon and lemon juice give it that classic mayo zing without any weird aftertaste.
- Sandwich Savior: Honestly, it’s my go-to for wraps, dips, and even baking—works everywhere regular mayo does.
- Pantry Friendly: Between us, I always have chickpeas and oil on hand, so this costs me nothing extra.
Step-by-Step Instructions for Low Fat Vegan Mayo
This method ensures a creamy, stable emulsion with minimal oil and maximum flavor.
Step 1: Whisk Aquafaba to Soft Peaks
Pour the 0.5 cup Aquafaba into a clean, dry bowl. Using a hand mixer or stand mixer with the whisk attachment, beat on medium-high speed for 2-3 minutes until soft peaks form. The liquid will transform from watery to frothy, then to a fluffy, meringue-like texture.
Watch for the stage where the whisk leaves visible trails that hold their shape briefly before melting back. This indicates the aquafaba has enough structure to hold the oil. Stop mixing if it reaches stiff peaks—this can cause the mayo to separate later.
Step 2: Slowly Emulsify the Oil
With the mixer running on medium speed, begin adding the 0.5 cup Neutral-Flavor Oil in a very slow, thin stream. This gradual incorporation is critical—adding too quickly will break the emulsion. Drizzle from the side of the bowl rather than directly into the center.
After adding about ¼ cup, you’ll notice the mixture start to thicken and turn creamy. Continue adding the remaining oil in the same slow stream. The process should take 3-4 minutes total. The finished base should resemble thin, pale mayonnaise at this stage.
Step 3: Add Acidic and Flavor Components
Once the oil is fully emulsified, add the 1 tbsp Apple Cider Vinegar, 1 tsp Dijon Mustard, and 1 tbsp Lemon Juice. Mix on low speed for 15-20 seconds until fully incorporated. These ingredients add tang and depth while stabilizing the emulsion.
The mixture will tighten slightly as the acid reacts with the aquafaba. If it looks too thick, don’t worry—this is normal. The vinegar and lemon juice also help preserve the mayo, extending its shelf life in the refrigerator.
Step 4: Season and Sweeten to Taste
Add the 0.5 tsp Salt, 0.25 tsp Garlic Powder, and 0.5 tsp Maple Syrup. Mix on low speed for another 10-15 seconds until everything is evenly distributed. Taste and adjust seasoning if needed—some prefer a touch more salt or sweetness.
The garlic powder adds a subtle savory note, while the maple syrup balances the acidity. At this point, the mayo should be thick, creamy, and glossy, clinging to the whisk. If it’s too thin, it may need more whisking time or a brief rest to thicken further.
Transfer to an airtight container and refrigerate for at least 30 minutes before using to allow the flavors to meld. The mayo will thicken slightly as it chills, reaching its final consistency.
Pro Tips For Making Low Fat Vegan Mayo
- Chill the Aquafaba: I learned this the hard way—using room temperature aquafaba makes the mayo thin and unstable. Pop it in the fridge for 30 minutes before blending for a thicker, creamier texture.
- Slow Oil Drizzle: After burning three batches, I finally figured out that adding oil too fast breaks the emulsion. Drizzle it in a thin, steady stream while blending for that perfect mayo consistency.
- Use Fresh Lemon: Bottled lemon juice tastes flat and can make your mayo taste dull. Freshly squeezed lemon juice adds the bright, zesty kick that balances the richness.
- Skip the Overmixing: Once the mayo thickens, resist the urge to keep blending. Overmixing can cause it to separate—stop as soon as it reaches the desired creaminess.
Flavor Customization for These Flavors
Herb-Infused Variation
Add 1 tbsp fresh dill or 1 tsp dried tarragon along with the seasonings for a bright, garden-fresh twist. I love this version with roasted vegetable wraps. The herbs add complexity without overpowering the base. 🌿
Spicy Kick Option
For heat lovers, blend in ½ tsp cayenne pepper or 1 tbsp sriracha during the final mixing stage. This works especially well for dipping fries or topping veggie burgers. Start with less—you can always add more to taste.
Garlic Lover’s Boost
Replace the garlic powder with 2 cloves fresh minced garlic for a punchier flavor. Sauté the garlic in 1 tsp oil first to mellow its bite. This version is my go-to for sandwiches and garlic aioli-style dips.
Smoky Depth Addition
Add ½ tsp smoked paprika or a few drops of liquid smoke for a barbecue-inspired mayo. It pairs perfectly with grilled tofu or as a base for vegan coleslaw. The smokiness balances the tang beautifully.
Citrus Zest Twist
Incorporate 1 tsp lemon or lime zest with the juice for a brighter, zingier profile. This variation shines in summer dishes like potato salad or as a spread for fishless tuna sandwiches. 🍋
Sweet and Tangy
Double the maple syrup to 1 tsp and reduce vinegar to ½ tbsp for a sweeter take. This version is fantastic for dipping sweet potato fries or as a base for vegan chicken salad. The balance of sweet and sour is irresistible.
Frequently Asked Questions
Can I use a different oil?
Yes, any neutral-flavored oil works well. Avocado or light olive oil are best for clean taste. Avoid strong oils like coconut or sesame.
Why did my mayo break?
This usually happens if oil is added too quickly. Start over with new aquafaba and drizzle oil very slowly. Room temperature ingredients help prevent separation.
How long does it keep?
Stored in an airtight container in the fridge, it stays fresh for 1 week. The flavor improves after 24 hours.
Can I make this without a mixer?
A whisk works but requires vigorous, constant motion. Expect it to take 10-15 minutes of steady whisking. A blender is another great alternative.

- 8 Bean Soup Recipe Crock Pot: Hearty Vegetable Medley in One Pot - September 25, 2026
- 4C Bread Crumbs Meatballs Recipe: Crispy Crust and Juicy Centers - September 25, 2026
- 6 Oz Chocolate Chip Cookie Recipe: Perfectly Balanced Crispy Edges and Chewy Hearts - September 25, 2026