
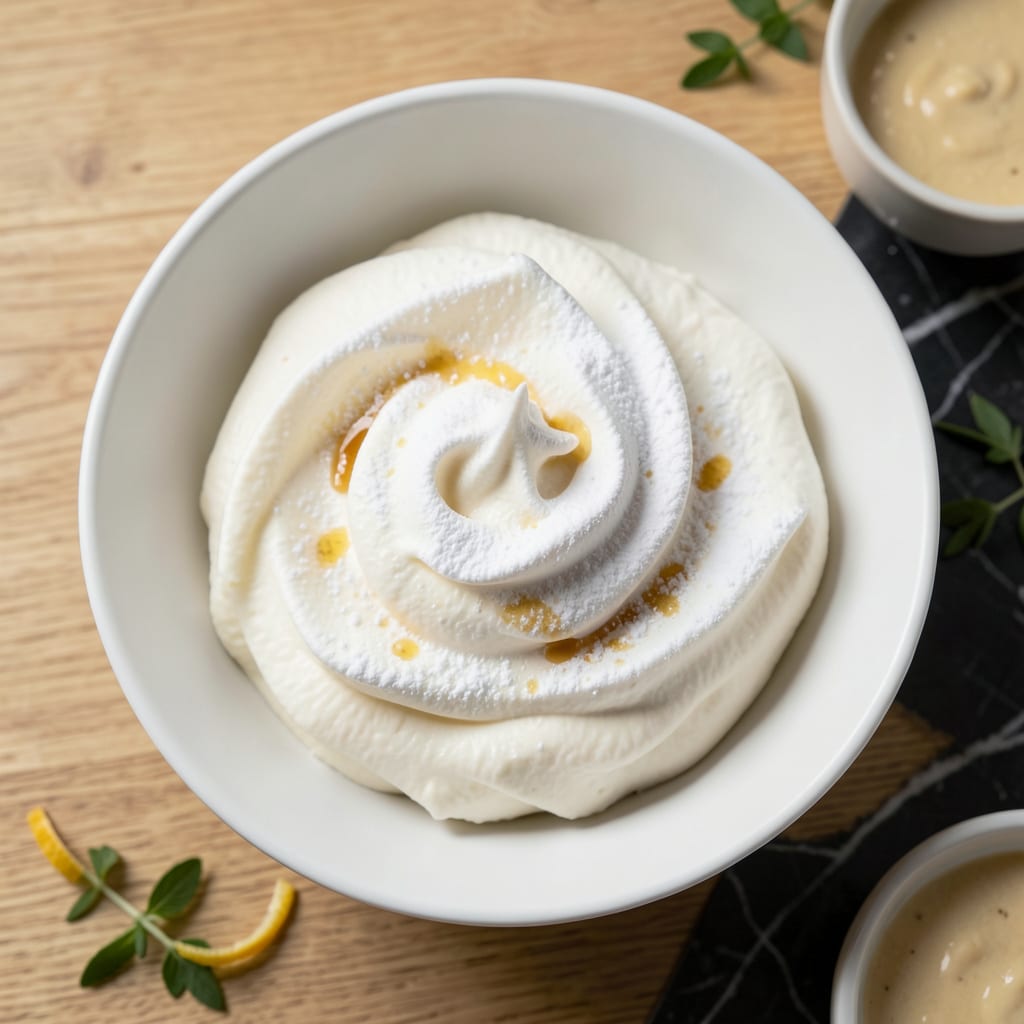
This light alternative to traditional whipped cream delivers the same fluffy texture and sweet taste without the guilt. I developed this method to satisfy sweet cravings while keeping calories in check.
Using a simple technique with cold ingredients and proper timing, you’ll achieve perfectly airy results every time. Ideal for topping desserts, fruits, or hot drinks with zero compromise on flavor.
Ingredients for Low Fat Whipped Cream
Seven simple ingredients create a light, airy topping with all the richness none of the guilt.
| Ingredient | Amount | Notes |
|---|---|---|
| Heavy Cream 🥛 | 1 cup | Cold, full-fat for best texture |
| Powdered Sugar 🍚 | 2 tbsp | Sifted for smoothness |
| Vanilla Extract 🌿 | 1 tsp | Pure for best flavor |
| Cold Water 💧 | 2 tbsp | Ice cold for stability |
| Unflavored Gelatin 🧂 | 1 tsp | For structure and volume |
| Cornstarch 🌾 | 1 tsp | Thickens slightly for body |
| Salt 🧂 | 0.125 tsp | Balances sweetness |
For optimal results, use heavy cream with at least 36% fat content—lower fat versions won’t whip properly. Organic Valley or Darigold are reliable brands. The gelatin must be unflavored and powdered; leaf gelatin won’t dissolve evenly. Chill your mixing bowl and beaters for 15 minutes before starting—this is non-negotiable for volume and stability.
No gelatin? Agar-agar at half the amount works for a vegetarian alternative (though texture differs slightly). Xanthan gum at 1/8 tsp can stabilize without animal products. For sweetness, maple syrup or agave can replace powdered sugar, but reduce other liquids by 1 tbsp to compensate. The vanilla can be swapped for almond extract (use half the quantity).
Store whipped cream in an airtight container for up to 2 days. It may weep slightly—just rewhip briefly before serving. Freezing isn’t recommended (it separates). Best used fresh for maximum volume and that perfect fluffy texture.
Why You’ll Love This Recipe
- 5-Minute Whip: I just dump everything in a bowl and beat it—no fancy techniques, and the gelatin sets it perfectly every time.
- Velvety Vanilla Cloud: The vanilla and powdered sugar make it taste indulgent, but it’s light enough that I don’t feel guilty sneaking a spoonful.
- Dessert’s Best Friend: I pipe it onto pies, fold it into mousse, or just dollop it on fruit. Honestly, it works for everything.
- Stays Put: Unlike regular whipped cream, this holds its shape for hours, so I can prep it ahead and forget about it.
Step-by-Step Instructions for Low Fat Whipped Cream
This method ensures maximum volume and stability while maintaining a lighter texture.
Step 1: Bloom the Gelatin for Structure
Combine the 2 tbsp Cold Water with the 1 tsp Unflavored Gelatin in a small microwave-safe bowl. Stir gently to ensure the gelatin is fully submerged, then let it sit undisturbed for 5 minutes to bloom completely.
The mixture will transform from cloudy to translucent with a jelly-like consistency. This blooming step is critical—it ensures the gelatin hydrates properly, which later stabilizes the whipped cream and prevents it from deflating.
After blooming, microwave for 5-10 seconds until just melted. Do not overheat, as excessive heat can degrade the gelatin’s setting properties. Set aside to cool slightly but keep it liquid.
Step 2: Prepare the Cream Base
In a chilled mixing bowl, combine the 1 cup Heavy Cream, 2 tbsp Powdered Sugar, 1 tsp Cornstarch, and 0.125 tsp Salt. Whisk lightly by hand until the sugar and cornstarch are fully dissolved—this step prevents graininess in the final product.
The cream must be ice-cold, straight from the refrigerator. Cold cream whips faster and holds air better, which is essential for achieving a light, airy texture. The cornstarch acts as a secondary stabilizer, reinforcing the structure provided by the gelatin.
Step 3: Incorporate Vanilla and Gelatin
Add the 1 tsp Vanilla Extract to the cream mixture and stir to combine. Then, while gently whisking the cream base, slowly pour in the cooled, melted gelatin mixture in a thin, steady stream.
This gradual incorporation prevents the gelatin from clumping and ensures it’s evenly distributed. The vanilla adds depth of flavor, while the gelatin begins to integrate into the cream, preparing it for whipping.
At this stage, the mixture should look smooth and slightly thickened but still pourable. If the gelatin starts to set before you finish, briefly reheat it for 3-5 seconds to liquefy again.
Step 4: Whip to Stiff Peaks
Using a hand mixer or stand mixer fitted with the whisk attachment, beat the cream mixture on medium-high speed. Start on low to avoid splattering, then gradually increase the speed as the cream begins to thicken.
Watch for the cream to reach soft peaks—this is when the whisk leaves trails that hold their shape briefly before melting back into the cream. From there, continue whipping until you achieve stiff peaks, where the cream holds its shape firmly and the whisk leaves distinct, sharp peaks.
This process should take 3-5 minutes, depending on your mixer. Avoid over-whipping, as the cream can quickly turn grainy or separate into butter. The gelatin and cornstarch will help prevent this, but vigilance is key.
Step 5: Chill and Serve
Once stiff peaks are achieved, use the whipped cream immediately or transfer it to an airtight container. For best stability, chill it in the refrigerator for at least 30 minutes before serving.
This resting period allows the gelatin to fully set, giving the whipped cream its signature light yet stable texture. It will hold its shape beautifully when piped or dolloped, making it ideal for topping desserts or beverages.
Serve within 24 hours for optimal texture. If you notice any separation or weeping, simply rewhip briefly to restore its fluffy consistency.
Pro Tips For Making Low Fat Whipped Cream
- Chill Everything First: I learned this the hard way—warm cream or bowls will deflate your whipped cream before it even starts. Pop your bowl, beaters, and heavy cream in the fridge for at least 20 minutes.
- Bloom Gelatin Properly: Sprinkle the gelatin over cold water and let it sit for 5 full minutes—it should look spongy, not grainy. Skipping this step leaves you with lumpy, weak whipped cream.
- Whip Before Adding Sugar: Start whipping the cream alone until soft peaks form, then slowly add the powdered sugar. Dumping it in too early just weighs it down and takes forever to thicken.
- Use Powdered Sugar Only: Sounds obvious, but regular sugar won’t dissolve properly and leaves a gritty texture. Powdered sugar blends in smooth, especially in a low-fat version where every bite counts.
Make-Ahead Tips for This low fat whipped cream
Prep Ahead Strategy
Bloom the 1 tsp unflavored gelatin in 2 tbsp cold water up to 2 days ahead and store covered in the fridge. This saves time on the day of serving and ensures the gelatin is ready to melt quickly. 💡
Pre-Chill Everything
Place your mixing bowl and beaters in the freezer for 15 minutes before use. I keep a dedicated set in my freezer for this recipe. Cold equipment is non-negotiable for achieving maximum volume.
Stabilize Early
Combine the 1 cup heavy cream, 2 tbsp powdered sugar, and 1 tsp cornstarch the night before. Store in an airtight container at 40°F. This allows the sugar to fully dissolve overnight.
Portion Control
Pipe the whipped cream into small airtight containers for individual servings. These will keep in the fridge for up to 48 hours. Perfect for topping single-serve desserts or coffee drinks.
Emergency Revive
If your cream weeps after storage, simply rewhip by hand for 30 seconds. The gelatin and cornstarch will help it regain its fluffy texture. I’ve saved many a dessert with this quick fix.
For longer storage, add an extra ½ tsp gelatin to the original recipe. This extends stability to 3 days without sacrificing quality. ✨
Nutrition Facts
Frequently Asked Questions
Can I use milk instead of cream?
No, milk won’t whip to the right texture. Stick with 36% fat heavy cream for best results. Lower fat versions won’t hold air properly.
Why does my whipped cream collapse?
Under-whipping or warm equipment causes this. Ensure your bowl and beaters are chilled for 15 minutes and whip to stiff peaks. The gelatin helps prevent collapse too.
Can I make this dairy-free?
Yes! Swap heavy cream for chilled coconut cream and use agar-agar instead of gelatin. The texture will differ slightly but still be light and fluffy.
How long can I store this?
It keeps in an airtight container for up to 2 days. If it weeps, rewhip briefly before serving. For longer storage, add extra gelatin.

- 8 Bean Soup Recipe Crock Pot: Hearty Vegetable Medley in One Pot - September 25, 2026
- 4C Bread Crumbs Meatballs Recipe: Crispy Crust and Juicy Centers - September 25, 2026
- 6 Oz Chocolate Chip Cookie Recipe: Perfectly Balanced Crispy Edges and Chewy Hearts - September 25, 2026