
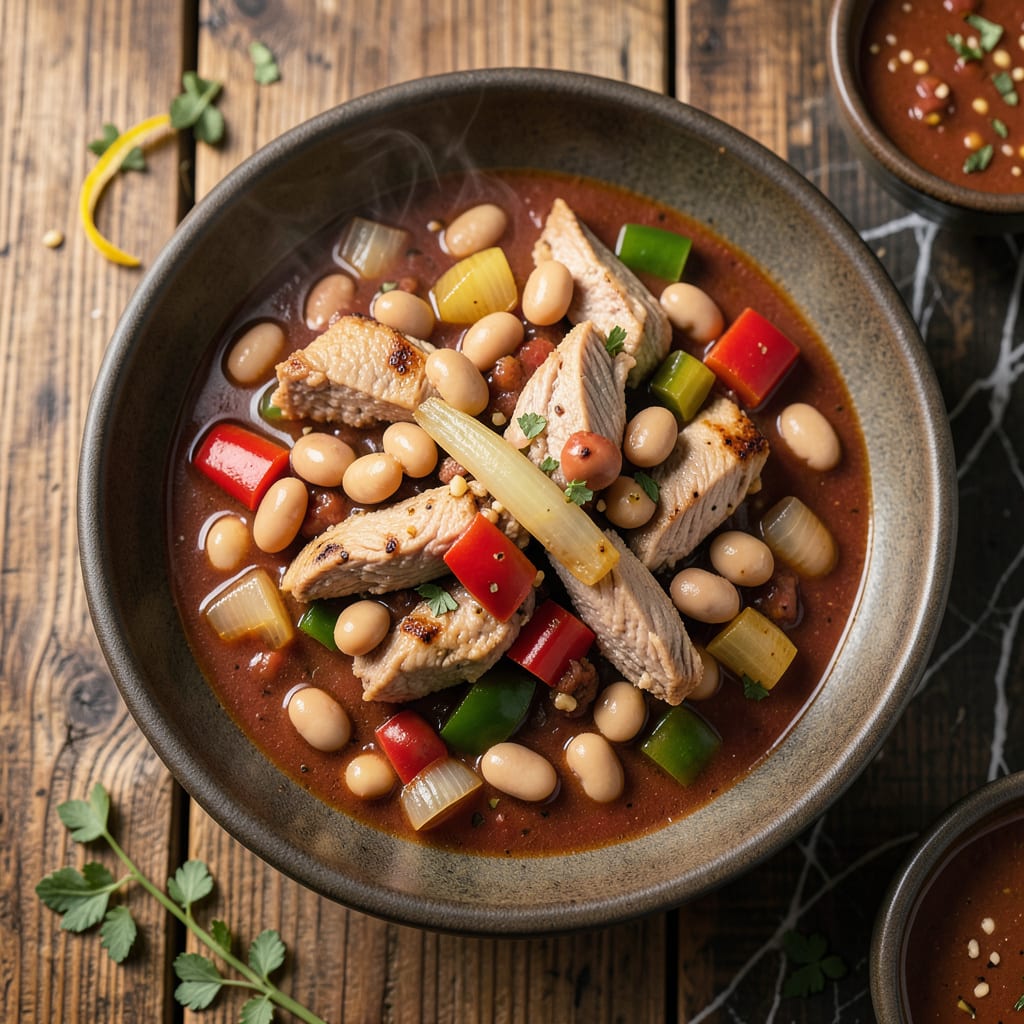
Creating a flavorful chili while managing potassium intake doesn’t mean sacrificing taste or satisfaction. This carefully developed recipe delivers all the hearty comfort of traditional chili, using smart ingredient swaps that keep potassium levels in check without compromising on rich, robust flavor.
The key lies in selecting low-potassium alternatives like specially prepared beans and modified tomato products, combined with a blend of spices that build depth naturally. What results is a bowl of chili that’s not just renal-friendly but genuinely delicious—a dish you’ll want to make regularly, not just when dietary restrictions demand it.
Ingredients for Low Potassium Chili
Lean proteins, smart swaps, and bold spices—this chili delivers comfort without the potassium worry.
| Ingredient | Amount | Notes |
|---|---|---|
| Ground Turkey Breast 🦃 | 1 lb | 93% lean or leaner |
| Low-Potassium Kidney Beans 🌱 | 2 cans | Drained, rinsed twice |
| Low-Sodium Tomato Sauce 🍅 | 1 can | 15 oz, no salt added |
| Low-Sodium Chicken Broth 🥫 | 1 cup | Or homemade low-potassium broth |
| Bell Peppers 🌶️ | 2 whole | Red or green, diced |
| Yellow Onion 🧅 | 1 whole | Medium, finely chopped |
| Garlic Cloves 🧄 | 3 cloves | Minced for depth |
| Chili Powder 🌶️ | 2 tbsp | Mild or medium blend |
| Ground Cumin 🌿 | 1 tbsp | Toasted for warmth |
| Dried Oregano 🍃 | 1 tsp | Mexican oregano preferred |
| Olive Oil 🫒 | 1 tbsp | Extra-virgin for sautéing |
| Apple Cider Vinegar 🍎 | 1 tbsp | Brightens flavors naturally |
| Bay Leaf 🌿 | 1 whole | Remove before serving |
| Salt-Free Chili Seasoning Blend 🌶️ | 1 tbsp | Check for potassium chloride |
| Fresh Cilantro 🌿 | ¼ cup | Chopped, for garnish |
The beans are the game-changer here. Eden Organic or Westbrae Natural brands offer low-potassium kidney beans that still hold their shape. Turkey breast keeps protein high without the potassium overload of beef. For the broth, Pacific Foods makes a reliable low-sodium option, but check labels—some brands sneak in potassium chloride. The tomato sauce should be no-salt-added; Muir Glen is my go-to for consistent quality without hidden additives.
Out of low-potassium beans? Double the turkey and add extra peppers for bulk. Need more liquid? Extra broth or water works—just adjust seasoning. The chili powder is flexible: use what you’ve got, but avoid blends with added salt. If you can’t find salt-free seasoning, make your own with extra cumin and oregano. Apple cider vinegar is key for brightness, but lemon juice in a pinch gets you close.
This chili keeps 4-5 days refrigerated and freezes beautifully for 3 months. Portion before freezing for easy reheating. The flavors actually deepen overnight, so make it ahead if you can. Garnish with cilantro just before serving—it wilts fast but adds freshness.
Why You’ll Love This Recipe
- One-Pot Wonder: I love that this chili comes together in a single pot—no extra bowls, no messy countertops. Just brown the turkey, toss in the beans and broth, and let it simmer while I handle other things.
- Rich Without the Guilt: The combo of turkey breast and low-sodium broth keeps it light but still packed with flavor. Honestly, the bell peppers add this sweet crunch that makes every bite feel indulgent (without the heavy aftertaste).
- Meal Prep MVP: I make a double batch on Sundays and freeze half—it reheats like a dream. Between us, it’s saved me from takeout more times than I can count.
- Budget-Friendly Staple: Ground turkey breast is cheaper than beef, and the low-potassium beans stretch it further. I’ll be real: this feeds my family for two nights on less than $15.
Instructions
Here’s how to build layers of flavor while keeping this chili kidney-friendly and delicious.
Step 1: Brown the Ground Turkey Breast
Heat the olive oil in a large Dutch oven over medium-high heat until it shimmers but doesn’t smoke. Add the ground turkey breast, breaking it up with a wooden spoon into ½-inch pieces. Let it cook undisturbed for 2 minutes to develop a good sear.
Continue cooking for 5-7 minutes total, stirring occasionally, until the turkey is no longer pink and develops golden-brown edges. This browning step creates the flavor foundation for your chili. Don’t rush it—you want that caramelized color, not just cooked-through meat.
Step 2: Build the Aromatic Base
Reduce heat to medium and add the yellow onion and bell peppers. Cook for 5 minutes, stirring frequently, until the onions become translucent and the peppers soften slightly. Add the garlic cloves and cook for 1 additional minute until fragrant.
Stir in the chili powder, ground cumin, and dried oregano, cooking for 30 seconds until the spices become aromatic. This quick toast brings out their essential oils. Add the salt-free chili seasoning blend and stir to combine evenly with the turkey and vegetable mixture.
Step 3: Simmer the Chili to Perfection
Pour in the low-sodium tomato sauce and low-sodium chicken broth, using a wooden spoon to scrape up any browned bits from the bottom of the pot. Add the apple cider vinegar and bay leaf, then stir in the low-potassium kidney beans that you’ve drained and rinsed twice.
Bring the mixture to a gentle boil, then reduce heat to low and let it simmer uncovered for 30-40 minutes. You want a slow, steady bubble that thickens the chili without reducing it too quickly. Stir occasionally and adjust heat as needed to maintain this gentle simmer.
Step 4: Finish and Serve
After simmering, remove and discard the bay leaf. Taste and adjust seasoning if needed—remember this is a low-sodium recipe, so the flavors will be more subtle. The chili should have thickened slightly but still have some liquid—it will continue to thicken as it cools.
Ladle the chili into bowls and garnish each serving with fresh cilantro. The bright green cilantro adds a fresh contrast to the rich, earthy flavors. Serve immediately while hot, or let it cool and refrigerate for up to 5 days—the flavors will deepen over time.
Storing and Reheating Leftovers
Refrigerator Storage
After cooking, let your chili cool at room temperature for no more than 2 hours before transferring to airtight containers. I prefer glass containers like Pyrex because they don’t absorb odors and reheat evenly. Your chili will stay fresh in the fridge for up to 4-5 days, and honestly, it tastes even better the next day as the flavors meld together. ❄️
Freezing for Later
For longer storage, portion the cooled chili into freezer-safe bags or containers. I use quart-sized Ziploc freezer bags—they stack neatly and thaw quickly. Leave about 1 inch of headspace to allow for expansion, then squeeze out excess air before sealing. Your chili will maintain great quality for up to 3 months in the freezer at 0°F or below.
Stovetop Reheating
My favorite method for reheating is on the stovetop. Transfer your chili to a saucepan and add 2-3 tablespoons of water or low-sodium broth to prevent sticking. Heat over medium-low for 8-10 minutes, stirring occasionally, until it reaches 165°F. This gentle reheating preserves the texture of the beans and turkey perfectly. 🔥
Microwave Reheating
For quick meals, microwave individual portions in a microwave-safe bowl covered with a damp paper towel. Heat on 70% power for 2-3 minutes, then stir and continue heating in 30-second bursts until hot. The damp towel helps retain moisture. I always check the temperature with a quick-read thermometer to ensure it’s thoroughly heated.
Thawing Frozen Chili
The safest way to thaw is overnight in the refrigerator. If you’re short on time, use the defrost setting on your microwave or place the sealed bag in a bowl of cold water, changing the water every 30 minutes. Never thaw at room temperature. Once thawed, reheat immediately and don’t refreeze—this helps maintain both safety and quality.
Portioning Tips
Before storing, I like to portion the chili into 1-cup servings—it’s the perfect size for a meal and makes reheating easier. Use a measuring cup to ensure consistency. Label each container with the date so you can track freshness. This method also helps with meal planning, especially if you’re managing potassium intake regularly. 💡
Nutrition Facts
Frequently Asked Questions
What’s the best substitute for regular beans in this recipe?
Look for low-potassium kidney beans from brands like Eden Organic or Westbrae Natural. These are specially processed to reduce potassium content while maintaining texture. If unavailable, you can double the turkey and add extra peppers for bulk without the potassium.
Can I make this in a slow cooker instead?
Brown the turkey first, then transfer everything to your slow cooker. Cook on low for 6-8 hours or high for 3-4 hours. The longer cook time actually deepens the flavors beautifully. Just add ¼ cup extra broth since slow cookers evaporate less liquid.
Why does this recipe use apple cider vinegar?
The vinegar adds brightness without extra sodium or potassium. It helps balance the earthy flavors from the spices and beans. Use 1 tablespoon as written, or substitute lemon juice in a pinch. This small addition makes a big difference in flavor complexity.
How can I adjust the spice level for sensitive palates?
Start with 1 tablespoon chili powder instead of 2, and omit any cayenne if using. You can always add more spice later, but you can’t remove it! For extra richness without heat, stir in ½ teaspoon smoked paprika at the end.
Is this chili suitable for other low-potassium diets?
Yes! This recipe works well for renal diets, heart-healthy plans, and other potassium-restricted meal plans. Always verify your specific dietary needs, but the ingredient choices here are designed to be widely compatible. The per-serving potassium stays under 200mg as written.

- 8 Bean Soup Recipe Crock Pot: Hearty Vegetable Medley in One Pot - September 25, 2026
- 4C Bread Crumbs Meatballs Recipe: Crispy Crust and Juicy Centers - September 25, 2026
- 6 Oz Chocolate Chip Cookie Recipe: Perfectly Balanced Crispy Edges and Chewy Hearts - September 25, 2026