
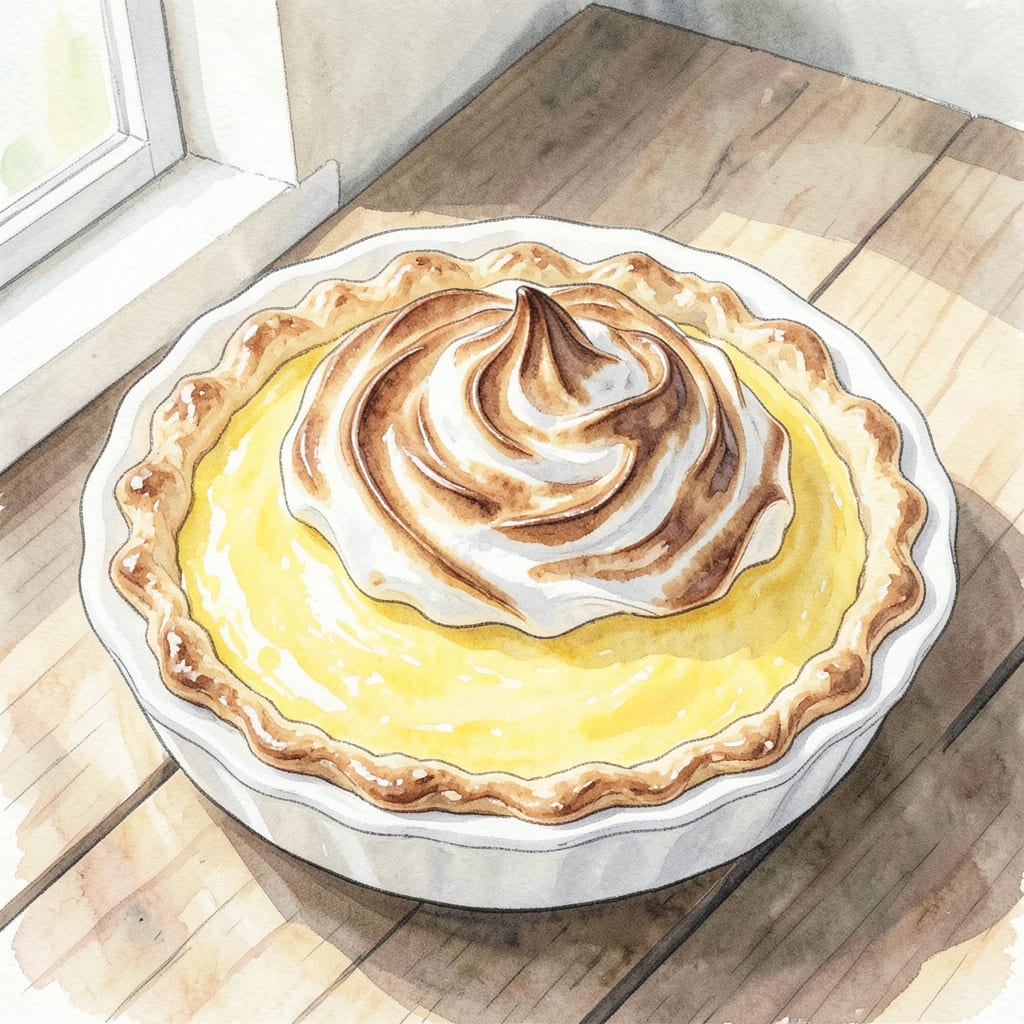
I’ve perfected my Lucky Leaf lemon meringue pie recipe to achieve that ideal balance of tart and sweet. Using Lucky Leaf lemon meringue pie filling simplifies the process without sacrificing flavor, making this classic dessert accessible to everyone.
This recipe yields a perfectly golden meringue topping and a silky lemon filling, all nestled in a flaky crust. With precise temperature control and timing, you’ll achieve picture-perfect results every time, making it ideal for special occasions or family gatherings.
Ingredients for Lucky Leaf Lemon Meringue Pie
Simple ingredients make this classic dessert shine with minimal effort and maximum flavor.
| Ingredient | Amount | Notes |
|---|---|---|
| Lucky Leaf Lemon Meringue Pie Filling 🍋 | 1 can | Standard 21 oz can size |
| All-Purpose Flour 🌾 | 2 ¼ cups | For pie crust |
| Cold Unsalted Butter 🧈 | 1 cup | Cooled to refrigerator temperature |
| Ice Water 💧 | ¼ cup | Chilled, not frozen |
| Granulated Sugar 🍮 | 1 ½ cups | For meringue topping |
| Large Egg Whites 🥚 | 4 whole | Room temperature |
| Cream of Tartar 🧂 | 1 tsp | Stabilizes meringue |
| Salt 🧂 | ¼ tsp | Kosher salt preferred |
The Lucky Leaf filling is a game-changer here—21 oz can is the standard size. For the crust, cold butter matters. I keep mine in the freezer for 10 minutes before grating it. Most grocery stores carry Lucky Leaf in their baking aisle. If you can’t find it, look for it at specialty baking stores.
No cream of tartar? White vinegar or lemon juice at half the amount works. For a more stable meringue, make sure your egg whites are at room temperature. If you’re worried about undercooked egg whites, use a candy thermometer to check the meringue temperature—it should reach 160°F.
This pie keeps for 2 days at room temperature if covered. Refrigerate leftovers within 2 hours of baking. The crust can be made ahead and frozen for 1 month—just thaw in the fridge overnight. Meringue doesn’t freeze well, so enjoy fresh.
Step-by-Step Instructions for Lucky Leaf Lemon Meringue Pie
Creating this classic dessert is easier than you think with these detailed steps.
Step 1: Make the Pie Crust
To start, combine the 2.25 cups All-Purpose Flour and 0.25 tsp Salt in a large mixing bowl. I like to use a pastry blender for this step as it makes incorporating the 1 cup Cold Unsalted Butter into the flour much easier. Work the butter into the flour until the mixture resembles coarse crumbs with some larger pea-sized pieces of butter remaining.
Next, sprinkle the 0.25 cup Ice Water over the mixture and gently stir with a fork until the dough begins to come together in large clumps. Be careful not to overwork the dough at this stage. Turn the dough out onto a lightly floured surface and gently knead it a few times until it becomes cohesive.
Step 2: Roll Out and Bake the Crust
Divide the dough in half and shape each half into a flat disk. Wrap each disk in plastic wrap and refrigerate for at least 1 hour. On a lightly floured surface, roll out one of the chilled dough disks to a thickness of about 1/8 inch. Carefully transfer the rolled-out dough to a 9-inch pie dish and trim the edges to fit, leaving a 1/2 inch overhang.
Crimp the edges to form a decorative border and prick the bottom of the crust with a fork to prevent it from bubbling during baking. Line the crust with parchment paper and fill with pie weights or dried beans. Bake in a preheated oven at 375°F for 20 minutes. Remove the parchment paper and pie weights, then continue baking for an additional 5-7 minutes until the crust is lightly golden.
Step 3: Prepare the Meringue Topping
In a clean, dry mixing bowl, beat the 4 whole Large Egg Whites, 1 tsp Cream of Tartar, and 0.25 tsp Salt on medium speed until soft peaks form. Gradually add the 1.5 cups Granulated Sugar while continuing to beat the mixture. Increase the mixer speed to high and beat until stiff peaks form and the mixture becomes thick and glossy.
Be careful not to overbeat the meringue, as it can become too stiff and separate. You want it to be smooth and shiny, holding its shape when the beaters are lifted.
Step 4: Assemble and Bake the Pie
Pour the 1 can Lucky Leaf Lemon Meringue Pie Filling into the baked pie crust and spread it evenly. Top the filling with the prepared meringue topping, spreading it to cover the entire surface and sealing it to the edges of the crust to prevent shrinking or weeping.
Bake the pie in a preheated oven at 350°F for 10-15 minutes, or until the meringue is golden brown. Keep an eye on it during the baking time, as the meringue can go from perfectly toasted to burnt quickly.
Pro Cooking Tips for lucky leaf lemon meringue pie
Perfect Crust Techniques
The key to a flaky crust is keeping all ingredients cold—I store my butter in the freezer for 10 minutes before grating it. Use ice water and handle the dough minimally to prevent gluten development.
Meringue Mastery
For a stable meringue, ensure your egg whites are at room temperature and use cream of tartar as a stabilizer. Beat until stiff peaks form, but avoid overbeating which can cause separation. 🔥
Temperature Control
Bake the crust at 375°F for 20 minutes with pie weights, then remove weights and continue baking for 5-7 minutes until lightly golden. For the meringue topping, bake at 350°F for 10-15 minutes until golden brown.
Avoiding Common Mistakes
Don’t overwork the crust dough as it can lead to toughness. When making meringue, avoid any fat or yolk contamination in your egg whites, as this prevents proper whipping. Use a candy thermometer to ensure the meringue reaches 160°F for food safety.
Assembly Tips
Spread the meringue topping to the edges of the crust to prevent shrinking or weeping during baking.
Final Baking Watch
Keep a close eye on the meringue during its 10-15 minute baking time as it can go from perfectly toasted to burnt quickly. Rotate the pie halfway through baking for even browning.
Nutrition Facts
420kcal

- 8 Bean Soup Recipe Crock Pot: Hearty Vegetable Medley in One Pot - September 25, 2026
- 4C Bread Crumbs Meatballs Recipe: Crispy Crust and Juicy Centers - September 25, 2026
- 6 Oz Chocolate Chip Cookie Recipe: Perfectly Balanced Crispy Edges and Chewy Hearts - September 25, 2026