
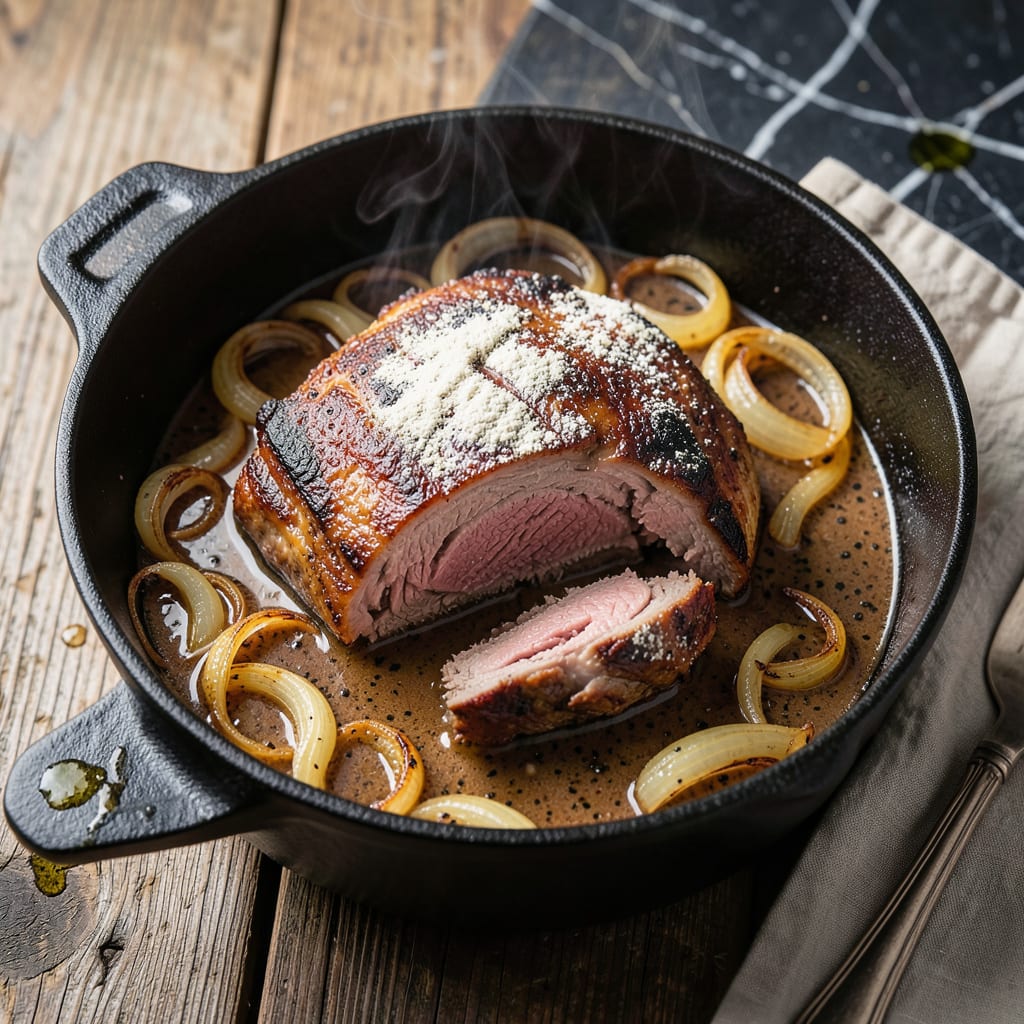
There’s something deeply comforting about a slow-braised pot roast that fills the kitchen with rich, savory aromas. This timeless recipe transforms tough cuts of beef into fall-apart tender perfection.
With root vegetables soaking up the flavorful juices, it’s a complete meal that requires little more than time and patience. The result is a dish that tastes like home in every bite.
Ingredients for Mama’s Pot Roast
A handful of humble ingredients transform into a deeply flavorful, comforting classic everyone loves.
| Ingredient | Amount | Notes |
|---|---|---|
| Beef Chuck Roast 🥩 | 3 lb | Boneless, well-marbled preferred |
| Kosher Salt 🧂 | 2 tsp | Diamond Crystal recommended |
| Ground Black Pepper 🌶️ | 1 tsp | Freshly cracked preferred |
| All-Purpose Flour 🌾 | ¼ cup | For dredging beef |
| Olive Oil 🫒 | 2 tbsp | Divided, for searing |
| Yellow Onion 🧅 | 2 whole | Large, quartered |
| Garlic Cloves 🧄 | 6 cloves | Smashed, peeled |
| Carrots 🥕 | 4 whole | Peeled, cut into chunks |
| Celery Stalks 🌿 | 3 whole | Cut into large pieces |
| Yukon Gold Potatoes 🥔 | 1 ½ lb | Peeled, quartered |
| Low-Sodium Beef Broth 💧 | 3 cups | Homemade or quality store-bought |
| Tomato Paste 🍅 | 2 tbsp | For depth of flavor |
| Dry Red Wine 🍷 | 1 cup | Cabernet Sauvignon recommended |
| Fresh Thyme Sprigs 🌿 | 4 whole | Plus extra for garnish |
| Bay Leaves 🍃 | 2 whole | Dried, for aroma |
The beef selection is paramount for this dish. Chuck roast with visible marbling yields the most tender result—avoid lean cuts like round or sirloin, as they lack the fat needed for long, slow cooking. Whole Foods or Costco often carry well-marbled chuck at reasonable prices. For optimal flavor, seek out grass-fed options when available (the deeper color indicates richer taste).
Substitutions are minimal but possible. If red wine isn’t available, additional beef broth with 1 tbsp balsamic vinegar replicates the depth. No fresh thyme? Use 1 tsp dried thyme instead. For the potatoes, russets work though they’re slightly drier. The flour dredge can be replaced with cornstarch for a gluten-free version, though the sauce may be less rich.
This pot roast actually improves overnight. Refrigerate leftovers in an airtight container for up to 5 days or freeze for 3 months. The vegetables may soften further upon reheating, but the beef will retain its tenderness. Always reheat gently on the stovetop with a splash of broth to maintain moisture.
Why You’ll Love This Recipe
- Set It and Forget: I sear the beef, dust it with flour, and let the oven do the rest. Honestly, it’s the easiest hands-off dinner I make.
- Feeds the Gang: One pot, one meal, and it stretches for days—perfect for Sunday dinner or meal-prepping lunches.
- Budget Hero: A cheap cut of beef turns into something special. I’ll be real: it tastes like a fancy meal for pennies per serving.
Step-by-Step Instructions for Slow-Braised Beef With Root Vegetables
This time-tested method transforms tough cuts into fork-tender perfection with richly flavored vegetables.
Step 1: Sear and Season the Beef Chuck Roast
Pat the 3 lb Beef Chuck Roast completely dry with paper towels. This crucial step ensures a proper sear rather than steam. Season all sides aggressively with the 2 tsp Kosher Salt and 1 tsp Ground Black Pepper. The salt should visibly coat the surface.
Dredge the seasoned roast in the 0.25 cup All-Purpose Flour, pressing gently to adhere. Shake off any excess—too much flour creates a gummy coating. Heat 1 tbsp Olive Oil in a Dutch oven over medium-high heat until shimmering. Sear the roast for 4-5 minutes per side until deep brown and a crust forms.
Step 2: Build the Aromatic Foundation
Remove the roast and reduce heat to medium. Add the remaining 1 tbsp Olive Oil, then the 2 whole Yellow Onion, 4 whole Carrots, and 3 whole Celery Stalks. Sauté for 5 minutes until the onions begin to soften and develop color.
Add the 6 cloves Garlic Cloves, 2 tbsp Tomato Paste, 4 whole Fresh Thyme Sprigs, and 2 whole Bay Leaves. Stir constantly for 1-2 minutes until the tomato paste darkens slightly—this builds depth of flavor. The mixture should be fragrant and starting to caramelize at the edges.
Step 3: Deglaze and Begin the Braise
Pour in the 1 cup Dry Red Wine, using a wooden spoon to scrape up all the browned bits from the bottom of the pot. These fond bits are pure flavor. Simmer for 3-4 minutes until the liquid reduces by half and the alcohol smell dissipates.
Return the roast to the pot along with any accumulated juices. Add the 1.5 lb Yukon Gold Potatoes and 3 cups Low-Sodium Beef Broth. The liquid should come about halfway up the roast. Bring to a gentle simmer—small bubbles breaking the surface, not a rolling boil.
Step 4: Slow-Cook to Tenderness
Cover the Dutch oven and transfer to a preheated 325°F oven. Braise for 2.5 to 3 hours, turning the roast and stirring the vegetables once per hour. The meat is done when it yields easily to a fork and the internal temperature reaches 195-200°F.
During this time, the carrots and potatoes will absorb the braising liquid, becoming tender and saturated with flavor. The sauce should thicken slightly as the collagen in the beef breaks down. If the liquid reduces too much, add a splash of water.
Step 5: Rest and Serve
Carefully transfer the roast to a cutting board. Skim any excess fat from the surface of the sauce, then discard the thyme sprigs and bay leaves. The sauce should coat the back of a spoon—simmer uncovered for 5 minutes if it needs thickening.
Slice the roast against the grain into thick pieces. Serve with the vegetables and sauce spooned over the top. The beef should be fall-apart tender, with the root vegetables soft but still holding their shape, all united by the rich, wine-infused braising liquid.
Pro Tips For Making Mama’S Pot Roast
- Sear Hot and Hard: Crank the heat to medium-high and don’t move the roast for 3-4 minutes per side—this builds a deep crust that locks in flavor. I learned this the hard way after years of pale, steamed-looking meat.
- Dry the Roast Well: Pat the chuck roast bone-dry with paper towels before seasoning; even a little moisture prevents proper browning. Sounds tedious, but it’s the thing that matters most for that rich color.
- Don’t Crowd the Pan: If your pot isn’t big enough, sear the roast in batches—crowding drops the temperature and you’ll end up with a gray, sad exterior. My grandmother swore by this, and she was right.
- Use Freshly Ground Pepper: Pre-ground pepper loses its punch fast; grind it fresh right before dusting the roast. It’s a small step that actually changes the outcome, especially with a simple seasoning like this.
Pro Cooking Tips for Perfect Results
Searing Perfection
Pat the beef completely dry with paper towels before seasoning. This ensures a proper sear instead of steaming. I use Diamond Crystal kosher salt for even distribution and medium-high heat in my Lodge Dutch oven for consistent browning. 🔥
Deglaze with Care
After removing the roast, use 1 cup Dry Red Wine to scrape up all browned bits from the pot. These fond bits are pure flavor. Simmer until the liquid reduces by half and the alcohol smell dissipates—about 3-4 minutes.
Layer Your Vegetables
Place larger, denser vegetables like carrots and potatoes at the bottom of the pot. This prevents them from turning mushy during the long braise. I add Yukon Gold potatoes last since they cook faster than carrots.
Temperature Control
Maintain a gentle simmer at 325°F in the oven. Too high heat will toughen the meat. I check the internal temperature with my ThermoWorks thermometer—it’s done at 195-200°F.
Rest Before Slicing
Let the roast rest for at least 15-20 minutes before slicing. This allows juices to redistribute, ensuring each bite is moist and flavorful. Skim excess fat from the sauce during this time.
Slice Against Grain
Identify the grain direction and slice perpendicular to it. This shortens muscle fibers for maximum tenderness. I use a 10-inch chef’s knife for clean cuts through the 3 lb chuck roast. 💡
Nutrition Facts
Frequently Asked Questions
What’s the best cut for slow-cooked beef?
Chuck roast with visible marbling is ideal. Its fat content keeps the meat moist during the long 2.5-3 hour braise. Avoid lean cuts like round or sirloin as they tend to dry out.
Can I make this without wine?
Yes! Substitute 1 cup beef broth plus 1 tbsp balsamic vinegar for the wine. The vinegar adds the missing acidity and depth that wine normally provides.
How do I know when it’s done?
The beef is ready when it reaches 195-200°F internally and yields easily to a fork. The meat should pull apart with minimal resistance.
Can I use a slow cooker instead?
After searing, transfer everything to the slow cooker and cook on low for 8-10 hours or high for 5-6 hours. The texture will be slightly different but still delicious.

- 4C Bread Crumbs Meatballs Recipe: Crispy Crust and Juicy Centers - September 25, 2026
- 6 Oz Chocolate Chip Cookie Recipe: Perfectly Balanced Crispy Edges and Chewy Hearts - September 25, 2026
- 6-Inch Coffee Cake Recipe: Vanilla Bean Swirls and Buttery Streusel Topping - September 25, 2026