
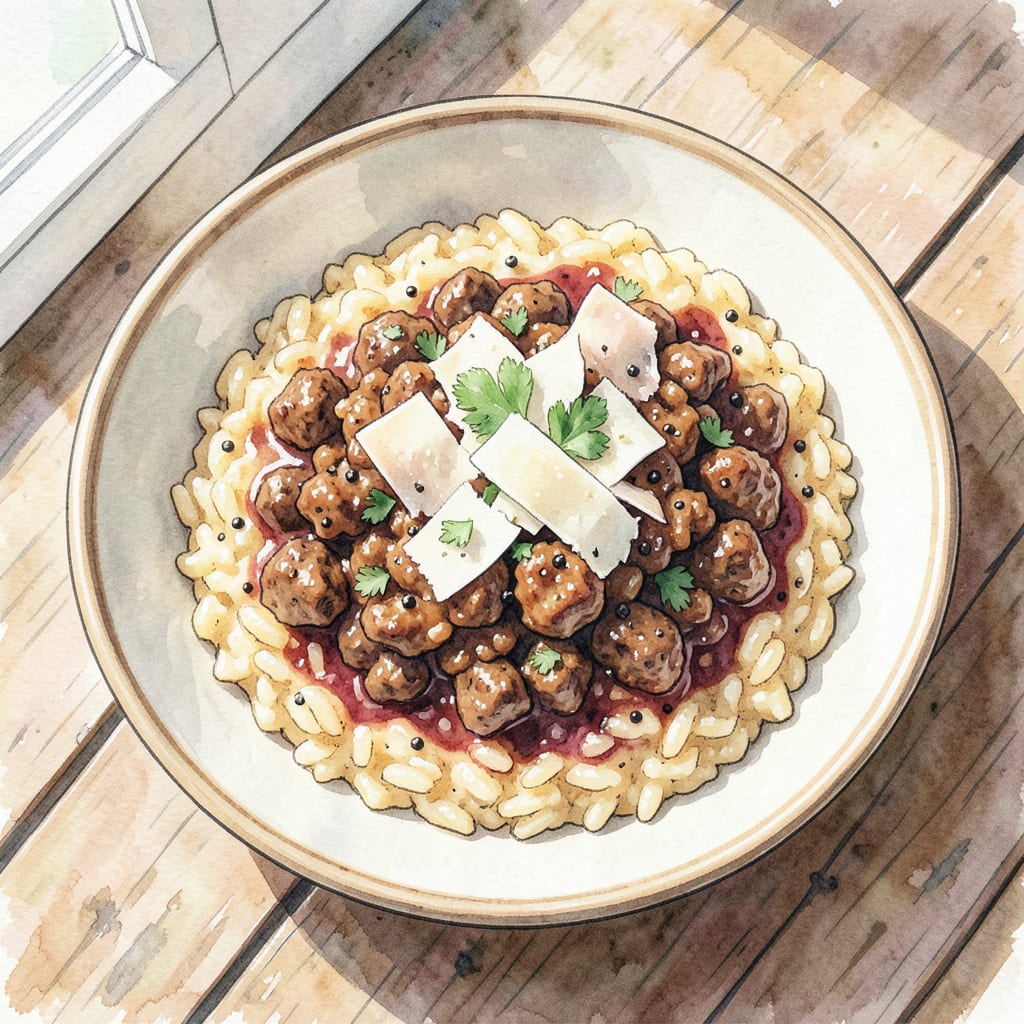
This Meat Risotto recipe delivers hearty comfort food in just 45 minutes. By combining tender meat with creamy risotto, you’ll create a satisfying meal that’s perfect for any occasion.
The secret to this dish lies in its simplicity and rich flavors. With a few basic ingredients and some careful attention, you’ll achieve a restaurant-quality risotto that’s sure to impress.
Ingredients for Meat Risotto
Gather these premium ingredients for a rich, creamy risotto experience.
| Ingredient | Amount | Notes |
|---|---|---|
| Arborio Rice 🍚 | 1 ½ cups | High-quality, short-grain preferred |
| Beef Broth 🍜 | 4 cups | Low-sodium, homemade or store-bought |
| Ground Beef 🥩 | 1 lb | 80/20 lean to fat ratio |
| Onion 🧅 | 1 whole | Finely chopped, yellow or white |
| Garlic Cloves 🧄 | 3 cloves | Minced, fresh |
| White Wine 🍷 | ½ cup | Dry, crisp variety |
| Parmesan Cheese 🧀 | 1 cup | Freshly grated, aged |
| Butter 🧈 | 4 tbsp | Unsalted, high-quality |
| Olive Oil 🫒 | 2 tbsp | Extra-virgin, for sautéing |
| Fresh Parsley 🌿 | ¼ cup | Chopped, for garnish |
| Salt 🧂 | 1 tsp | Kosher or sea salt |
| Black Pepper 🌶️ | ½ tsp | Freshly ground, coarse |
For the best risotto, choose Arborio rice from reputable sources. Carolina or Acqua Pura are excellent choices. The beef broth should be low-sodium to control seasoning. You can find good quality broth at Trader Joe’s or make your own. Using homemade broth enhances the dish’s depth of flavor.
No white wine? Substitute with additional beef broth. For a vegetarian version, use vegetable broth instead of beef broth. Fresh parsley adds a bright finish—Italian flat-leaf is ideal. If you can’t find it, regular curly parsley works too. For an extra rich risotto, use high-quality Parmesan like Parmigiano-Reggiano.
This risotto keeps well in the fridge for up to 3 days. Reheat gently with a splash of broth to restore creaminess. You can also freeze individual portions for up to 3 months. When reheating from frozen, add a bit more broth to achieve the desired consistency.
Step-by-Step Instructions for Meat Risotto
Follow these precise steps to create a rich, comforting risotto that serves 4 people perfectly.
Step 1: Brown the Ground Beef
Heat 2 tbsp of Olive Oil in a large skillet over medium-high heat. Add the 1 lb Ground Beef and cook, breaking it up with a spoon, until it’s brown and fully cooked, about 5-7 minutes. I like to let it develop a nice crust on the bottom before stirring. Remove the cooked Ground Beef from the pan and set it aside, leaving the rendered fat in the pan.
Drain excess fat if necessary, but leave about 1 tablespoon in the pan for flavor. This step creates the foundation of flavor for the risotto.
Step 2: Sauté Aromatics and Toast Rice
Reduce heat to medium and add the 1 whole Onion, finely chopped, to the same pan. Cook until it’s translucent and softened, about 3-4 minutes. Add the 3 cloves Garlic Cloves, minced, and cook for another 1 minute until fragrant. Be careful not to let the garlic burn.
Now add the 1.5 cups Arborio Rice to the pan, stirring to coat the rice in the oil and mix with the onion and garlic. Cook for 1-2 minutes until the rice is lightly toasted and coated in the flavorful mixture.
Step 3: Deglaze and Start Risotto
Pour in the 0.5 cup White Wine, stirring constantly to deglaze the pan and scrape up any browned bits. The wine will simmer rapidly and reduce until almost completely absorbed, about 2-3 minutes. This step adds depth to the risotto.
Now it’s time to start adding the 4 cups Beef Broth, warmed, in ½ cup increments. After each addition, stir constantly until the liquid is mostly absorbed before adding more. This process should take about 20-25 minutes total, during which the rice will release its starch and create a creamy texture.
Step 4: Finish with Butter and Parmesan
When the rice is al dente and the risotto has a creamy consistency, remove the pan from the heat. Stir in the remaining 2 tbsp Butter until fully incorporated and melted. Then add the 1 cup Parmesan Cheese, stirring until melted and well combined. Season with 1 tsp Salt and 0.5 tsp Black Pepper to taste.
Return the cooked Ground Beef to the risotto and stir to combine, ensuring the meat is evenly distributed throughout. The risotto should be creamy and rich, with a slight bite to the rice.
Step 5: Serve Immediately
Transfer the risotto to individual plates or a large serving dish. Garnish with 0.25 cup Fresh Parsley, chopped, for a pop of color and freshness. Serve immediately while the risotto is still creamy and warm. This dish is best enjoyed fresh, as it tends to thicken upon cooling.
Make-Ahead Tips for This meat risotto
Advance Preparation
You can prepare several components ahead of time to streamline your cooking process. Start by browning the 1 lb Ground Beef a day in advance and storing it in an airtight container in the refrigerator. This allows the flavors to meld and makes assembly easier. 🔥
Broth Preparation
Warm the 4 cups Beef Broth before starting the risotto and keep it simmering on a separate burner. Having the broth ready saves time during the cooking process. If you’re short on time, you can even prepare the broth a day ahead and refrigerate or freeze it until needed.
Risotto Par-Cooking
For entertaining, you can par-cook the risotto up to 20 minutes ahead. Cook the Arborio Rice until it’s about halfway done, then stop adding broth. Spread the partially cooked risotto on a baking sheet to cool quickly. When ready to serve, finish cooking with additional warmed broth to achieve the desired creaminess.
Finishing Touches
The final 2-3 minutes of cooking is crucial for achieving the perfect creamy texture. Stir in the 2 tbsp Butter and 1 cup Parmesan Cheese just before serving. These elements can’t be added too far in advance as they’ll thicken upon cooling. If needed, you can reheat gently with additional broth.
Storage and Reheating
Leftover risotto can be stored in an airtight container in the refrigerator for up to 3 days. When reheating, add a splash of warmed broth or water to restore the creamy consistency. Reheat gently over low heat, stirring constantly to prevent sticking. For best results, reheat in small batches.
Nutrition Facts

- 8 Bean Soup Recipe Crock Pot: Hearty Vegetable Medley in One Pot - September 25, 2026
- 4C Bread Crumbs Meatballs Recipe: Crispy Crust and Juicy Centers - September 25, 2026
- 6 Oz Chocolate Chip Cookie Recipe: Perfectly Balanced Crispy Edges and Chewy Hearts - September 25, 2026