
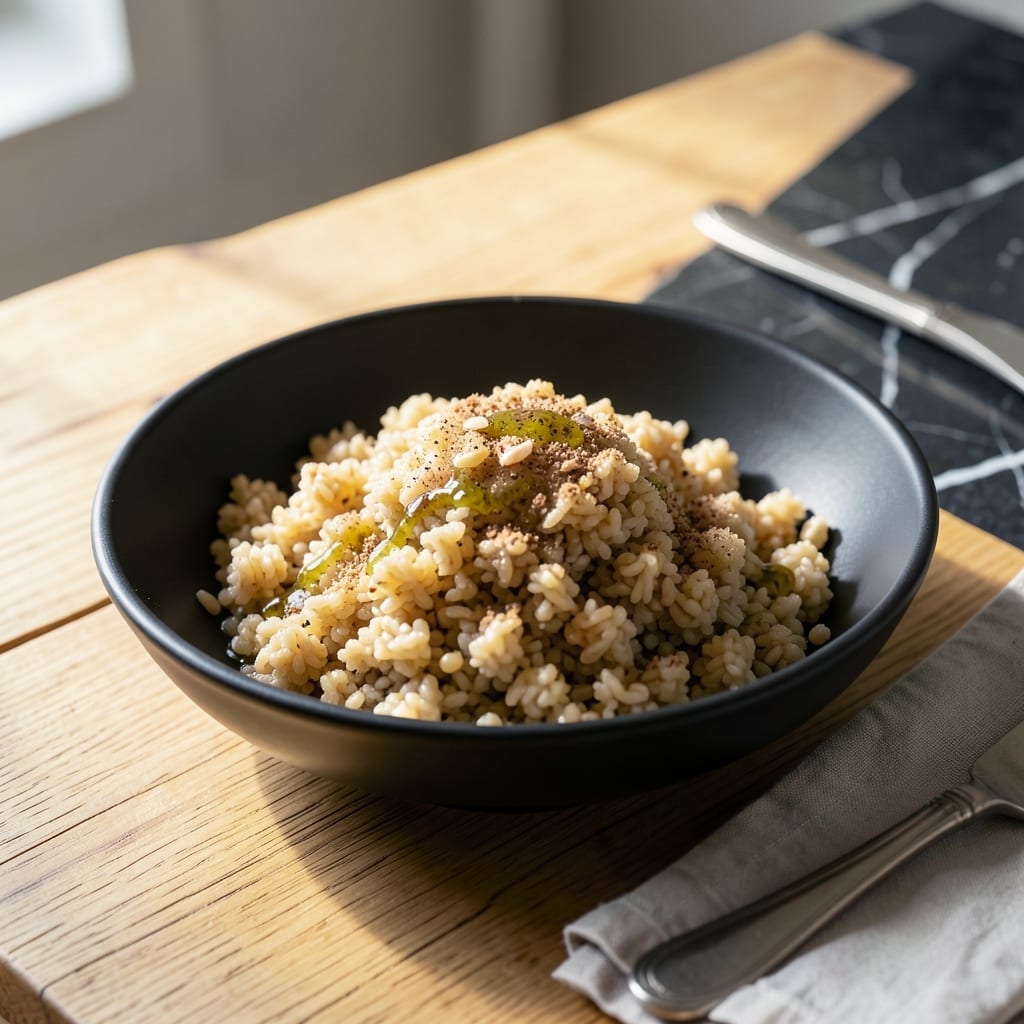
I’ve mastered cooking millet in the Instant Pot to bring out its naturally nutty flavor and perfect texture every time.
This method ensures consistent results with the right liquid ratio and precise pressure cooking. The grain cooks evenly, absorbing moisture without turning mushy or dry. It’s a hands-off process that delivers fluffy, separate grains.
What you get is a gluten-free side dish that’s rich in protein and fiber, ready in minutes. The Instant Pot eliminates the guesswork that often comes with stovetop cooking.
Serve it as a base for bowls, salads, or alongside your favorite protein. Here’s how to make it.
Ingredients for Millet Instant Pot
Simple ingredients for fluffy, nutty grains every time with your Instant Pot.
| Ingredient | Amount | Notes |
|---|---|---|
| Millet 🌾 | 1 ½ cups | Uncooked, any variety works |
| Water 💧 | 3 ½ cups | Or vegetable broth for extra flavor |
| Olive Oil 🫒 | 1 tbsp | Extra-virgin preferred |
| Salt 🧂 | ½ tsp | Kosher or sea salt |
| Garlic Powder 🧄 | ½ tsp | Optional for extra flavor |
| Onion Powder 🧅 | ½ tsp | Optional for depth |
| Black Pepper 🌶️ | ¼ tsp | Freshly ground preferred |
| Vegetable Broth 🥕 | ½ cup | Low-sodium if preferred |
| Fresh Parsley 🌿 | 2 tbsp | Chopped, for garnish |
| Lemon Zest 🍋 | 1 tsp | Optional for brightness |
Millet is the star here—Bob’s Red Mill is my go-to brand, but any grocery store variety works. Look for uncooked, unhulled for the best texture. The liquid ratio is key: stick to 2:1 water to millet for perfect results. I always use vegetable broth instead of water for extra flavor (just reduce salt in the recipe). Whole Foods has great organic options if you’re avoiding pesticides.
No millet? Quinoa or farro can work in a pinch, but cooking times will vary. Skip the garlic powder? Fresh minced garlic (2 cloves) adds even more punch. For extra richness, stir in 1 tbsp of vegan butter after cooking. The parsley is optional (frozen works too), but it adds a fresh pop of color. Trader Joe’s has great dried herbs if you’re keeping it pantry-only.
Cooked millet keeps 4-5 days in the fridge, reheats like a dream. Freeze for up to 3 months in airtight containers. I love making a double batch—it’s just as good cold in salads the next day.
Why You’ll Love This Recipe
- Set It & Forget: Honestly, I just dump millet, water, and a glug of olive oil in the Instant Pot, press a button, and walk away.
- Garlicky Goodness: That warm, toasty garlic powder makes the millet taste rich and savory without any fancy steps.
- Meal Prep Hero: I make a big batch Sunday and it reheats beautifully for lunches all week.
- Pocketbook Friendly: Millet costs pennies per serving and stretches a dollar farther than quinoa ever could.
Step-by-Step Instructions for Millet in the Instant Pot
Here’s the method to achieve fluffy, flavorful millet with minimal effort and maximum results.
Step 1: Rinse and Toast the Millet
Place the 1.5 cups millet in a fine-mesh strainer and rinse under cold water until the water runs clear. This removes excess starch and prevents a gummy texture. I always give it a good shake to ensure all grains are exposed to the water.
Select the Sauté function on your Instant Pot and add the 1 tbsp olive oil. Once hot, add the rinsed millet and toast for 2-3 minutes, stirring constantly, until the grains become fragrant and slightly golden. This step enhances the nutty flavor and ensures each grain stays separate.
Step 2: Add Liquids and Seasonings
Pour in the 3.5 cups water and 0.5 cup vegetable broth. Stir to combine, scraping the bottom of the pot to release any toasted bits. Add the 0.5 tsp salt, 0.5 tsp garlic powder, 0.5 tsp onion powder, and 0.25 tsp black pepper.
This is where the flavor builds. I like to give it a quick taste at this point—if it needs more seasoning, now’s the time to adjust. The liquid should look slightly cloudy from the toasted millet, which is exactly what you want.
Step 3: Pressure Cook to Perfection
Secure the lid on your Instant Pot and set the valve to Sealing. Cook on high pressure for 8 minutes. The Instant Pot will take about 10-15 minutes to come to pressure before the cooking time begins, so don’t be alarmed by the delay.
Once the cooking cycle is complete, let the pressure release naturally for 10 minutes, then manually release any remaining pressure. The millet should be tender with all the liquid absorbed—if there’s any water left, let it sit covered for another 5 minutes to finish steaming.
Step 4: Fluff and Finish
Open the lid and use a fork to fluff the millet gently. This separates the grains and releases excess steam. If the texture seems too dense, drizzle in a tiny bit of warm water and fluff again—it should lighten right up.
Stir in the 2 tbsp fresh parsley and 1 tsp lemon zest for a bright, fresh finish. The parsley adds a pop of color, while the lemon zest cuts through the richness. Taste and adjust seasoning if needed before serving.
Pro Tips For Making Millet Instant Pot
- Rinse the Millet: I learned this the hard way—unrinsed millet turns gummy. A quick rinse under cold water removes the natural saponins that can make your final dish bitter and sticky.
- Use the Right Ratio: For fluffy millet in the Instant Pot, stick to a 1:1.5 millet-to-water ratio. Any less and it’s undercooked; any more and you’ll end up with mush.
- Skip the Stirring: After adding the ingredients, resist the urge to stir. Just secure the lid—stirring can trigger the burn notice on your Instant Pot.
- Let It Rest: Once the pressure releases, give the millet a solid 5 minutes under the lid. Sounds weird, but it lets the grains absorb any remaining moisture and steam.
Flavor Customization for This millet instant pot
Herb Infusions
Add 1 tsp dried thyme or rosemary to the cooking liquid for an earthy depth. I love using fresh herbs—just double the amount and tie them in cheesecloth for easy removal after cooking. 🌿
Citrus Variations
Stir in 1 tbsp orange zest or lime juice after cooking for a bright, zesty twist. This pairs especially well with Mexican-inspired dishes like tacos or black beans.
Spiced Up
For a warm, aromatic kick, add ½ tsp cumin or ½ tsp smoked paprika with the dry seasonings. A pinch of cayenne brings subtle heat that complements the nutty flavor beautifully.
Creamy Additions
Mix in ¼ cup coconut milk or 2 tbsp tahini after fluffing for a richer, creamier texture. This works wonderfully for porridge-style millet or as a base for grain bowls.
I often drizzle a little extra-virgin olive oil on top for added luxury. 💛
Umami Boost
Enhance the savory notes with 1 tbsp nutritional yeast or 1 tsp soy sauce stirred in post-cooking. For a deeper flavor, add 1 tbsp miso paste to the cooking liquid before pressure cooking.
Nutrition Facts
Frequently Asked Questions
Do I need to rinse millet before cooking?
Yes, always rinse to remove excess starch and prevent a gummy texture. Use a fine-mesh strainer under cold water until it runs clear. Skipping this step can result in mushy grains.
What’s the best liquid-to-millet ratio?
Use a 2:1 liquid-to-millet ratio for perfect results. For 1.5 cups millet, that’s 3.5 cups total liquid (water + broth). This ensures even cooking without dryness.
Can I cook millet without toasting first?
You can, but toasting enhances its nutty flavor. Sautéing for 2-3 minutes in 1 tbsp olive oil before pressure cooking makes a noticeable difference in taste and texture.
How long does it keep in the fridge?
Cooked millet stays fresh for 4-5 days in an airtight container. It reheats well and works great in salads or bowls. For longer storage, freeze for up to 3 months.

- 6 Oz Chocolate Chip Cookie Recipe: Perfectly Balanced Crispy Edges and Chewy Hearts - September 25, 2026
- 6-Inch Coffee Cake Recipe: Vanilla Bean Swirls and Buttery Streusel Topping - September 25, 2026
- 1 Hour Soup Recipe: Velvety Richness Without the Wait - September 25, 2026