
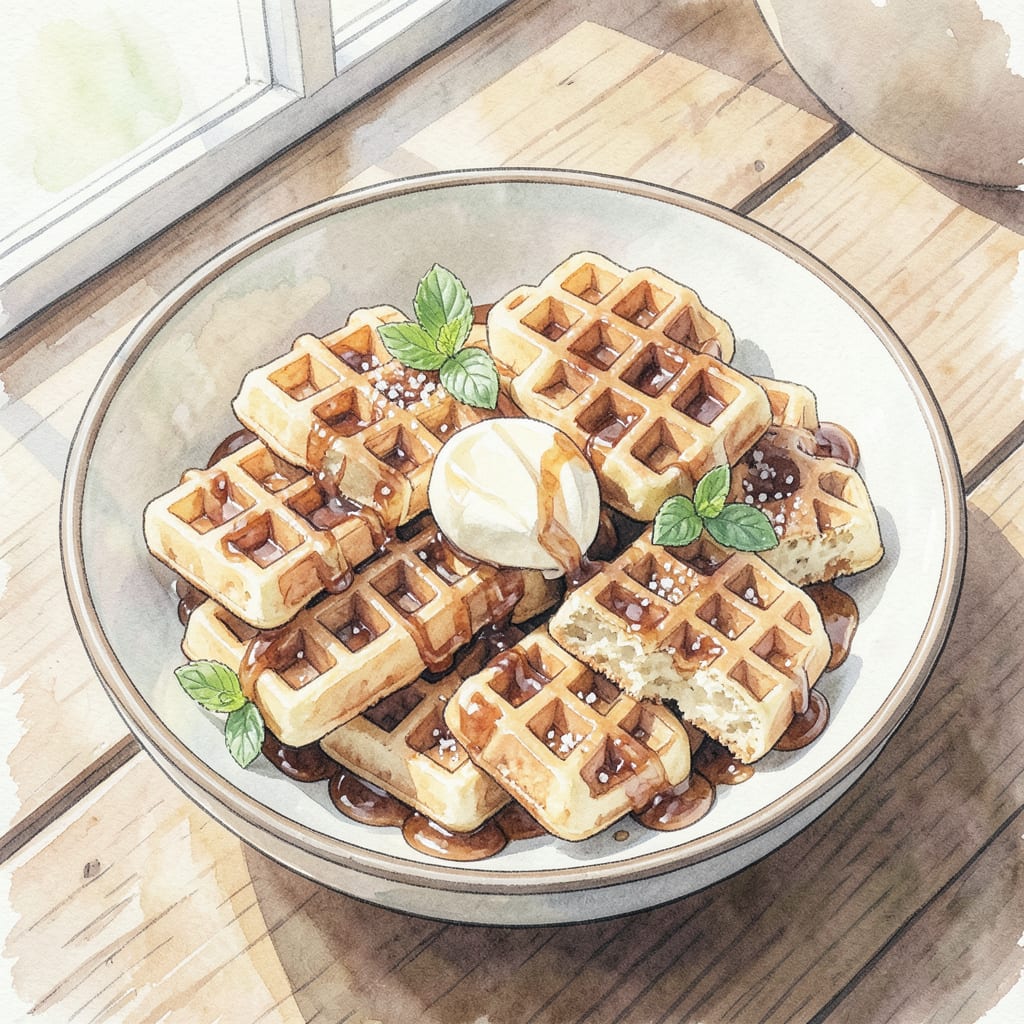
I’m excited to share my mini waffle recipe that’s perfect for busy mornings. These bite-sized treats cook in just 4 minutes and deliver crispy edges with a tender center.
With simple ingredients and straightforward instructions, you’ll have a batch of golden mini waffles ready to top with your favorite fruits, whipped cream, or syrup – the perfect breakfast solution when time is limited.
Ingredients for Mini Waffle Recipe Dash
Simple pantry staples come together for crispy mini waffles in just 4 minutes.
| Ingredient | Amount | Notes |
|---|---|---|
| All-Purpose Flour 🌾 | 1 ½ cups | Unbleached, all-purpose variety |
| Granulated Sugar 🍮 | 2 tbsp | White granulated sugar |
| Baking Powder 🧂 | 2 tsp | Fresh, aluminum-free |
| Salt 🧂 | ¼ tsp | Kosher or sea salt |
| Large Eggs 🥚 | 2 whole | Room temperature |
| Whole Milk 🥛 | 1 cup | Full-fat for richness |
| Unsalted Butter 🧈 | 4 tbsp | Melted, cooled slightly |
| Pure Vanilla Extract 🍰 | 1 tsp | High-quality extract |
For the crispiest waffles, use unbleached all-purpose flour—the right protein content makes a difference. I grab mine from King Arthur or Bob’s Red Mill at the grocery store. The sugar can be white granulated or coconut sugar if you’re feeling fancy. Make sure your baking powder is fresh—check the expiration date before using.
No buttermilk? Whole milk with a splash of white vinegar works as a substitute. Want a different flavor? Almond extract at half the amount of vanilla gives a nice twist. The eggs should be at room temperature for better incorporation—just leave them out for 30 minutes before mixing. If you’re out of vanilla, you can skip it or use a pinch of cinnamon as a substitute.
Leftover batter? It keeps for 24 hours in the fridge. Cooked waffles freeze beautifully—just pop them in the toaster straight from frozen for a quick breakfast. Store leftover waffles in an airtight container for up to 3 days.
Step-by-Step Instructions for Mini Waffle Recipe Dash
Here’s the method to achieve perfectly crispy mini waffles every time, with a simple twist.
Step 1: Prepare the Dry Ingredients
In a medium bowl, whisk together the 1.5 cups All-Purpose Flour, 2 tbsp Granulated Sugar, 2 tsp Baking Powder, and 0.25 tsp Salt until well combined. I like to use a whisk for this step as it helps to incorporate air and ensure even distribution of the leavening agent. You’ll notice the mixture becomes lighter and more uniform in texture.
Make sure to break up any lumps in the All-Purpose Flour as you whisk. This ensures that your waffles will be evenly textured and cook consistently. The mixture should be smooth and free of any visible clumps.
Step 2: Mix the Wet Ingredients
In a separate large bowl, whisk together the 2 whole Large Eggs, 1 cup Whole Milk, 4 tbsp Unsalted Butter (melted and cooled slightly), and 1 tsp Pure Vanilla Extract. The eggs should be fully incorporated into the milk, creating a smooth and creamy mixture. You’ll notice a subtle sheen on the surface as the eggs emulsify with the other ingredients.
Be gentle when whisking the wet ingredients to avoid creating too much foam. You want a smooth, consistent batter that will yield tender waffles. If you notice any bits of egg white still visible, continue whisking until fully incorporated.
Step 3: Combine Wet and Dry Ingredients
Pour the dry ingredients into the wet ingredients and gently fold until just combined. The batter should still be slightly lumpy – overmixing will result in tough waffles. You’ll see a few streaks of flour remaining, which is perfectly normal. Stop mixing as soon as the ingredients come together in a cohesive batter.
Don’t overmix at this stage. The batter should be just combined, with a few lumps remaining. Overmixing develops the gluten in the flour, leading to dense, tough waffles instead of light, crispy ones. If you’re unsure, stop mixing when you still see a few flour streaks.
Step 4: Cook the Mini Waffles
Preheat your mini waffle iron according to the manufacturer’s instructions. Once hot, pour about 1-2 tablespoons of batter onto the center of the iron, depending on the size of your mini waffle maker. Close the lid and cook for 3-5 minutes or until the waffles are golden brown and crispy.
The cooking time may vary depending on your waffle iron, so keep an eye on the first batch to determine the perfect cooking time for your specific appliance. You’ll know they’re done when they’re crispy on the outside and cooked through. Serve immediately while still warm for the best texture.
Step 5: Serve and Enjoy
Serve the mini waffles hot with your favorite toppings. I recommend keeping them warm in a 200°F oven if you’re cooking multiple batches. You can top them with fresh fruit, whipped cream, or a drizzle of syrup – the possibilities are endless. The crispy exterior and fluffy interior make these mini waffles perfect for snacking or as a fun breakfast treat.
For an extra crispy exterior, try cooking the waffles for an additional 30 seconds to 1 minute after they reach the golden brown stage. Keep an eye on them to prevent overcooking. The result will be a perfectly crunchy exterior that gives way to a fluffy interior.
Storing and Reheating This Recipe
Critical Storage Tips
For maintaining crispiness, store cooled waffles in a single layer on a baking sheet in the refrigerator for up to 3 days. If stacking, place parchment paper between layers to prevent sticking. ❄️
Freezing Mini Waffles
Freeze cooked waffles on a baking sheet until solid, then transfer to airtight freezer bags or containers. They’ll keep for up to 3 months. To prevent freezer burn, press out excess air before sealing.
Reheating Methods
For toaster reheating, simply pop frozen waffles into the toaster on medium setting for 2-3 cycles. For oven reheating, preheat to 350°F and bake for 5-7 minutes until crispy. 🔥
Microwave Reheating
While not ideal, you can microwave waffles on low power for 20-30 seconds. Watch carefully as they can become soggy if overheated. Adding a paper towel helps absorb excess moisture.
Batch Storage
For large batches, divide waffles into portion-sized containers before freezing. This makes it easy to grab just what you need. Label containers with date and contents for better organization.
Nutrition Facts
320kcal

- 8 Bean Soup Recipe Crock Pot: Hearty Vegetable Medley in One Pot - September 25, 2026
- 4C Bread Crumbs Meatballs Recipe: Crispy Crust and Juicy Centers - September 25, 2026
- 6 Oz Chocolate Chip Cookie Recipe: Perfectly Balanced Crispy Edges and Chewy Hearts - September 25, 2026