
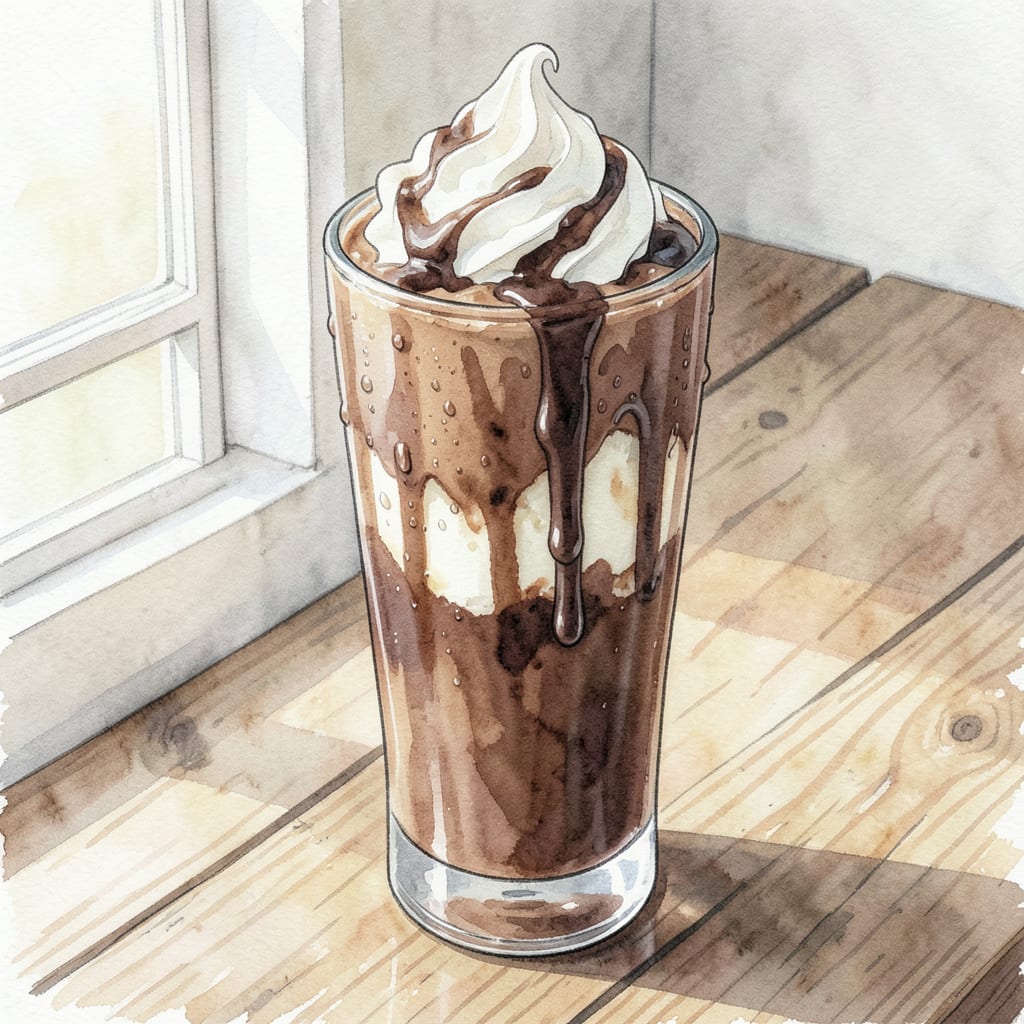
I’m excited to share my simple mocha milkshake recipe that delivers creamy coffee bliss in just minutes. This indulgent treat combines rich chocolate and coffee flavors with smooth ice cream for a decadent dessert drink that’s perfect for hot days or coffee cravings.
With just a few ingredients and a blender, you’ll have a luxurious milkshake ready in no time – perfect for satisfying your coffee and chocolate desires. Let’s blend up this deliciousness!
Ingredients for Mocha Milkshake
Simple ingredients come together for a rich mocha treat that’s ready in minutes.
| Ingredient | Amount | Notes |
|---|---|---|
| Vanilla Ice Cream 🍦 | 2 cups | High-quality for creaminess |
| Strong Brewed Coffee ☕️ | ½ cup | Chilled, not hot |
| Chocolate Syrup 🍫 | 2 tbsp | Or cocoa powder |
| Milk 🥛 | ½ cup | Whole milk preferred |
| Granulated Sugar 🍮 | 2 tbsp | Or to taste |
| Whipped Cream 🍰 | 1 cup | Optional topping |
| Chocolate Shavings 🍫 | ¼ cup | For garnish |
For the best flavor, use high-quality vanilla ice cream—the good stuff makes all the difference. I grab mine from Whole Foods or my local creamery when I’m feeling fancy. If you’re using cocoa powder instead of chocolate syrup, toast it lightly in a dry pan (worth the extra minute).
No strong coffee? Espresso powder is a great substitute—start with one teaspoon and adjust to taste. Whole milk gives the creamiest texture, but any milk works in a pinch. For an extra-decadent treat, top with heavy whipped cream and a sprinkle of cocoa powder or chocolate shavings.
This milkshake is best enjoyed fresh, but you can store leftovers in the freezer for up to 1 day. Give it a quick blend before serving again. If you’re making it ahead, keep the whipped cream separate until serving time—it doesn’t freeze well.
Step-by-Step Instructions for Mocha Milkshake
Let’s create this indulgent treat together – rich, creamy, and utterly delicious in just minutes.
Step 1: Combine Core Ingredients
In a high-powered blender, combine the 2 cups Vanilla Ice Cream, 0.5 cup Strong Brewed Coffee, 2 tbsp Chocolate Syrup, 0.5 cup Milk, and 2 tbsp Granulated Sugar. The quality of your vanilla ice cream is crucial here – it should be premium for the creamiest results. I like to use cold coffee to keep everything chilled and prevent melting.
Blend on high speed for about 20-25 seconds until the mixture is smooth and creamy. You’ll know it’s ready when you see a uniform chocolate-brown color and hear the blender blades working smoothly through the mixture. Stop and scrape down the sides with a spatula if needed to ensure everything gets fully incorporated.
Step 2: Check Consistency and Blend Further
Pour a small amount onto a chilled plate to test the consistency. For a perfect milkshake, it should be thick enough to hold its shape but still pourable. If it’s too thick, add a splash more milk (start with 1 tablespoon at a time) and blend for another 5 seconds. If it’s too thin, add a bit more vanilla ice cream (about 1/4 cup) and blend until incorporated.
Continue blending in short bursts until you achieve your desired texture. Remember that over-blending can make it too thin and introduce air bubbles, so check frequently. The ideal milkshake should have a luxurious, velvety texture that coats your spoon.
Step 3: Assemble and Garnish
Pour the mocha milkshake into chilled glasses. If you’re feeling fancy, you can rim the glasses with chocolate syrup or cocoa powder before pouring. Top with 1 cup Whipped Cream – this adds a delightful textural contrast and extra indulgence. I like to dollop it on top rather than piping it for a more rustic, casual look.
Sprinkle 0.25 cup Chocolate Shavings over the whipped cream for a beautiful finish and added chocolate intensity. The cold glass, creamy milkshake, whipped cream, and crunchy chocolate shavings create a perfect harmony of temperatures and textures. Serve immediately with straws and long spoons.
Make-Ahead Tips for Leftovers
Advance Preparation Tips
You can prepare components of this mocha milkshake ahead of time to make assembly quick and easy. Brew your coffee and store it in the refrigerator for up to 3 days. I like to make a double batch and keep it on hand for future milkshakes.
Chill Your Equipment
Place your blender jar and serving glasses in the freezer for at least 30 minutes before making your milkshakes. This keeps everything cold and prevents melting, ensuring a thicker, creamier texture. You’ll notice the difference when you serve immediately after blending.
Pre-measure Ingredients
Measure out all your ingredients and store them in the refrigerator until you’re ready to blend. Having everything ready to go makes the blending process smooth and quick. I keep my chocolate syrup and sugar measured out in small containers on the counter.
Make-Ahead Milkshake Cubes
For an even quicker treat, blend the milkshake mixture without the whipped cream and chocolate shavings, then pour it into ice cube trays. Freeze for up to 1 month. When you’re ready for a milkshake, simply blend the frozen cubes with a splash of milk until smooth. This method works beautifully and saves time.
Storage Tips
If you have leftover milkshake, pour it into an airtight container and store it in the freezer for up to 1 day. Before serving, give it a quick blend to restore the creamy texture. Keep in mind that the flavor will be best when freshly made, but this method works well for leftovers.
Assembly Just Before Serving
For the best presentation, assemble your milkshakes just before serving. Top with whipped cream and chocolate shavings right before serving to maintain the beautiful layers and textures. This makes for a great presentation that’s almost too pretty to drink. Almost! 🍦
Nutrition Facts
340kcal

- 8 Bean Soup Recipe Crock Pot: Hearty Vegetable Medley in One Pot - September 25, 2026
- 4C Bread Crumbs Meatballs Recipe: Crispy Crust and Juicy Centers - September 25, 2026
- 6 Oz Chocolate Chip Cookie Recipe: Perfectly Balanced Crispy Edges and Chewy Hearts - September 25, 2026