
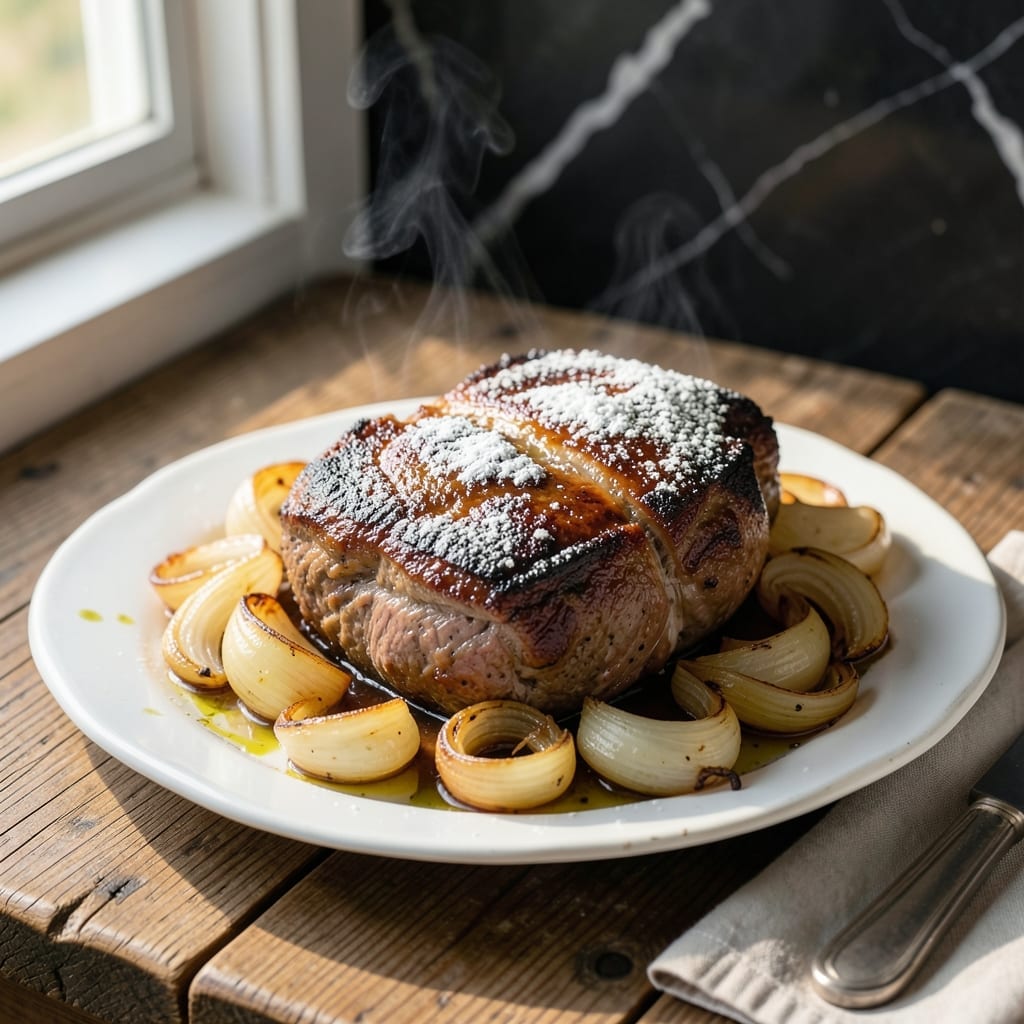
There’s nothing quite like the aroma of a classic pot roast filling the kitchen on a Sunday afternoon.
This one-pot wonder transforms tough cuts of beef into fall-apart tender meat surrounded by rich, savory vegetables. The slow cooking process allows flavors to meld perfectly, creating a dish that tastes like home.
What makes this version special is its simplicity and reliability. With just a few basic ingredients and some patience, you’ll achieve that comforting, hearty result every time.
Serve it with mashed potatoes or crusty bread to soak up every last bit of the delicious juices.
Ingredients for Mom’s Classic Pot Roast
Pantry staples and a few fresh picks make this Sunday dinner a breeze.
| Ingredient | Amount | Notes |
|---|---|---|
| Chuck Roast 🥩 | 3 lb | Well-marbled, boneless preferred |
| Kosher Salt 🧂 | 2 tsp | Diamond Crystal preferred |
| Ground Black Pepper 🌶️ | 1 tsp | Freshly cracked for best flavor |
| All-Purpose Flour 🌾 | ¼ cup | For thickening gravy |
| Olive Oil 🫒 | 2 tbsp | Divided for searing and vegetables |
| Yellow Onions 🧅 | 2 whole | Medium-sized, quartered |
| Carrots 🥕 | 4 whole | Large, peeled, cut into chunks |
| Celery Stalks 🌿 | 3 whole | Cut into 2-inch pieces |
| Garlic Cloves 🧄 | 6 cloves | Smashed, peeled |
| Fresh Rosemary 🍃 | 2 tbsp | Chopped, stems discarded |
| Fresh Thyme 🌿 | 2 tbsp | Chopped, stems discarded |
| Beef Broth 🥣 | 2 cups | Low-sodium preferred |
| Red Wine 🍷 | 1 cup | Dry variety like Cabernet |
| Bay Leaves 🍃 | 2 whole | Dried, for depth of flavor |
The beef is everything here. Chuck roast with good marbling breaks down beautifully—avoid lean cuts like sirloin. Most grocery stores carry it pre-packaged (look for USDA Choice or better). I grab mine from Whole Foods when I want grass-fed, but regular supermarket beef works just fine. Don’t trim off all the fat (it adds flavor and moisture).
No red wine? Beef broth plus a splash of vinegar works in a pinch. Short on fresh herbs? Dried rosemary and thyme at half the amount will do (just rub them between your palms to release the oils). If you’re out of carrots, parsnips or potatoes can sub in. The flour is just for thickening—cornstarch works too if that’s what you’ve got.
This actually tastes better the next day. Store leftovers in an airtight container for up to 4 days in the fridge, or freeze for 3 months. The gravy thickens as it cools—just thin with a little broth when reheating (worth the extra minute).
Why You’ll Love This Recipe
- One Pan Magic: I sear the chuck roast in olive oil, then let the oven do the rest—no constant stirring, no fuss.
- Sunday or Wednesday: Honestly, it’s just as good for a lazy weekend as it is for a busy weeknight dinner.
- Stretches Far: One chuck roast feeds my whole family, with enough left for sandwiches the next day.
Step-by-Step Instructions for Classic Pot Roast
Here’s the method that’s been passed down for generations—simple, reliable, always delicious.
Step 1: Season and Sear the Chuck Roast
Pat the 3 lb chuck roast completely dry with paper towels. This is non-negotiable—wet meat won’t sear properly. Season aggressively with the 2 tsp kosher salt and 1 tsp ground black pepper on all sides, pressing gently so it adheres. The crust you’re building here is the flavor foundation for the entire dish.
Heat 1 tbsp olive oil in a heavy pot over medium-high heat until shimmering. Sear the roast for 4-5 minutes per side until you achieve a deep mahogany crust. Don’t rush—you want that Maillard reaction working its magic. Transfer to a plate and let it rest while you prep the vegetables.
Step 2: Build the Aromatic Base
In the same pot, add the remaining 1 tbsp olive oil. Toss in the 2 whole yellow onions (quartered), 4 whole carrots (in chunks), 3 whole celery stalks (in pieces), and the 6 cloves garlic cloves (smashed). Cook for 5-7 minutes until the onions soften and start to brown at the edges.
Stir in the 2 tbsp fresh rosemary and 2 tbsp fresh thyme, cooking for 30 seconds just until fragrant. The herbs should smell vibrant, not burnt. Sprinkle the 0.25 cup all-purpose flour over everything and stir to coat—this will thicken your gravy later.
Step 3: Deglaze and Braise to Perfection
Pour in the 1 cup red wine and scrape up all those beautiful browned bits from the bottom of the pot. This is where the depth of flavor develops. Let it simmer for 2 minutes to cook off the alcohol, then add the 2 cups beef broth and 2 whole bay leaves.
Return the chuck roast to the pot, along with any accumulated juices. The liquid should come about halfway up the meat. Cover tightly and transfer to a 325°F oven. Braise for 3 to 3½ hours, turning the roast once halfway through, until it’s fork-tender and falling apart at the edges.
Step 4: Rest and Serve Family-Style
Carefully remove the pot from the oven. Transfer the chuck roast to a cutting board and tent loosely with foil. Let it rest for 15 minutes—this allows the juices to redistribute, ensuring every bite is moist and flavorful.
Skimming excess fat from the gravy is optional, but I leave it for richness. Serve the pot roast with the vegetables and gravy spooned over the top. The meat should pull apart effortlessly with a fork, and the carrots should be sweet and tender. This is Sunday dinner at its finest.
Pro Tips For Making Mom’S Classic Pot Roast
- Sear It Hard: Get your olive oil screaming hot before adding the floured chuck roast—this builds a deep, caramelized crust that defines the flavor. I learned this the hard way after too many pale, steamed-looking roasts.
- Salt the Meat Overnight: Sprinkle the chuck roast with kosher salt at least 12 hours before cooking. Sounds weird, but it works: the salt penetrates deep, seasoning every bite instead of just the surface.
- Skip the Cold Roast: Resist the urge to sear straight from the fridge—let the meat sit at room temperature for 30-45 minutes first. My grandmother swore by this, and she was right: it cooks more evenly and sears better.
- Use Fresh Pepper: Grind your black pepper right before dusting the roast—pre-ground loses its punch fast. After burning three batches with bitter, stale pepper, I finally figured out this tiny upgrade actually changes the outcome.
Creative Variations of This moms classic pot roast
Beer and Wine Braise
Swap the red wine for 12 oz dark beer like Guinness or a rich stout. The malted barley adds complexity to the gravy. I love how the roasted notes complement the beef. For a brighter twist, use 1 cup white wine instead—just add 1 tbsp tomato paste to deepen the flavor. 🍺
Asian-Inspired Flavor
Replace the rosemary and thyme with 3 tbsp fresh ginger (sliced), 4 star anise pods, and 1 cinnamon stick. Use 2 cups soy sauce and 1 cup beef broth for the braising liquid. The result is tender meat with a rich, umami-packed sauce perfect over rice.
Slow Cooker Adaptation
Follow the searing step as directed, then transfer everything to your slow cooker. Cook on low for 8-10 hours or high for 5-6 hours. The flavors develop just as deeply, and you can let it cook while you’re at work. I use my Crock-Pot for this when Sundays get busy.
Root Vegetable Swap
For a heartier version, replace the carrots and celery with 2 large parsnips, 1 large rutabaga, and 1 celery root. These hold up well to long cooking and add earthy sweetness. Cut them into 2-inch chunks so they cook evenly with the roast. 🥕
Mushroom Lovers Version
Add 8 oz cremini mushrooms (halved) and 2 tbsp Worcestershire sauce to the pot when you add the braising liquid. The mushrooms soak up the juices beautifully. I sometimes throw in 2 oz dried porcini mushrooms for an extra depth of flavor.
Herb Crust Finish
Before serving, mix ¼ cup breadcrumbs, 2 tbsp chopped parsley, and 1 tbsp grated Parmesan. Sprinkle this over the roast and broil for 2-3 minutes until golden. This adds a delightful textural contrast to the tender meat.
Nutrition Facts
Frequently Asked Questions
What’s the best cut of beef for this dish?
Chuck roast is ideal—its marbling breaks down beautifully during slow cooking. Avoid lean cuts like sirloin, as they’ll dry out. Look for USDA Choice or better for the most flavorful results.
Can I make this in a slow cooker?
Yes! Sear the meat first, then transfer everything to your slow cooker. Cook on low for 8-10 hours or high for 5-6 hours. The flavors will still develop deeply.
How do I know when it’s done?
The meat should be fork-tender and fall apart easily. This usually takes 3 to 3½ hours at 325°F. If it resists, give it more time—patience is key!
What if I don’t have red wine?
Use 1 cup beef broth plus 1 tbsp vinegar for acidity. Alternatively, white wine works if you add 1 tbsp tomato paste to deepen the flavor.

- 4C Bread Crumbs Meatballs Recipe: Crispy Crust and Juicy Centers - September 25, 2026
- 6 Oz Chocolate Chip Cookie Recipe: Perfectly Balanced Crispy Edges and Chewy Hearts - September 25, 2026
- 6-Inch Coffee Cake Recipe: Vanilla Bean Swirls and Buttery Streusel Topping - September 25, 2026