
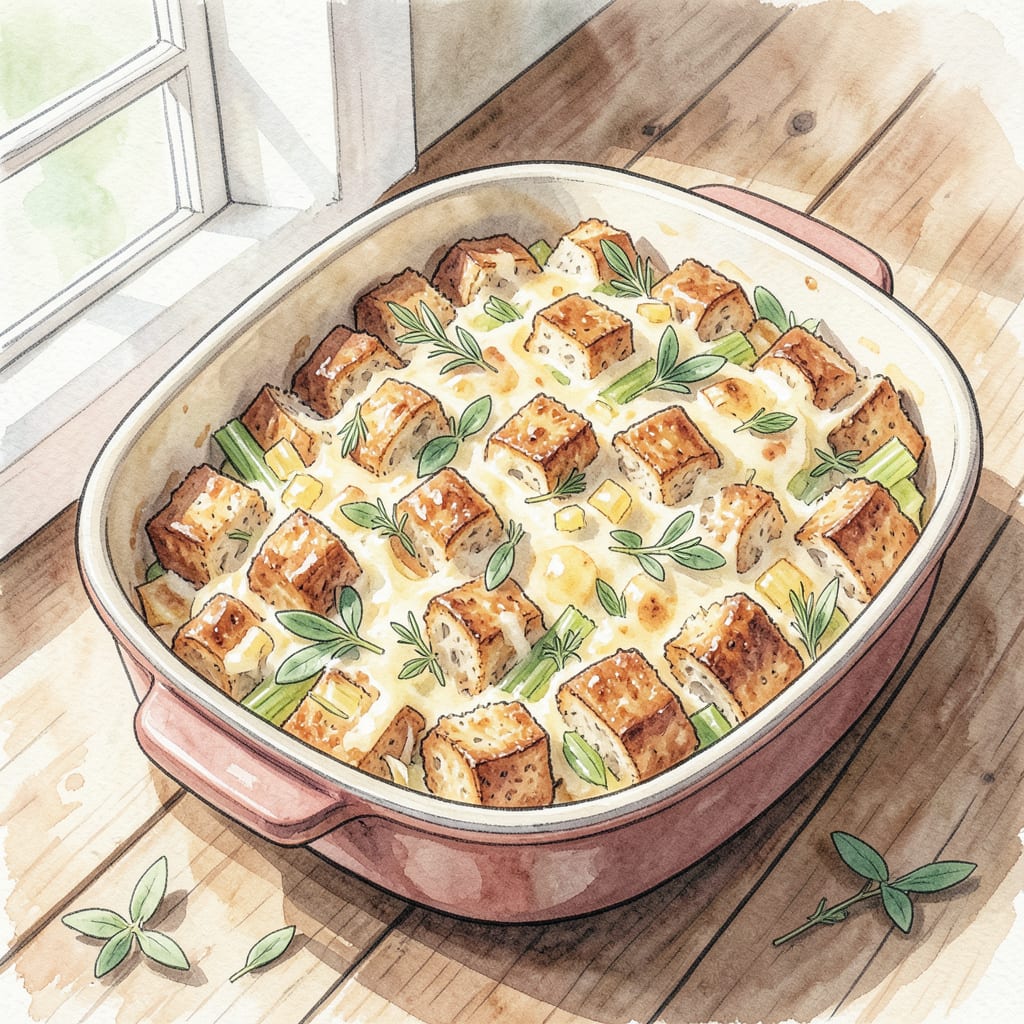
This New England stuffing recipe brings classic Thanksgiving comfort to your holiday table. Made with crusty bread, fresh herbs, and warm seasonings, it’s the perfect side dish to complement your roasted turkey.
With simple ingredients and straightforward preparation, you’ll achieve that perfectly golden-brown crust and tender interior that makes this dish a seasonal staple. Let’s get started!
Ingredients for New England Stuffing
Classic New England stuffing requires simple, quality ingredients and straightforward preparation methods.
| Ingredient | Amount | Notes |
|---|---|---|
| Crusty Bread 🍞 | 4 cups | Cubed, day-old preferred |
| Unsalted Butter 🧈 | 6 tbsp | Melted for mixing |
| Yellow Onion 🧅 | 1 whole | Finely chopped |
| Celery Stalks 🥕 | 2 stalks | Diced |
| Fresh Sage 🌿 | 2 tbsp | Chopped, fresh preferred |
| Fresh Thyme 🌿 | 1 tbsp | Chopped, fresh preferred |
| Salt 🧂 | 1 tsp | Kosher salt preferred |
| Black Pepper 🌶️ | ½ tsp | Freshly ground preferred |
| Poultry Seasoning 🌿 | 1 tsp | Or homemade mix |
| Chicken Broth 🍜 | 2 cups | Low-sodium preferred |
| Dried Sage 🌿 | ½ tsp | For extra depth |
| Fresh Parsley 🌿 | 2 tbsp | Chopped, for garnish |
For the best results, use day-old bread—stale bread works perfectly here. I prefer a mix of white and whole wheat for texture. Arnold’s or Pepperidge Farm bread works well if you’re not baking your own. The celery should be fresh and crisp—look for firm stalks at the grocery store.
No fresh herbs? Dried herbs work at one-third the amount. For poultry seasoning, you can make your own mix with sage, thyme, and marjoram. If using store-bought broth, low-sodium is best so you can control the salt. The butter can be adjusted based on how rich you like your stuffing.
This stuffing reheats beautifully—keeps for 3-4 days in the fridge. You can also freeze it for up to 3 months. When reheating, cover with foil and bake at 350°F until warmed through.
Step-by-Step Instructions for New England Stuffing
Follow these detailed steps to create a comforting, classic New England stuffing that’s sure to become a holiday tradition.
Step 1: Prepare the Bread and Aromatics
Begin by cubing the 4 cups Crusty Bread into 1-inch pieces. I prefer using day-old bread as it holds its texture better during baking. In a large skillet, melt 3 tablespoons of the 6 tablespoons Unsalted Butter over medium heat. Add the 1 whole Yellow Onion, finely chopped, and 2 stalks Celery Stalks, diced, and cook until they’re softened and lightly browned, stirring occasionally. This should take about 8-10 minutes. The aroma of sautéed onion and celery will fill your kitchen, signaling that your stuffing is off to a great start.
To the skillet, add 2 tablespoons Fresh Sage, chopped, and 1 tablespoon Fresh Thyme, chopped. Cook for another 1-2 minutes until the herbs are fragrant. This step enhances the flavor profile of your stuffing, making it more complex and aromatic.
Step 2: Mix the Bread with Aromatics and Seasonings
In a large mixing bowl, combine the cubed bread, cooked aromatic mixture, 1 tsp Salt, 0.5 tsp Black Pepper, and 1 tsp Poultry Seasoning. Toss everything together until the bread is evenly coated with the mixture. The bread should be well saturated with the flavors but not soggy. If you’re using a homemade poultry seasoning mix, ensure it’s well combined with the other ingredients.
To this mixture, add the remaining 3 tablespoons Unsalted Butter, melted, and toss again until the bread is lightly coated and the butter is evenly distributed. The butter adds richness and helps to keep the bread moist during baking.
Step 3: Add the Chicken Broth and Final Seasonings
Gradually pour in 2 cups Chicken Broth over the bread mixture, stirring gently to combine. The bread should be moist but not overly wet; you might not need all of the broth, so add it gradually and check the consistency. You’re aiming for a mixture that’s just held together when squeezed. To this, add 0.5 tsp Dried Sage for an extra depth of flavor. Mix well to ensure everything is incorporated.
Taste the mixture and adjust the seasoning if necessary. If it needs more salt, pepper, or herbs, now is the time to add them. The mixture should be flavorful but balanced.
Step 4: Bake the Stuffing to Perfection
Transfer the stuffing mixture to a greased 9×13-inch baking dish. Cover it with aluminum foil and bake in a preheated oven at 350°F for 25 minutes. Then, remove the foil and continue baking for an additional 10-15 minutes, or until the top is golden brown and crispy. This step gives the stuffing a nice texture contrast between the soft interior and the crunchy top.
Once done, remove the stuffing from the oven and let it cool for a few minutes. Just before serving, sprinkle 2 tablespoons Fresh Parsley, chopped, over the top for a fresh, colorful garnish. Serve warm, and enjoy the comforting flavors of this classic New England stuffing.
Essential Equipment for This Dish
Essential Baking Dishes
The right baking dish makes all the difference in achieving that perfect golden-brown crust. I recommend using a 9×13-inch baking dish made from heavy-duty materials like ceramic or glass. Le Creuset and Pyrex are excellent brands that distribute heat evenly, ensuring your stuffing cooks consistently throughout.
Skillets for Sautéing
A good skillet is crucial for sautéing the aromatics that give your stuffing its depth of flavor. I prefer a 12-inch stainless steel or cast-iron skillet as they retain heat well and can go from stovetop to oven if needed. Lodge cast iron is a trusted brand that offers durability and excellent heat retention.
Mixing and Measuring Tools
For mixing the stuffing, you’ll need a large, sturdy bowl. I use a 3-quart stainless steel mixing bowl from Cuisinart as it’s spacious enough to handle all the ingredients. For measuring, having a set of accurate measuring cups and spoons is essential. Digital scales can also be helpful for precision.
Preparation Tools
Having the right tools for prepping your ingredients can streamline the process. A sharp chef’s knife is necessary for chopping the onion and celery. I also recommend a microplane grater for grating any additional ingredients you might want to include, like cheese or citrus zest.
Basting and Serving Tools
For basting the stuffing with butter and broth, a silicone basting brush is ideal as it withstands high temperatures and is easy to clean. When serving, a large serving spoon or spatula is handy for portioning out the stuffing. Look for one that’s heat-resistant and comfortable to hold.
Optional Equipment
While not necessary, a food processor can be useful for quickly chopping ingredients like celery or herbs. If you prefer a crisper top on your stuffing, a broiler pan can help achieve that golden-brown crust. These tools can enhance your cooking experience and the final result. 🔥
Nutrition Facts
280kcal

- 8 Bean Soup Recipe Crock Pot: Hearty Vegetable Medley in One Pot - September 25, 2026
- 4C Bread Crumbs Meatballs Recipe: Crispy Crust and Juicy Centers - September 25, 2026
- 6 Oz Chocolate Chip Cookie Recipe: Perfectly Balanced Crispy Edges and Chewy Hearts - September 25, 2026