
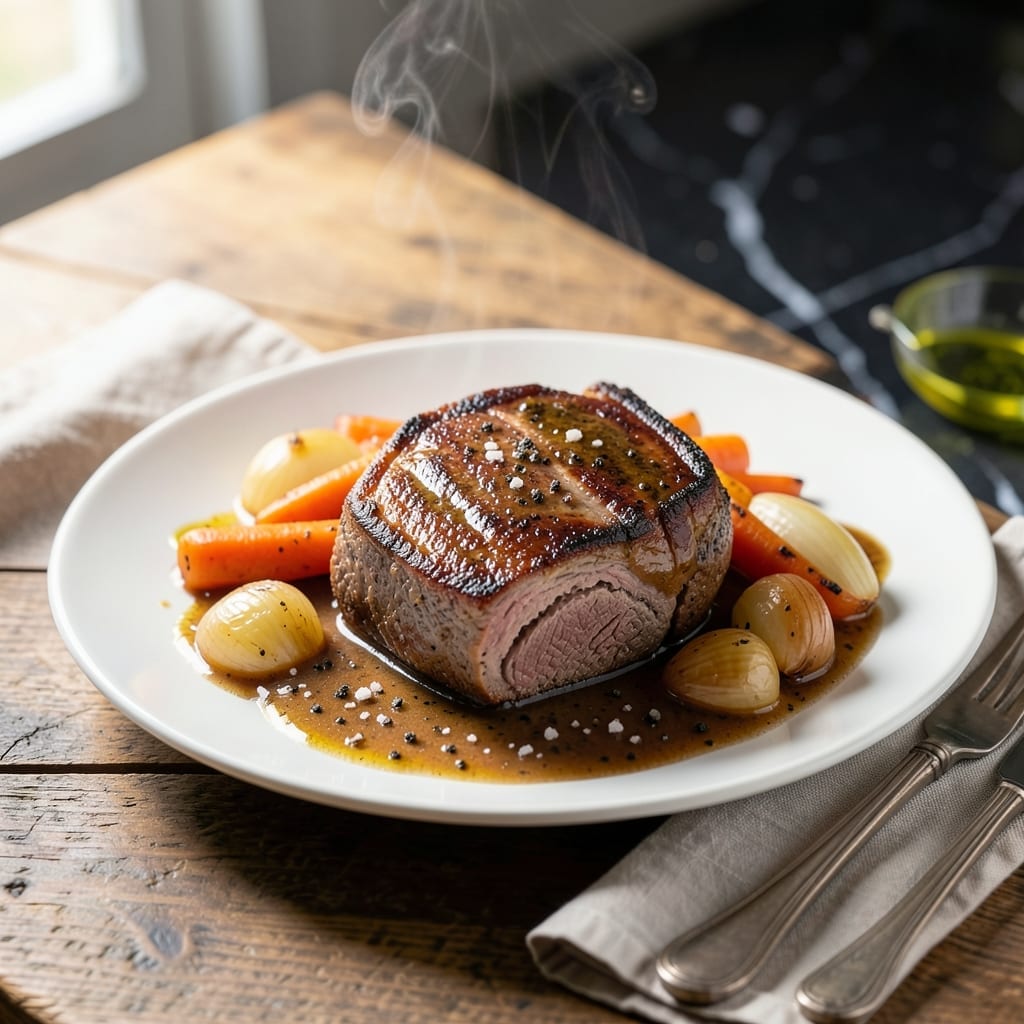
This pot roast recipe unlocks the full potential of your Ninja Cooking System. The multi-function pressure cooker transforms tough cuts into fork-tender meat with minimal effort.
By using the pressure function, you’ll achieve deep, rich flavors in a fraction of the time compared to traditional methods. The sealed environment locks in moisture, ensuring every bite is juicy and flavorful.
What sets this apart is the ability to sear, pressure cook, and keep warm all in one pot. The result is a perfectly browned exterior with fall-apart tenderness inside.
Serve with roasted vegetables or mashed potatoes for a complete meal that tastes slow-cooked but takes 90 minutes from start to finish.
Ingredients for Ninja Cooking System Pot Roast
A well-stocked pantry and one great piece of meat. Nothing else comes close.
| Ingredient | Amount | Notes |
|---|---|---|
| Chuck Roast 🥩 | 3 lb | Well-marbled, trimmed of excess fat |
| Olive Oil 🫒 | 2 tbsp | Divided for searing and deglazing |
| Kosher Salt 🧂 | 2 tsp | Diamond Crystal preferred, divided |
| Black Pepper 🌶️ | 1 tsp | Freshly ground preferred |
| Yellow Onions 🧅 | 2 whole | Large, quartered |
| Carrots 🥕 | 4 whole | Large, cut into 2-inch chunks |
| Celery Stalks 🥬 | 4 whole | Cut into 2-inch chunks |
| Garlic Cloves 🧄 | 6 cloves | Smashed, peeled |
| Beef Stock 🥣 | 2 cups | Low-sodium preferred |
| Red Wine 🍷 | 1 cup | Dry variety like Cabernet Sauvignon |
| Tomato Paste 🍅 | 2 tbsp | For depth of flavor |
| Fresh Thyme Sprigs 🌿 | 4 whole | Or 1 tsp dried thyme |
| Bay Leaves 🍃 | 2 whole | Dried, for aroma |
| Worcestershire Sauce 💧 | 1 tbsp | Anchovy-free if preferred |
The chuck roast is non-negotiable here. Look for heavy marbling—that fat renders down into pure flavor. I grab mine from Costco when they’ve got the good stuff on sale, but any grocery store with a solid butcher section will do. Avoid lean cuts like sirloin; they’ll dry out under pressure. If you’re feeling fancy, ask for a chuck roll instead of the pre-cut chunks (worth the extra minute to cube yourself).
No red wine? Substitute 1 cup beef stock plus 1 tbsp balsamic vinegar. Fresh out of thyme? Dried works at one-third the amount. The tomato paste can be skipped in a pinch, but don’t—it adds that deep, umami backbone. Trader Joe’s sells it in convenient tubes. For the stock, Better Than Bouillon makes a solid beef base if you’re out of liquid stock.
Leftovers taste even better the next day. Store in an airtight container for up to 5 days in the fridge or freeze for 3 months. The fat will solidify when chilled—just skim it off before reheating. I like to shred the meat and use it for sandwiches or tacos later in the week.
Why You’ll Love This Recipe
- Set It and Forget: I toss the chuck roast, onions, olive oil, salt, and pepper into the Ninja, press a button, and walk away—no stirring, no watching.
- Fall-Apart Tender: The slow cook function turns that chuck roast into melt-in-your-mouth magic, with onions so sweet they taste caramelized.
- Sunday Dinner, Wednesday Too: I serve it with mashed potatoes for a cozy weekend meal, then shred leftovers for tacos or sandwiches midweek.
- Feeds Four, Costs Less: A three-pound chuck roast plus a couple of onions feeds my family for days without breaking the bank.
Step-by-Step Instructions for Ninja Cooking System Pot Roast
Here’s how to achieve fall-apart tender meat with rich, complex flavors using your multi-cooker.
Step 1: Sear the Chuck Roast to Build Flavor Foundation
Set your Ninja Cooking System to the Sear/Sauté function at high heat. Add 1 tbsp Olive Oil and let it shimmer for 30 seconds. Pat the 3 lb Chuck Roast dry with paper towels, then season generously with 1 tsp Kosher Salt and ½ tsp Black Pepper on all sides.
Place the chuck roast in the pot and sear for 4-5 minutes per side until deeply browned. You’ll know it’s ready to flip when it releases easily from the bottom. This caramelization creates the flavor base for your entire dish. Transfer the seared meat to a plate and set aside.
Step 2: Sauté Aromatics and Deglaze the Pot
In the same pot, add the remaining 1 tbsp Olive Oil. Add the 2 whole Yellow Onions, 4 whole Carrots, and 4 whole Celery Stalks. Sauté for 5-6 minutes until the vegetables begin to soften and develop color.
Add the 6 cloves Garlic Cloves and 2 tbsp Tomato Paste, stirring constantly for 1-2 minutes until the tomato paste darkens slightly. Pour in the 1 cup Red Wine and 1 tbsp Worcestershire Sauce, scraping up all the browned bits from the bottom. This deglazing step ensures none of that flavor goes to waste.
Step 3: Pressure Cook with Herbs and Liquid
Return the seared chuck roast to the pot. Add the 2 cups Beef Stock, 4 whole Fresh Thyme Sprigs, and 2 whole Bay Leaves. The liquid should come about halfway up the meat – if it doesn’t, add a splash more beef stock.
Secure the lid and set the valve to Seal. Cook on High Pressure for 60 minutes. Let the pressure release naturally for 15 minutes, then quick-release any remaining pressure. The natural release helps prevent the meat from seizing up and ensures maximum tenderness.
Step 4: Shred and Reduce the Sauce
Remove the chuck roast and place it on a cutting board. Using two forks, shred the meat into large chunks – it should come apart with minimal effort. Skim any excess fat from the surface of the cooking liquid in the pot.
Set the Ninja Cooking System to Sauté again and let the sauce simmer uncovered for 8-10 minutes until it reduces and thickens slightly. Return the shredded meat to the pot and stir to coat in the rich, reduced sauce. The sauce should cling to the meat and vegetables, creating a luxurious finishing touch.
Pro Tips For Making Ninja Cooking System Pot Roast
- Sear the Chuck: I learned this the hard way—skipping the sear leaves your pot roast bland. Crank the Ninja to “Sear/Sauté” and give each side of the chuck roast 3-4 minutes until deep brown.
- Season Aggressively: Don’t be shy with the kosher salt and black pepper. Coat the chuck roast thoroughly on all sides—about 1 tablespoon of salt for a 3-4 lb roast.
- Slice Onions Thick: Thin onion slices disappear into mush in the Ninja. Cut your yellow onions into ½-inch thick rounds so they hold up and add texture.
- Use Enough Liquid: Sounds weird, but it works: add at least 1 cup of broth or water to the pot. The Ninja’s pressure function needs liquid to build steam, and it keeps the roast from drying out.
Creative Variations of ninja cooking system pot roast
Italian Herb Variation
Swap the thyme and bay leaves for 1 tbsp Italian seasoning and 1 tsp rosemary. Add ½ cup diced tomatoes with the beef stock for a Mediterranean twist. The Ninja’s pressure function infuses these herbs beautifully in 60 minutes. 🌿
Spicy Southwestern Style
Add 1 chipotle pepper in adobo and 1 tsp cumin with the aromatics. Replace red wine with 1 cup beef broth plus 1 tbsp lime juice. Top with fresh cilantro and serve with warm tortillas for a bold flavor profile.
Mushroom Lover’s Version
Include 8 oz cremini mushrooms (halved) when sautéing the onions. Add 1 tbsp soy sauce for umami depth. The mushrooms absorb the pressure-cooked flavors wonderfully in your Ninja system.
Red Wine Braised
Double the red wine to 2 cups and reduce the beef stock to 1 cup. Add 1 tbsp balsamic vinegar for extra richness. The extended reduction time creates a deeper, more complex sauce that clings perfectly to the meat. 🍷
Honey Glazed
Stir in 2 tbsp honey and 1 tbsp Dijon mustard during the final sauce reduction. This sweet-savory combination caramelizes beautifully under the Ninja’s Sear/Sauté function. The glaze adds a stunning sheen to the finished dish.
Beer Braised
Replace red wine with 1 cup dark beer like Guinness. Add 1 tbsp brown sugar to balance the bitterness. The beer’s malty notes complement the beef’s richness, and the Ninja’s sealed environment captures all those complex flavors. 💫
Nutrition Facts
Frequently Asked Questions
Do I need to brown the meat first in the Ninja Cooking System?
Yes, always sear the chuck roast first using the Sear/Sauté function at high heat for 4-5 minutes per side. This builds a rich flavor foundation that pressure cooking alone can’t achieve.
What if my Ninja doesn’t reach pressure?
Check that the lid is properly sealed and the valve is set to Seal position. Ensure you have enough liquid (at least 1 cup) and that the silicone ring is correctly installed. The unit won’t pressurize without these safety conditions met.
Can I use frozen meat for this recipe?
Never cook frozen meat directly in the pressure cooker. Thaw it completely in the refrigerator first (allow 24 hours for a 3 lb roast). Cooking from frozen can lead to uneven cooking and safety risks.
How do I know when the pot roast is done?
The meat should reach 195-205°F internally and shred easily with forks. After 60 minutes of pressure cooking plus 15 minutes natural release, it will be perfectly tender.

- 6 Oz Chocolate Chip Cookie Recipe: Perfectly Balanced Crispy Edges and Chewy Hearts - September 25, 2026
- 6-Inch Coffee Cake Recipe: Vanilla Bean Swirls and Buttery Streusel Topping - September 25, 2026
- 1 Hour Soup Recipe: Velvety Richness Without the Wait - September 25, 2026