
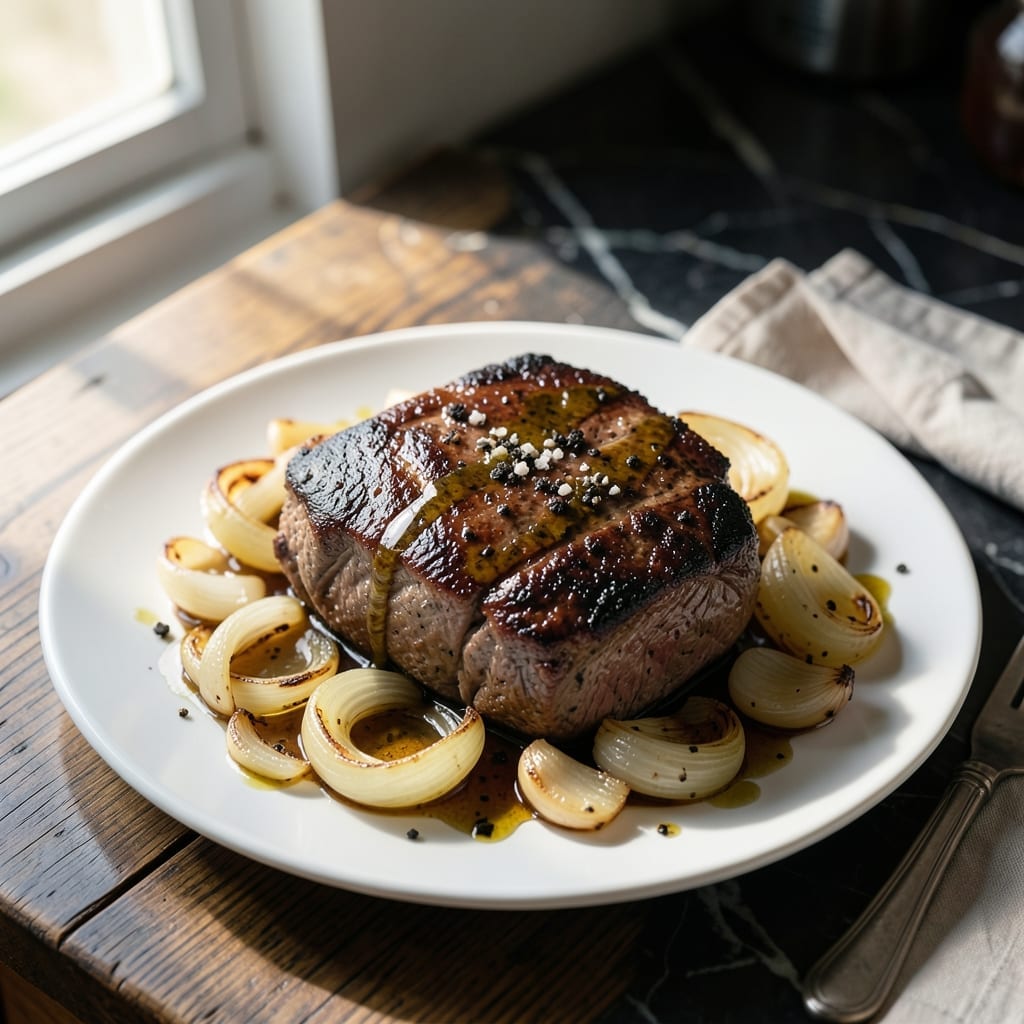
This Ninja Crock Pot method delivers fall-apart tender roast with minimal effort and maximum flavor. The slow cooker does all the work while herbs and aromatics infuse every bite.
I’ve refined this technique to ensure the meat stays juicy and the vegetables soak up rich, savory flavors. A simple sear before slow cooking locks in moisture and adds depth to the dish.
What you’ll get is a perfectly cooked roast with a velvety sauce, ready to serve over mashed potatoes or with crusty bread. The hands-off approach means you can focus on other tasks while dinner practically cooks itself.
Ideal for busy weeknights or relaxed weekend meals. This method guarantees consistent, delicious results every time.
Ingredients for Ninja Crock Pot Roast
Pantry staples and fresh herbs combine for this slow-cooked masterpiece with deep, savory layers.
| Ingredient | Amount | Notes |
|---|---|---|
| Chuck Roast 🥩 | 3 lb | Well-marbled for tenderness |
| Olive Oil 🫒 | 2 tbsp | For searing the roast |
| Kosher Salt 🧂 | 1 ½ tsp | Divided for seasoning |
| Black Pepper 🌶️ | 1 tsp | Freshly ground preferred |
| Garlic Cloves 🧄 | 6 cloves | Minced for maximum flavor |
| Yellow Onion 🧅 | 1 whole | Large, roughly chopped |
| Carrots 🥕 | 4 whole | Peeled and cut into chunks |
| Celery Stalks 🌿 | 3 whole | Cut into large pieces |
| Fresh Rosemary 🍃 | 2 tbsp | Chopped, stems discarded |
| Fresh Thyme 🍃 | 2 tbsp | Chopped, stems discarded |
| Bay Leaves 🌿 | 2 pieces | Dried, for depth |
| Beef Broth 💧 | 1 ½ cups | Low-sodium preferred |
| Red Wine 🍷 | ½ cup | Dry variety for sauce |
| Tomato Paste 🍅 | 2 tbsp | For richness and depth |
| Worcestershire Sauce 💧 | 1 tbsp | Adds umami complexity |
The chuck roast is non-negotiable here—look for heavy marbling at the butcher counter or meat section. Costco has great pre-portioned options if you’re feeding a crowd. I always grab a little extra since leftovers reheat beautifully. The fresh herbs (rosemary and thyme) should be bright green and fragrant—Whole Foods or a local farmers market will have the best selection.
No red wine? Substitute with additional beef broth and a splash of balsamic vinegar. Fresh out of fresh herbs? Dried works at one-third the amount, but fresh really shines here. In a pinch, pre-minced garlic from a jar saves time, though fresh is preferred. The tomato paste can be swapped with crushed tomatoes if that’s what you have on hand.
Store the raw roast in the fridge for up to 3 days before cooking, or freeze for up to 6 months. Once cooked, leftovers keep well for 4-5 days in the fridge. The flavors only deepen over time, making this dish perfect for meal prep.
Why You’ll Love This Recipe
- Set It and Forget: I toss the chuck roast in with olive oil, salt, pepper, and garlic cloves, then let the Ninja Crock Pot do all the work for hours.
- Garlic Lovers Dream: The slow-cooked garlic cloves melt into the meat, making every bite ridiculously rich and savory.
- Weeknight Hero: Honestly, it’s my go-to for busy evenings—minimal prep, maximum flavor payoff.
- Leftovers for Days: One chuck roast feeds my family for two meals, and the leftovers taste even better the next day.
Step-by-Step Instructions for Ninja Crock Pot Roast
This method ensures tender, herb-infused meat with minimal hands-on time.
Step 1: Sear the Chuck Roast for Deep Flavor
Set your Ninja multi-cooker to the “Sear/Sauté” function on high heat. Add the 2 tbsp Olive Oil and let it heat until it shimmers. Pat the 3 lb Chuck Roast dry with paper towels, then season it generously with 1.5 tsp Kosher Salt and 1 tsp Black Pepper on all sides.
Place the roast in the pot and sear for 4-5 minutes per side until deeply browned on all surfaces. This step creates a flavorful crust and enhances the richness of the final dish. Transfer the seared roast to a plate and set aside temporarily.
Step 2: Sauté Aromatics to Build the Base
In the same pot, add the roughly chopped Yellow Onion, carrots cut into chunks, and celery cut into large pieces. Sauté for 3-4 minutes until the onions begin to soften and the vegetables develop some color.
Add the 6 cloves minced Garlic Cloves and cook for 30 seconds until fragrant. Stir in the 2 tbsp Tomato Paste and cook for 1 minute to caramelize slightly, then pour in the 0.5 cup Red Wine and 1 tbsp Worcestershire Sauce. Scrape up any browned bits from the bottom of the pot.
Step 3: Combine All Ingredients and Slow Cook
Return the seared chuck roast to the pot. Add the 1.5 cups Beef Broth, 2 tbsp chopped Fresh Rosemary, 2 tbsp chopped Fresh Thyme, and 2 pieces Bay Leaves. Secure the pressure lid and set the valve to “Seal.”
Select the “Slow Cook” function on high heat and set the timer for 6 hours. The roast is done when it shreds easily with a fork and reaches an internal temperature of 195-200°F. The long, slow cooking process ensures the connective tissue breaks down completely, resulting in melt-in-your-mouth tenderness.
Step 4: Rest and Serve with the Rich Cooking Liquid
Carefully remove the chuck roast from the pot and place it on a serving platter. Let it rest for 10-15 minutes before slicing or shredding. This allows the juices to redistribute, keeping the meat moist and flavorful.
Skimming excess fat from the cooking liquid is optional, but I recommend leaving some for richness. Serve the roast with the vegetables and a generous spoonful of the herb-infused cooking liquid ladled over the top. The liquid soaks into the meat beautifully, enhancing every bite with its deep, savory flavor.
Pro Tips For Making Ninja Crock Pot Roast
- Sear the Chuck First: I learned this the hard way—skipping the sear leaves your roast bland. Heat 2 tablespoons olive oil in a pan and brown the chuck roast on all sides before it hits the crock pot.
- Smash the Garlic: Sounds weird, but it works: lightly crush the garlic cloves with the side of your knife before tossing them in. It releases way more flavor than whole cloves.
- Don’t Drown It: Resist the urge to add extra liquid—this recipe works best with just the natural juices from the meat and a splash of oil. Too much liquid steams instead of braises.
- Rest Before Serving: After cooking, let the roast sit for 15 minutes under foil before slicing. I skip this when I’m lazy, but the dish is noticeably juicier when I don’t.
Storing and Reheating This Dish
Refrigerator Storage
Let the roast cool for no more than 2 hours before transferring to airtight containers. Store the meat and cooking liquid together in the fridge at 40°F or below for up to 4-5 days. The flavors deepen over time, making leftovers taste even better. ❄️
Freezer Storage
For longer storage, portion the roast and cooking liquid into freezer-safe bags or containers. Leave 1-inch headspace for expansion. It freezes well for up to 3 months without losing quality. I use quart-sized freezer bags for easy stacking.
Stovetop Reheating
My preferred method for the best texture. Reheat portions in a saucepan over medium-low heat for 10-15 minutes, adding ¼ cup beef broth if needed. Stir occasionally until reaching 165°F. The liquid keeps the meat moist and flavorful.
Microwave Reheating
For quick meals, place portions in a microwave-safe dish with a splash of broth. Cover with a damp paper towel and heat on 70% power for 2-3 minutes, stirring halfway. This prevents drying out. 🔥
Oven Reheating
Wrap the roast in foil with 2 tbsp cooking liquid and reheat at 325°F for 20-25 minutes. This method works well for larger portions and maintains the fall-apart texture.
Nutrition Facts
Frequently Asked Questions
Can I skip the searing step?
I don’t recommend it. Searing creates a flavorful crust and deepens the overall taste. It only takes 8-10 minutes total and makes a noticeable difference in the final dish.
What if my roast isn’t falling apart after 6 hours?
Every slow cooker varies slightly. If it’s not tender, continue cooking on high heat for another 1-2 hours. The meat is done when it reaches 195-200°F internally.
Can I use a different cut of meat?
Chuck roast works best due to its marbling. For substitutions, try brisket or short ribs. Avoid lean cuts like sirloin as they’ll dry out during the long cooking time.

- 6 Oz Chocolate Chip Cookie Recipe: Perfectly Balanced Crispy Edges and Chewy Hearts - September 25, 2026
- 6-Inch Coffee Cake Recipe: Vanilla Bean Swirls and Buttery Streusel Topping - September 25, 2026
- 1 Hour Soup Recipe: Velvety Richness Without the Wait - September 25, 2026