
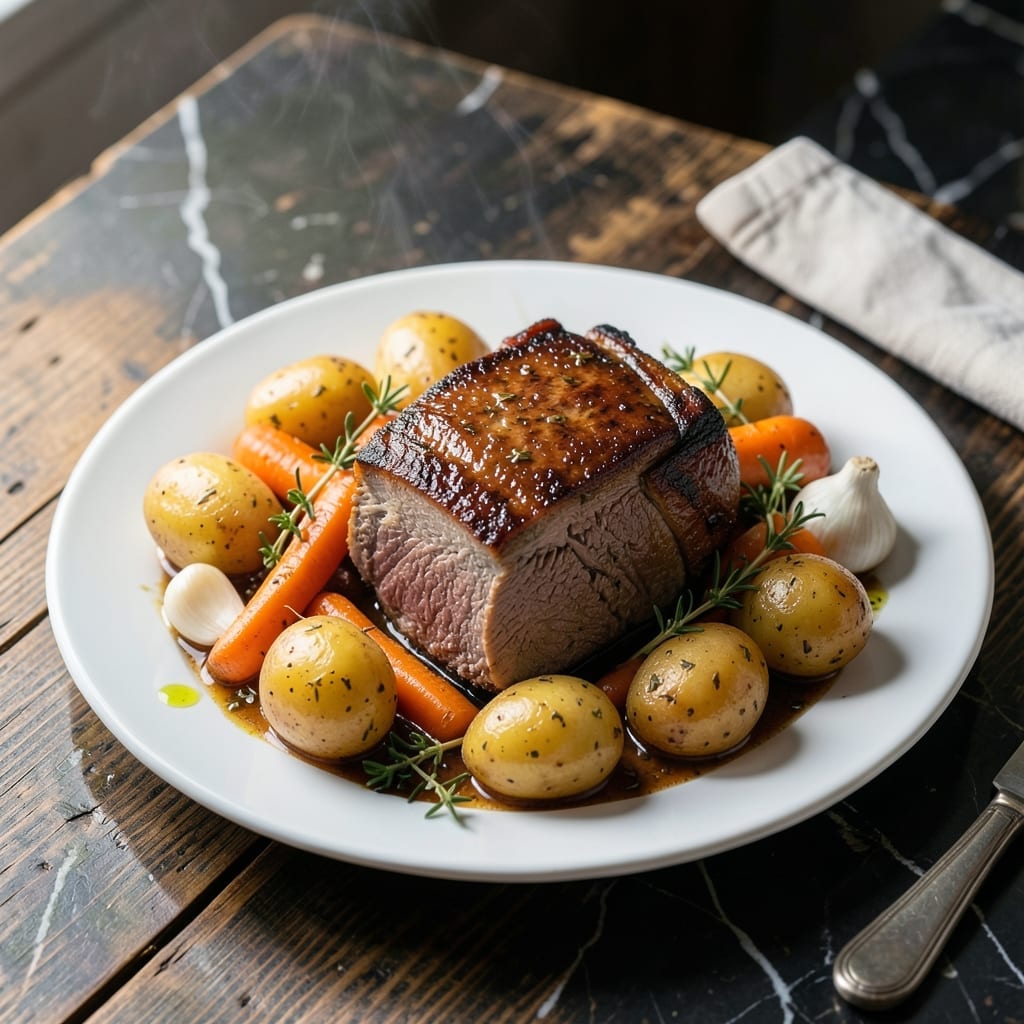
This pot roast recipe transforms tough cuts of beef into a tender, flavorful centerpiece using the Ninja Foodi PossibleCooker.
The multi-cooker’s pressure function breaks down connective tissue in just 60 minutes, while the air crisp lid creates a perfect herb crust.
You’ll achieve fall-apart beef with rich, concentrated flavors that typically require hours of slow cooking. The savory crust adds textural contrast.
This method delivers restaurant-quality results with minimal effort. The possiblecooker handles everything from searing to pressure cooking in one pot.
Ingredients for Ninja Foodi Possiblecooker Pot Roast
Transform tough beef into a tender centerpiece with these carefully selected ingredients for the multi-cooker.
| Ingredient | Amount | Notes |
|---|---|---|
| Chuck Roast 🥩 | 3 lb | Well-marbled for best texture |
| Kosher Salt 🧂 | 2 tsp | Diamond Crystal preferred |
| Black Pepper 🌶️ | 1 ½ tsp | Freshly ground for depth |
| Dried Thyme 🌿 | 2 tsp | Rubbed between fingers to release oils |
| Dried Rosemary 🍃 | 2 tsp | Crushed lightly before using |
| Garlic Cloves 🧄 | 6 cloves | Minced for even distribution |
| Yellow Onion 🧅 | 1 whole | Large, quartered through the root |
| Carrots 🥕 | 4 whole | Peeled, cut into 3-inch chunks |
| Celery Stalks 🥬 | 4 pieces | Cut into 3-inch lengths |
| Beef Broth 💧 | 2 cups | Low-sodium preferred for control |
| Red Wine 🍷 | ½ cup | Dry variety like Cabernet Sauvignon |
| Olive Oil 🫒 | 2 tbsp | Divided for searing and finishing |
| Tomato Paste 🍅 | 2 tbsp | For umami depth in crust |
| All-Purpose Flour 🌾 | ¼ cup | For thickening the cooking liquid |
| Fresh Parsley 🌿 | ¼ cup | Chopped, for finishing garnish |
The chuck roast is non-negotiable for this preparation. Look for well-marbled cuts at Whole Foods or Costco—the fat content ensures melt-in-your-mouth results after pressure cooking. Quality beef broth elevates the dish; Better Than Bouillon paste offers superior depth compared to canned. The herb crust demands fresh grinding of pepper and well-rubbed dried herbs to maximize aromatic release.
Substituting beef for another cut? Brisket or short ribs work but require adjusted cooking times. No red wine? Additional beef broth with a tablespoon of balsamic vinegar mimics the acidity. For the herb crust, fresh rosemary and thyme at double the quantity can replace dried. The tomato paste is essential for the Maillard reaction during air crisping—don’t omit it.
Leftovers keep remarkably well. Store in an airtight container for up to 5 days in the refrigerator or 3 months frozen. The flavors intensify overnight, making this ideal for meal prep. Reheat gently in the Ninja Foodi to maintain the herb crust’s integrity.
Why You’ll Love This Recipe
- Set and Forget: I toss the chuck roast in with salt, pepper, thyme, and rosemary, then the Ninja Foodi does all the work—no babysitting required.
- Fall-Apart Tender: The rosemary and thyme soak into the chuck roast so deeply it shreds with a fork, every bite rich and herby.
- Sunday Dinner, Tuesday Night: Honestly, it feels fancy enough for company but I make it midweek because it’s that simple.
- Leftovers for Days: One roast feeds us for three meals—sandwiches, tacos, you name it—without breaking the bank.
Step-by-Step Instructions for Ninja Foodi Possiblecooker Pot Roast
Master the multi-cooker method with these precise, professional techniques for fall-apart tender results.
Step 1: Sear and Season the Chuck Roast
Pat the 3 lb chuck roast dry with paper towels, then season generously with the 2 tsp kosher salt, 1.5 tsp black pepper, 2 tsp dried thyme, and 2 tsp dried rosemary. I rub the herbs between my fingers first to release their essential oils for maximum flavor penetration.
Set your Ninja Foodi to “Sear/Sauté” on high heat. Add 1 tbsp olive oil and allow it to shimmer. Sear the roast on all sides for 3-4 minutes per side until a deep, caramelized crust forms. This step builds the fond that will deepen your sauce later. Transfer the roast to a plate and set aside.
Step 2: Build the Aromatic Base
In the same pot, add the remaining 1 tbsp olive oil if needed. Sauté the 1 whole yellow onion (quartered), 4 whole carrots, and 4 pieces celery stalks for 5-6 minutes until the vegetables begin to soften and develop color. This creates the flavor foundation for your braising liquid.
Add the 6 cloves garlic cloves (minced) and cook for 30 seconds until fragrant but not browned. Stir in the 2 tbsp tomato paste and cook for 1-2 minutes to develop its natural sweetness. This step transforms raw tomato flavor into rich umami depth.
Step 3: Deglaze and Pressure Cook
Pour in the 0.5 cup red wine and scrape the bottom of the pot with a wooden spoon to release all the browned bits. Let it simmer for 2 minutes to reduce slightly. Then add the 2 cups beef broth and return the seared roast to the pot along with any accumulated juices.
Secure the lid and set the Ninja Foodi to “Pressure” on high for 60 minutes. Ensure the valve is sealed. The natural release method works best here—let the pressure release naturally for 15 minutes before quick-releasing any remaining pressure. This timing ensures the connective tissue breaks down completely while keeping the meat moist.
Step 4: Thicken and Finish
Carefully remove the roast and transfer to a cutting board. Skim any excess fat from the cooking liquid. In a small bowl, whisk the 0.25 cup all-purpose flour with ¼ cup of the cooking liquid to create a slurry. Stir this into the pot and simmer for 3-4 minutes until the sauce thickens to a gravy-like consistency.
Slice the roast against the grain or pull apart with forks for serving. Arrange on a platter, spoon the thickened sauce over the top, and garnish with the 0.25 cup fresh parsley (chopped). The sauce should coat the back of a spoon with a rich, velvety texture that complements the tender meat perfectly.
Pro Tips For Making Ninja Foodi Possiblecooker Pot Roast
- Sear the Chuck First: I learned this the hard way—skipping the sear leaves your pot roast bland. Use the Ninja Foodi’s “Sear/Sauté” function to brown the chuck on all sides before pressure cooking; it locks in flavor.
- Double the Herbs: Dried thyme and rosemary lose potency in liquid, so use more than you think—about 1 tablespoon each for a 3-pound roast. My grandmother swore by this, and she was right.
- Don’t Overfill It: After burning three batches, I finally figured out the Foodi needs room. Keep liquids below the 2/3 max line and the roast submerged but not cramped.
- Natural Release Only: Resist the urge to quick-release—letting the pressure drop naturally (about 15 minutes) keeps the chuck from drying out. I skip this when I’m lazy, but the dish is noticeably better when I don’t.
Common Mistakes When Making Great ninja foodi possiblecooker pot roast
Overcrowding the Pot
Never exceed the 2/3 max fill line in your Ninja Foodi. With this recipe, the 3 lb chuck roast plus vegetables and liquid should fit comfortably. Overfilling risks uneven cooking and potential pressure release issues. I learned this the hard way with a messy kitchen counter. 💡
Skipping the Sear
Rushing past the searing step means missing out on the Maillard reaction that creates deep, caramelized flavors. Those 3-4 minutes per side on high heat build the fond that transforms your braising liquid into rich gravy. Trust me, the extra time is worth it.
Insufficient Deglazing
After searing, those browned bits stuck to the bottom are pure flavor. Use the 0.5 cup red wine to scrape every last bit with a wooden spoon. Simmer for 2 minutes to reduce slightly—this step prevents burnt flavors and ensures nothing goes to waste.
Improper Pressure Release
Always allow a 15-minute natural release after pressure cooking. Quick-releasing immediately can cause the meat to seize up and lose moisture. I set a timer to remind myself—patience here means the difference between tender and tough. ⏰
Neglecting the Sauce
The cooking liquid is liquid gold. Don’t pour it down the drain! Thicken it with a slurry of 0.25 cup all-purpose flour and some of the cooking liquid. Simmer for 3-4 minutes until it coats the back of a spoon—this transforms your dish from good to restaurant-quality.
Cutting Too Soon
Let the roast rest for at least 10 minutes after removing from the pot. Cutting immediately causes juices to escape, leaving you with dry meat. I tent mine loosely with foil during this time to keep it warm while the sauce finishes.
Nutrition Facts
Frequently Asked Questions
Do I need to brown the meat first?
Yes, searing for 3-4 minutes per side on high heat creates a flavorful crust. This step builds fond that enriches your sauce.
Can I use a different cut of beef?
Brisket or short ribs work but require adjusted cooking times. Stick with well-marbled cuts for best texture.
How do I know when it’s done?
The meat should pull apart easily with forks after 60 minutes pressure cooking plus 15-minute natural release.
Can I make this without wine?
Substitute with additional beef broth and 1 tbsp balsamic vinegar for similar depth of flavor.

- 6 Oz Chocolate Chip Cookie Recipe: Perfectly Balanced Crispy Edges and Chewy Hearts - September 25, 2026
- 6-Inch Coffee Cake Recipe: Vanilla Bean Swirls and Buttery Streusel Topping - September 25, 2026
- 1 Hour Soup Recipe: Velvety Richness Without the Wait - September 25, 2026